
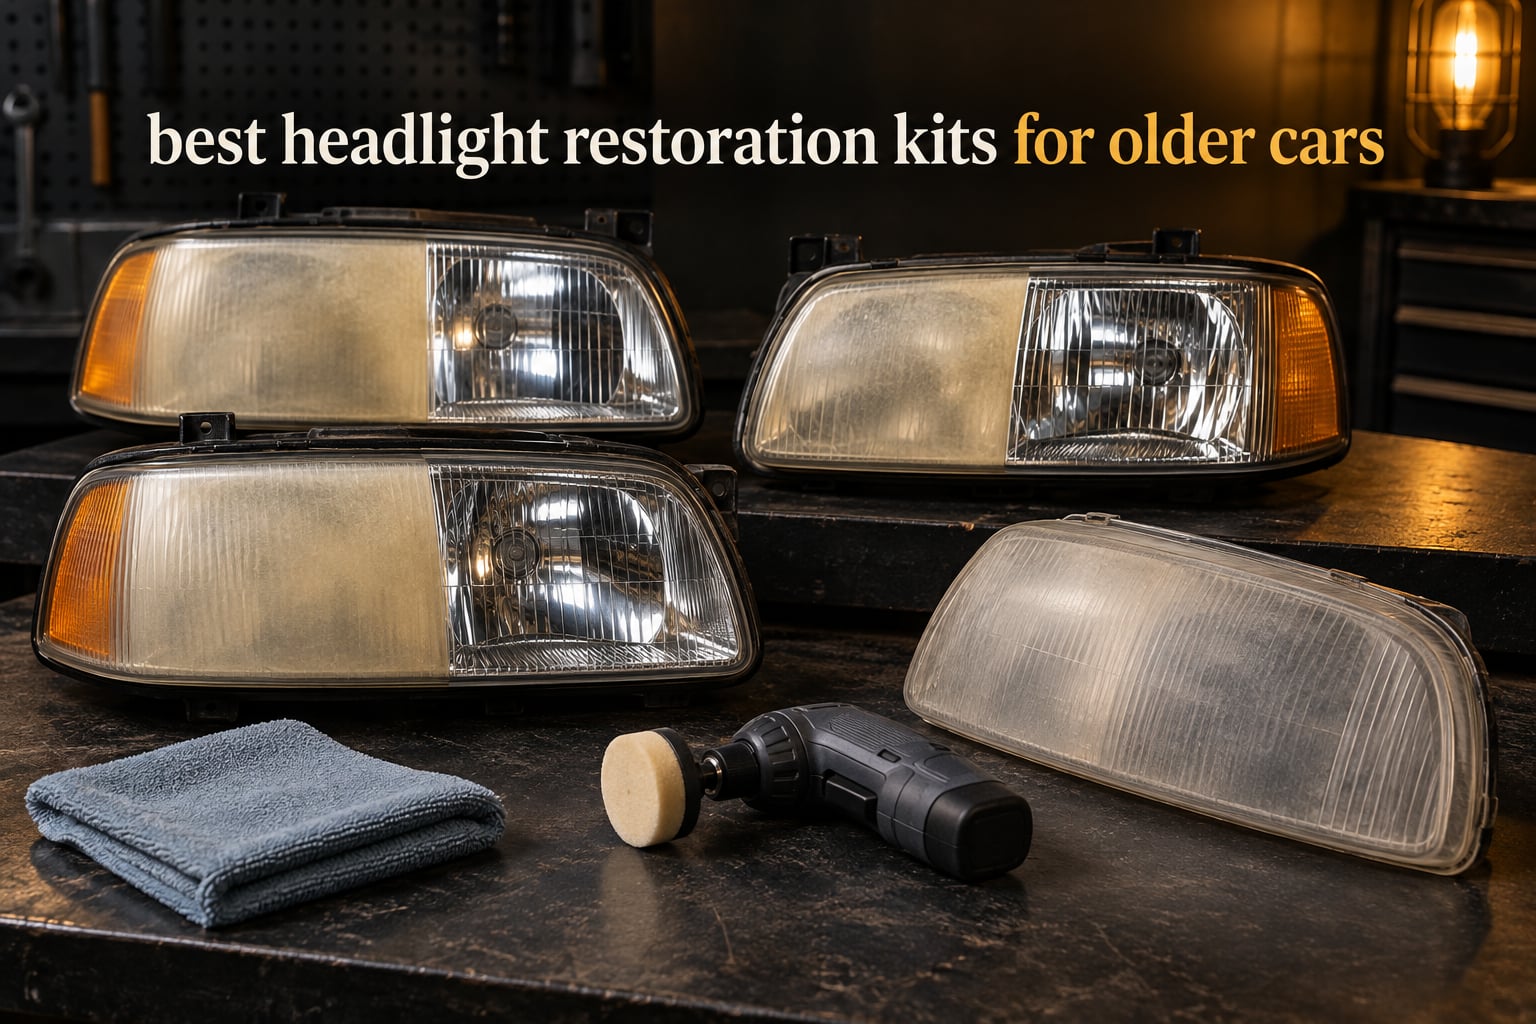
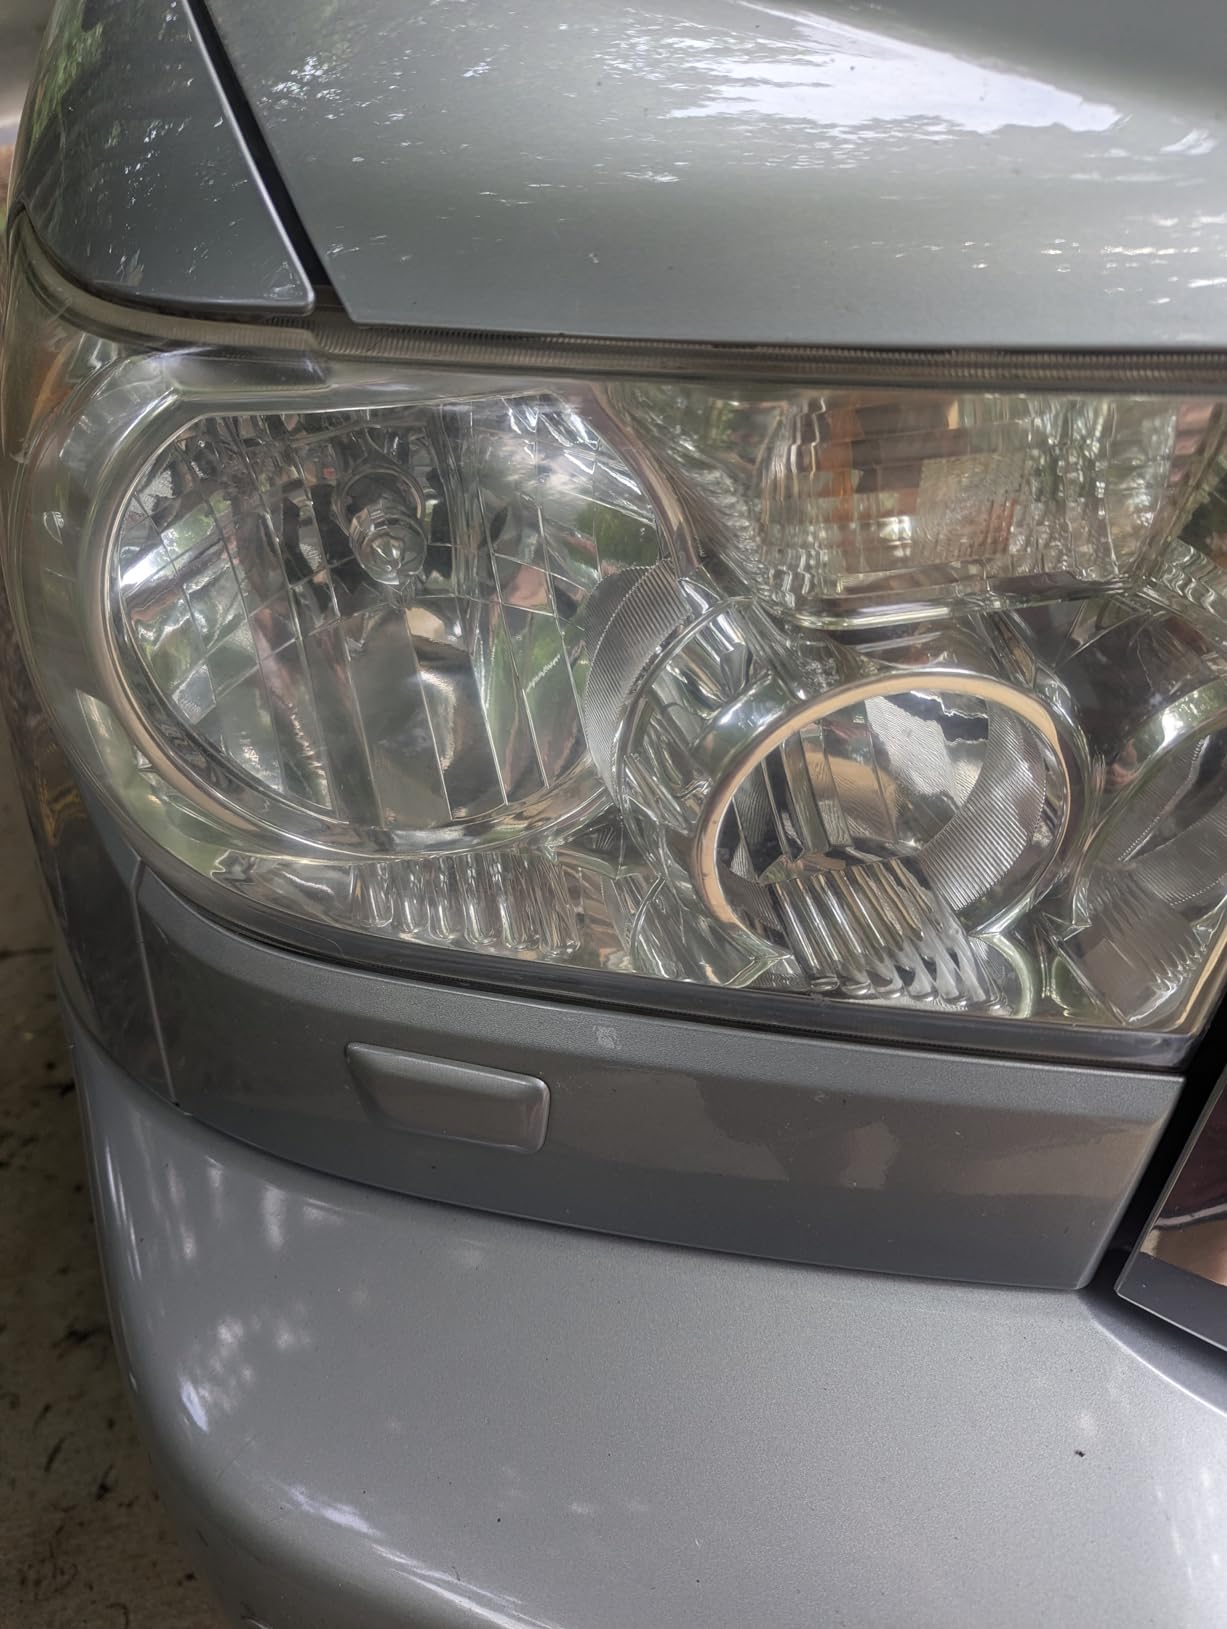
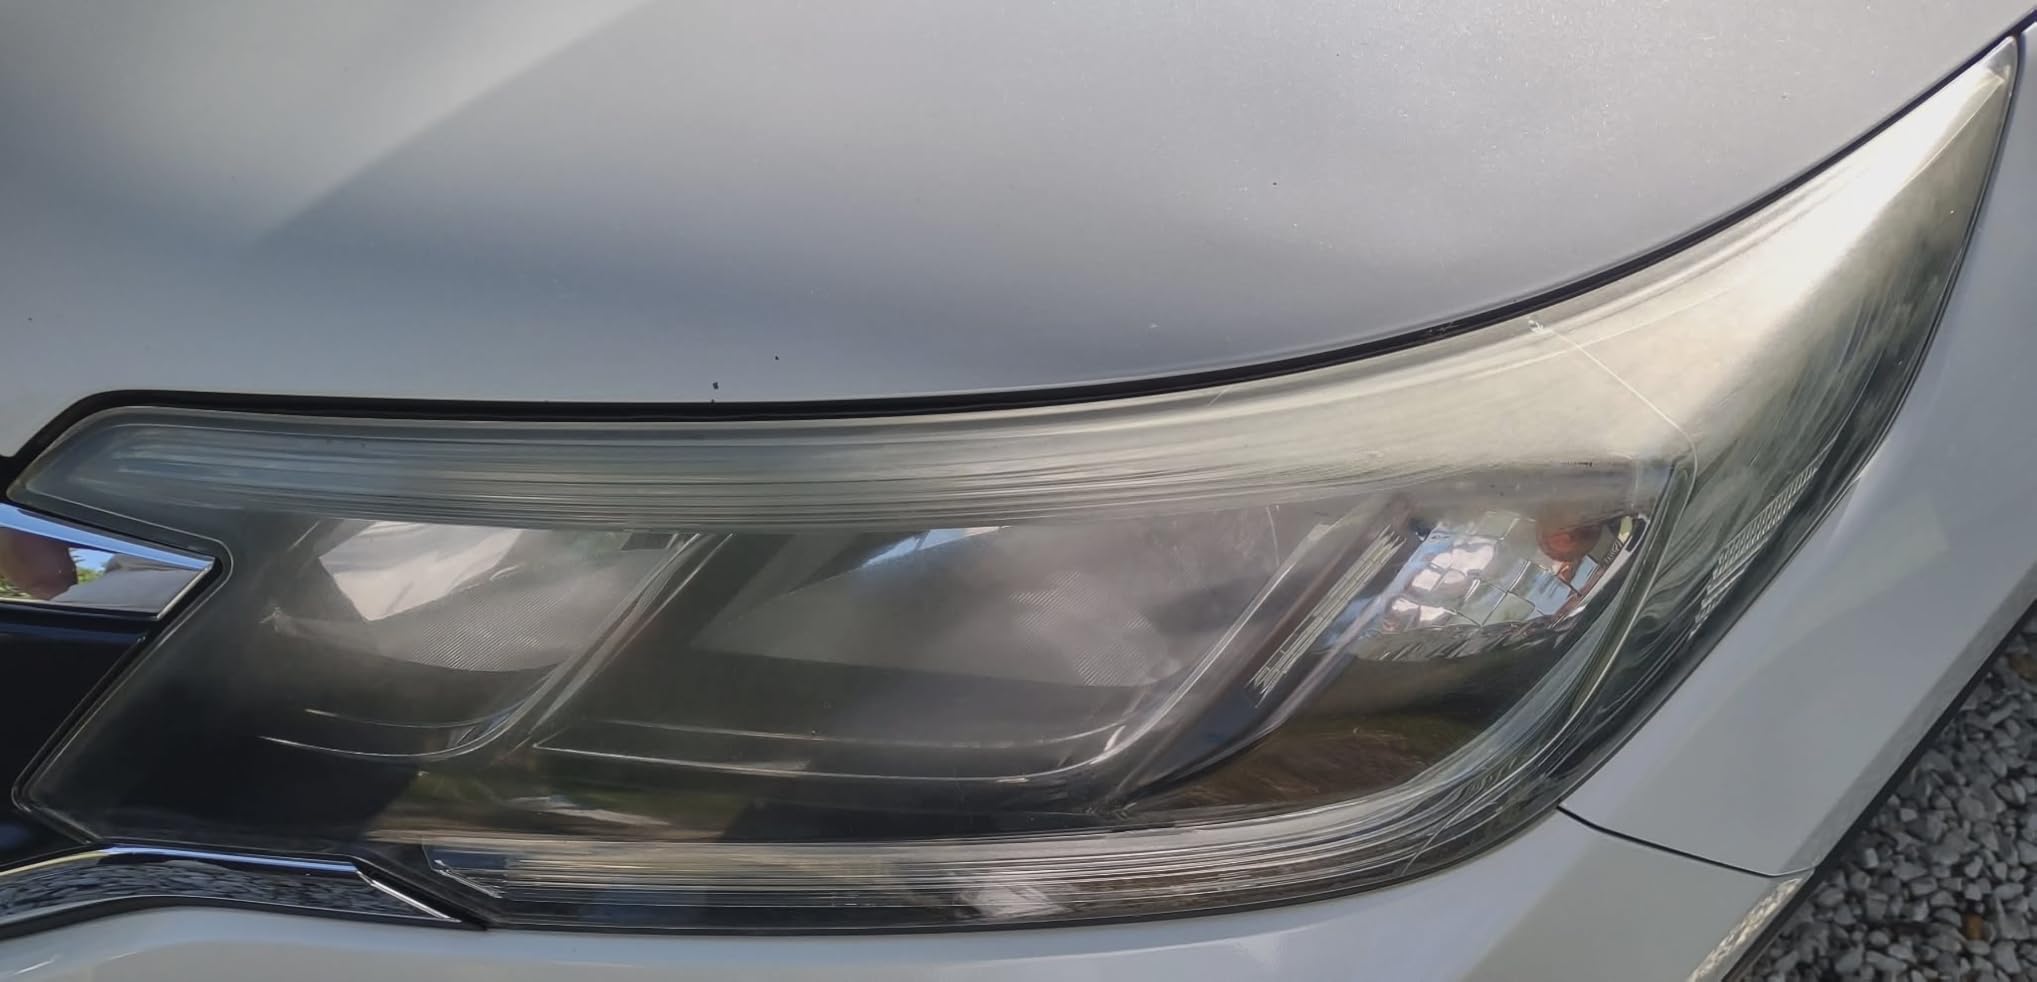
There is a specific kind of headlight problem that only shows up on older cars: the lens that is not cracked, not broken, and not fogged on the inside, just dull and yellow, as if the housing spent two decades in the sun. That yellow is oxidation, and on a car old enough to be out of warranty, the factory UV clear coat underneath it died years ago.
This guide covers the best headlight restoration kits for older cars, ranked on what matters after the shine wears off: how long the clarity actually lasts, how much of the kit a really bad lens needs, and whether the job is worth doing at all. We compared eight kits across wipe systems, wet-sanding systems, and single-step polishes, then cross-checked the lab-style spec sheets against what owners report back on car forums after a year of living with the result.
If the bulbs inside are also on your list, our picks for the best LED headlight bulbs for cars and the best LED headlight bulbs for trucks are worth reading before you start sanding anything.
Restoring a hazy lens only pays off if the beam coming out of it is worth seeing.
One thing up front, because no brand will tell you: on a car that is 15 to 25 years old, results sit at the short end of every durability range in this article. The base polycarbonate has already been UV-degraded under a dead clear coat, so whatever you re-apply is slowing a process that is already advanced. That is the honest version of the best headlight restoration kits for older cars story, and it is the version we build the rest of this guide on for 2026.
Table of Contents
Do Headlight Restoration Kits Actually Work?
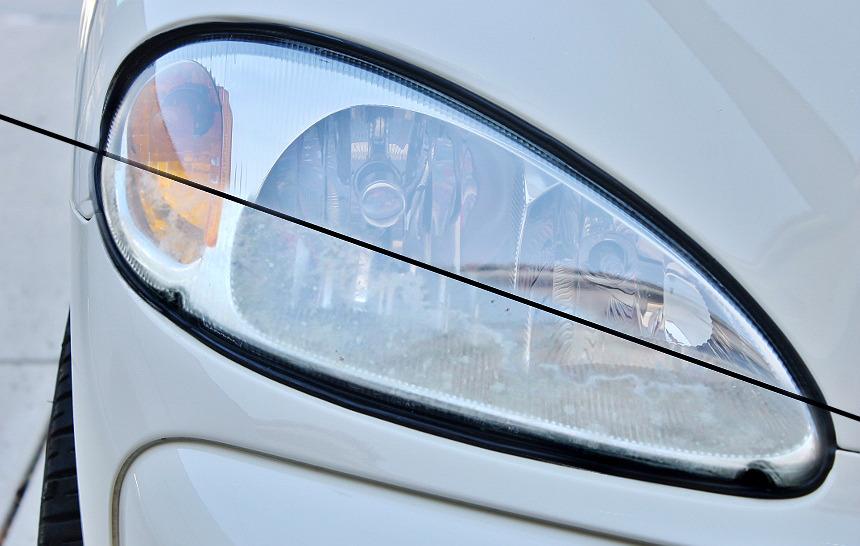
Yes, but for a narrower reason than most marketing implies. A kit works by sanding off the failed factory UV clear coat, compounding the raw polycarbonate back to optical clarity, and forcing you to apply a fresh seal. The clarity gain is immediate and real. Durability is the honest weak point, typically 6 to 18 months with a standard seal and longer with a quality ceramic or urethane coating.
The mechanism matters because it explains every result you will see online. Day-one photos are always spectacular, because the moment the dead coating is gone the lens is optically clear again. The photos people post a year later are the useful ones, and those tend to look a great deal less like the first set.
There is also a hard limit. Oxidation on the surface can be removed, but pitting is a permanent micro-cavity in the plastic, and a lens that has pitting all the way through its clear coat is telling you the plastic itself is at end of life. No kit sands that back into shape.
Top 3 Headlight Restoration Kits for Older Cars
These are the three that earned a place on a car older than most of the kit listings themselves.


Sylvania Restoration Kit
- Repairs two lenses
- sandpaper plus compound plus UV block clear coat
The Cerakote kit takes the top slot because it is the only one here that pairs a ceramic seal with a process that needs no power tools, and ceramic is the one coating chemistry that meaningfully extends the window on a bad lens. Sylvania earns its place on the strength of the most established brand in the category and a consumables allowance that covers more than one car. The 3M Ultra kit is the pick when the lens is bad enough that you need a real 500-grit start.
The 8 Best Headlight Restoration Kits at a Glance in 2026
Every kit below restores clarity. What separates them is method, how much abrasive work they can do, and what they leave on the lens when the job is finished.
| Product | Specifications | Action |
|---|---|---|
| CERAKOTE Ceramic Headlight Restoration Kit |
|
Check Latest Price |
| SYLVANIA Headlight Restoration Kit |
|
Check Latest Price |
 3M Ultra Headlight Restoration Kit 39195 3M Ultra Headlight Restoration Kit 39195 |
|
Check Latest Price |
 Meguiar’s Two Step Headlight Restoration Kit G2970 Meguiar’s Two Step Headlight Restoration Kit G2970 |
|
Check Latest Price |
 Mothers NuLens Headlight Renewal Kit 07251 Mothers NuLens Headlight Renewal Kit 07251 |
|
Check Latest Price |
 Chemical Guys Headlight Restore and Protect 16 oz Chemical Guys Headlight Restore and Protect 16 oz |
|
Check Latest Price |
 Clear Lights Tech 3-Wipe Headlight Restoration Kit Clear Lights Tech 3-Wipe Headlight Restoration Kit |
|
Check Latest Price |
 3M Auto Restore and Protect Kit 39194 3M Auto Restore and Protect Kit 39194 |
|
Check Latest Price |
Note the method spread in that table. Some kits lean on a drill or rotary tool, two are pure hand-wipe systems, and two are single-step polishes. On an older car that difference matters more than it does on a modern lens, because severe oxidation needs abrasion before any sealant has anything to bond to.
1. CERAKOTE Ceramic Headlight Restoration Kit: Best Overall for Older Cars
CERAKOTE® Ceramic Headlight Restoration Kit, 10 Wipe Kit
8 oxidation wipes, 1 sanding kit, 2 ceramic wipes
4.8 oz package
No power tools needed
Pros
- Dramatic clarity on heavily yellowed older lenses
- 30 minutes to 1.5 hours with no power tools
- Ceramic coating self-levels to a streak-free finish
- Reviewers report clarity still holding after 3 months
Cons
- Sanding stage is the slowest part of the job
- Careful masking is needed around the housing
- Instructions contain a confusing sanding pad color note
I ran this one on a car that had been outside for more than 15 years, with the flat waxy yellow that means the clear coat is already gone rather than merely dirty. The first wipe stage does most of the visible work, the sanding stage flattens what is underneath, and the ceramic stage is what makes the result last longer than a week.
The package is unusually well judged for what is in it: eight oxidation-removing wipes, one sanding kit, and two ceramic coating wipes. The manufacturer describes a three step process that runs about 30 minutes on a fair lens, and reviewers with worse examples report an hour and a half on intricate lens shapes. On older cars, budget closer to that longer figure.
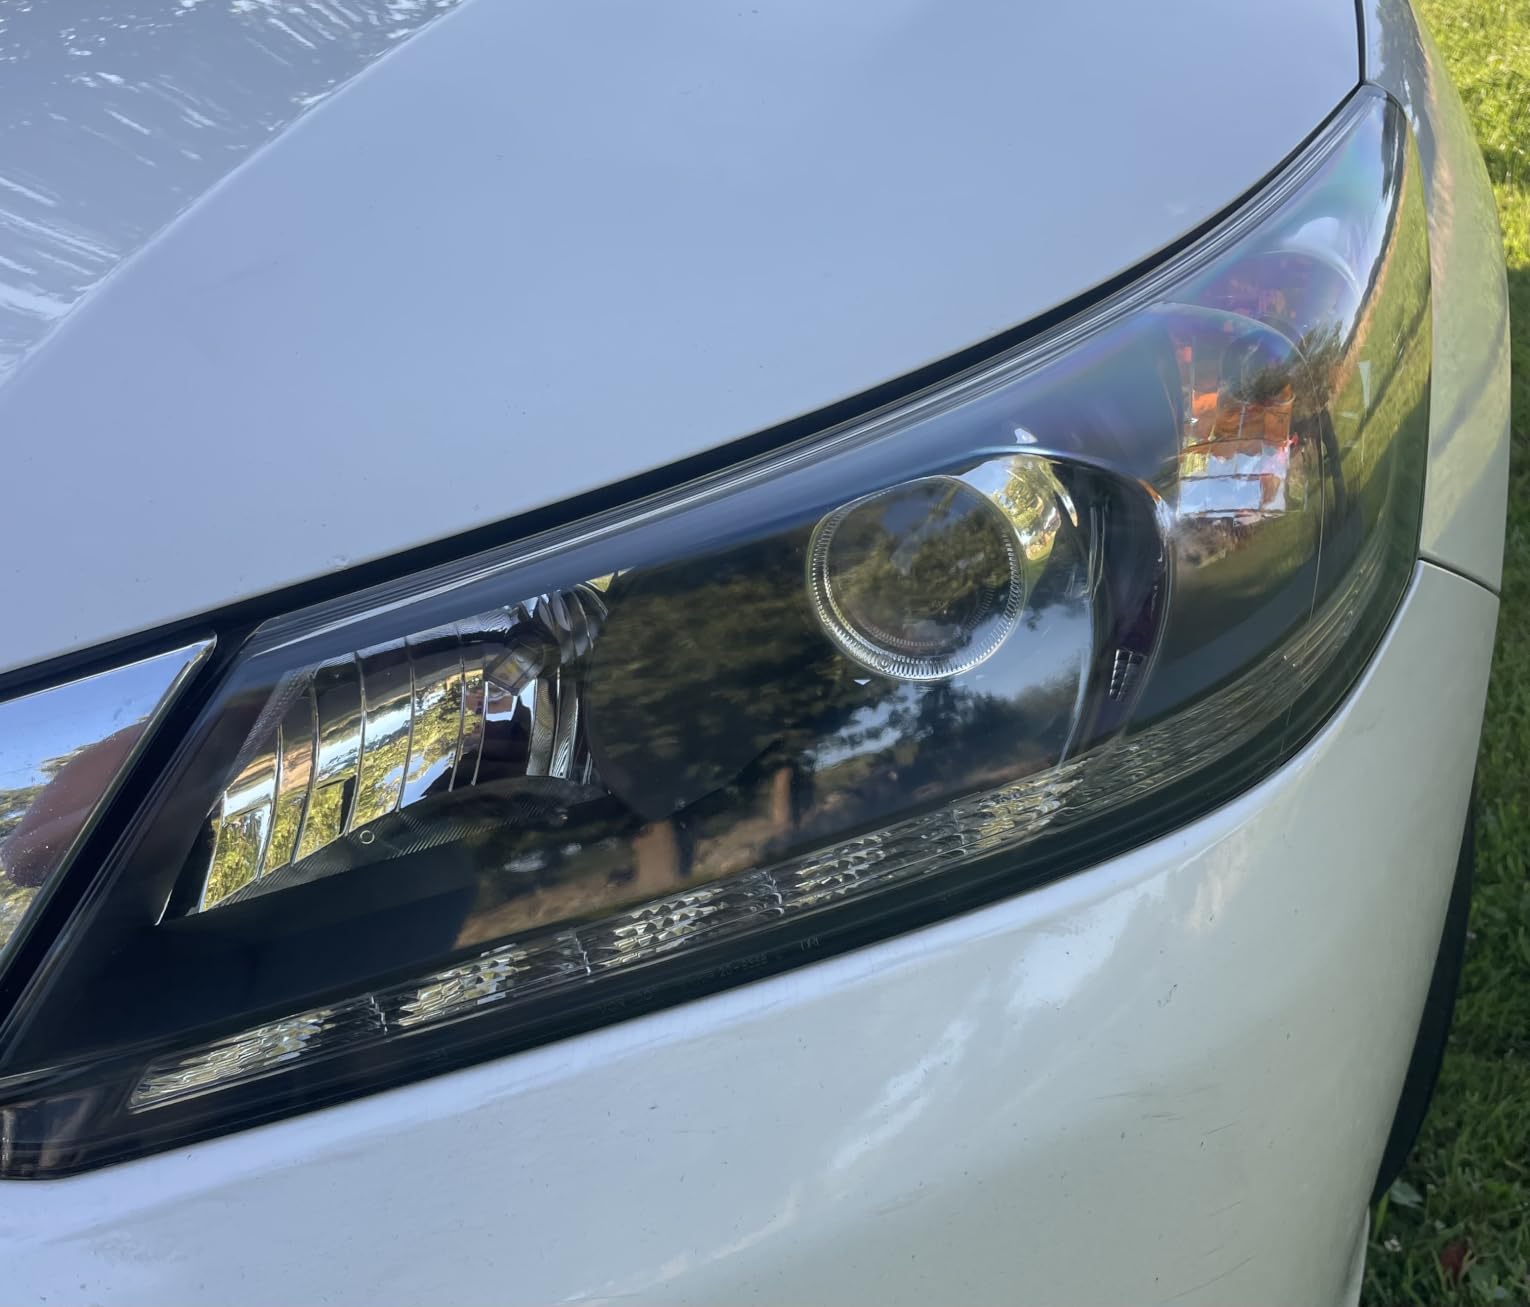
What stood out most was the finish. The ceramic coating self-levels, so there is no buffing haze to chase, and reviewers consistently describe a smooth, streak-free surface rather than the filmy look that hand-applied coatings leave when the coat is too thick. Several owners note clarity still holding at the three-month mark with no return of cloudiness.
Durability is where the honest caveat lives. On the clubfrontier forum an owner who used this kit put it plainly: they did their headlights about two years ago and the tops of the lenses were starting to fade again. A commenter in r/AutoDetailing makes the same broader point, that the best day-one results they have seen online came from ceramic systems, but those fade as well after a year and a half to two years.
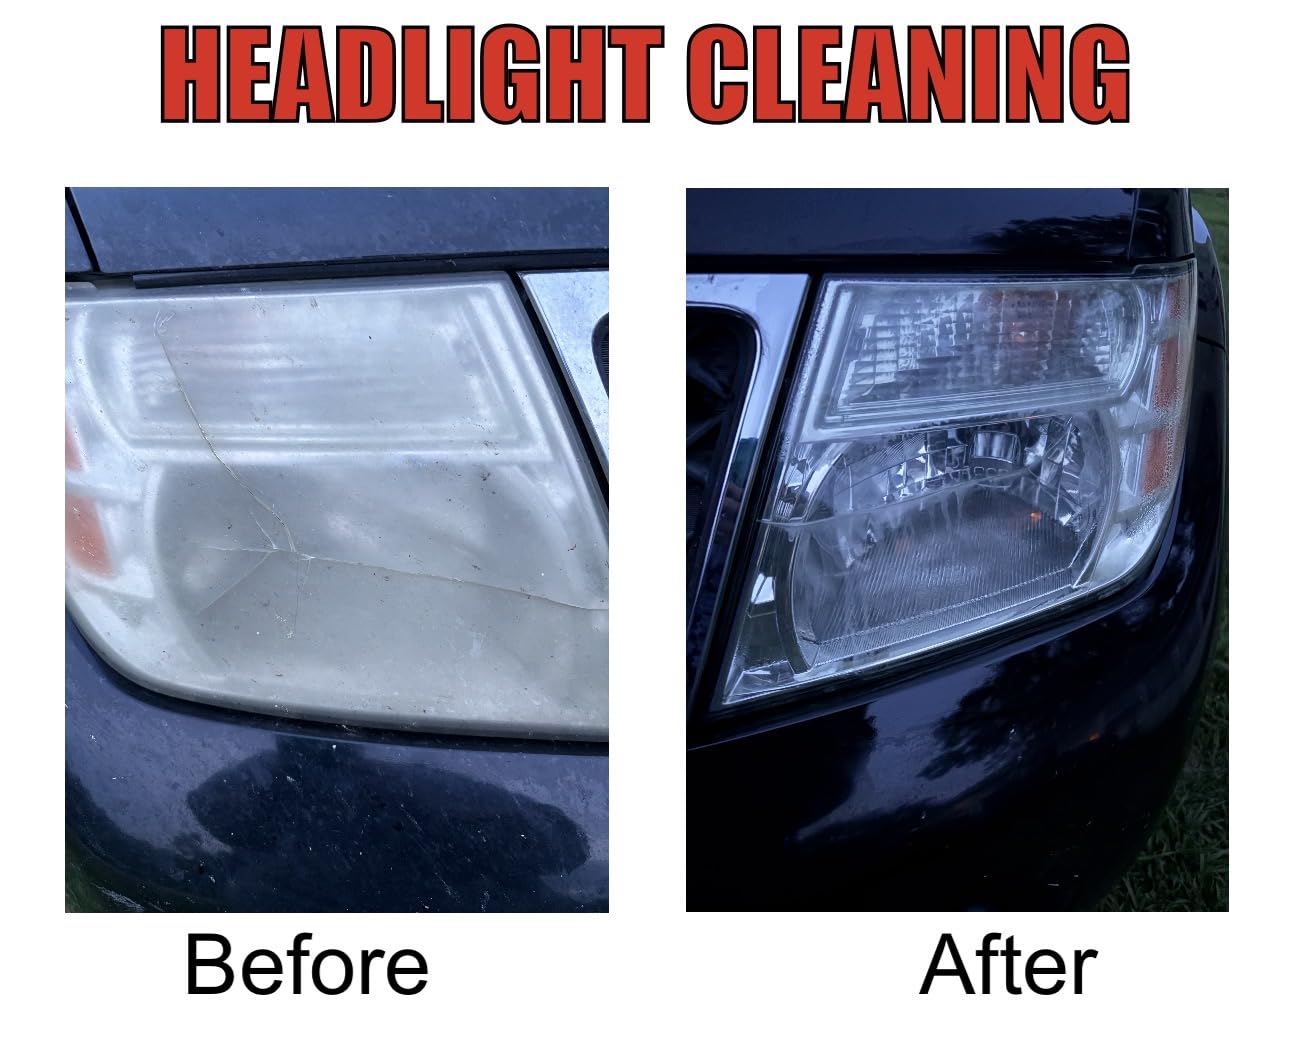
Is a wipe system enough for a badly degraded lens?
More often than the price and the box suggest, yes, because the sanding stage in this kit is not a token step. Reviewers on cars with heavy oxidation describe lens shapes where the small pads take real time to work around curves and ribs. Budget an hour per housing rather than ten minutes, and keep wet paper towels on hand to keep the surface lubricated.
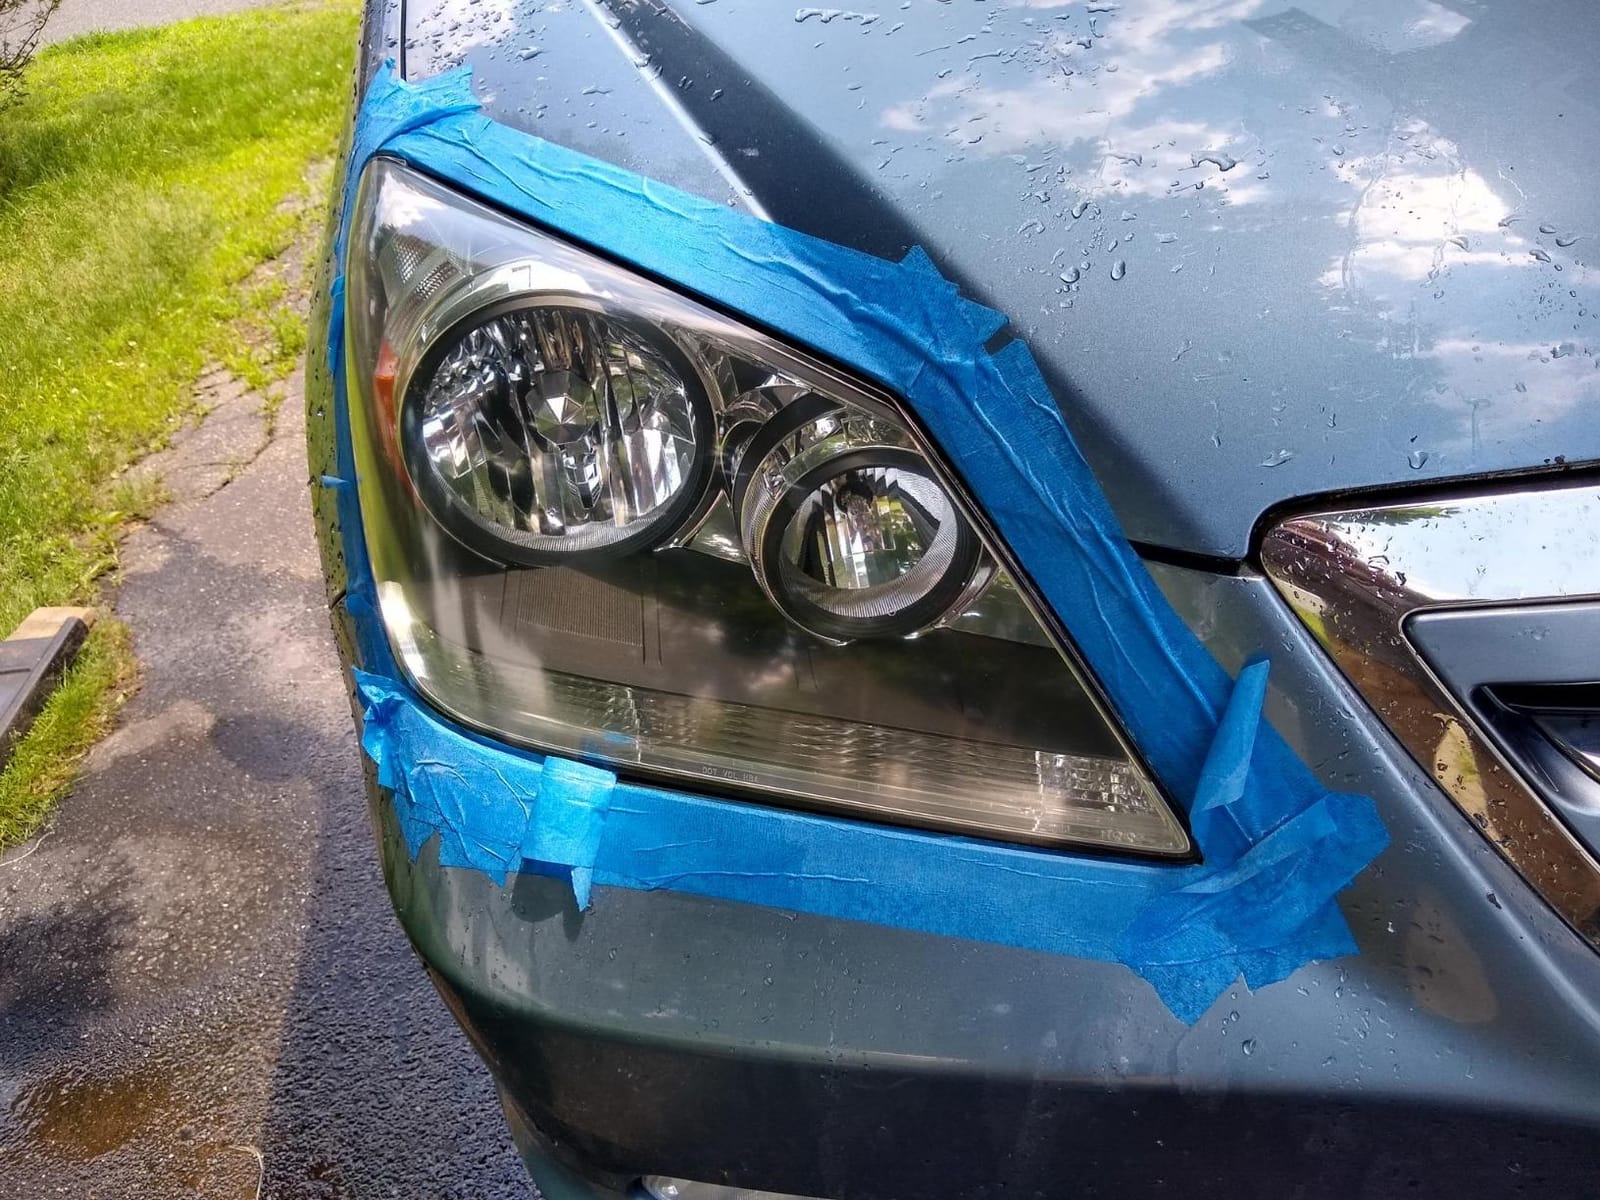
The one thing to plan around is masking. Several owners call out careful painter’s tape work as essential, because the surrounding paint takes an overspray or a drag mark very easily on a car of this age. Twenty minutes of masking protects a bumper that is probably original.
What the ceramic seal will not fix
Pitting, and any yellow that lives inside the housing rather than on the surface. A handful of owners report a faint yellow tint still visible afterwards compared with a brand new lens, which is exactly what you would expect when the base plastic underneath has already been UV-degraded for a decade and a half. It is a cosmetically better headlight, not a factory-fresh one.
One small documentation grip worth knowing before you start: the printed instructions contain at least one confusing note about sanding pad colours, with one colour pairing listed where another is meant. Read the whole sheet before you begin rather than working from the first line.
2. SYLVANIA Headlight Restoration Kit: Best From a Lighting Brand
SYLVANIA Headlight Restoration Kit, Restores to Like-New Condition
Surface activator, sandpaper, compound, UV clear coat
Repairs two lenses
No tools needed
Pros
- Backed by an established lighting manufacturer
- Repairs two lenses with one kit
- All in one system with no separate sealant purchase
- Restores clarity and usable light output
Cons
- Best suited to light and moderate oxidation
- Longer hands-on process than wipe kits
- Deep pitting needs a more aggressive approach
This is the kit I would hand to someone who wants one box from a company whose day job is lamps. Sylvania is an OSRAM brand, and the kit carries a part number and machined spec rather than generic labelling, which tells you something about the parts inside.
The system is a surface activator, a set of sandpapers, a clarifying compound, and a UV block clear coat. No tools are required and one kit repairs two lenses. That two-lens claim matters on older cars where the driver may well have a second vehicle in the same condition, and owners on the Toyota 4Runner forum report restoring three sets of headlights with a single kit.
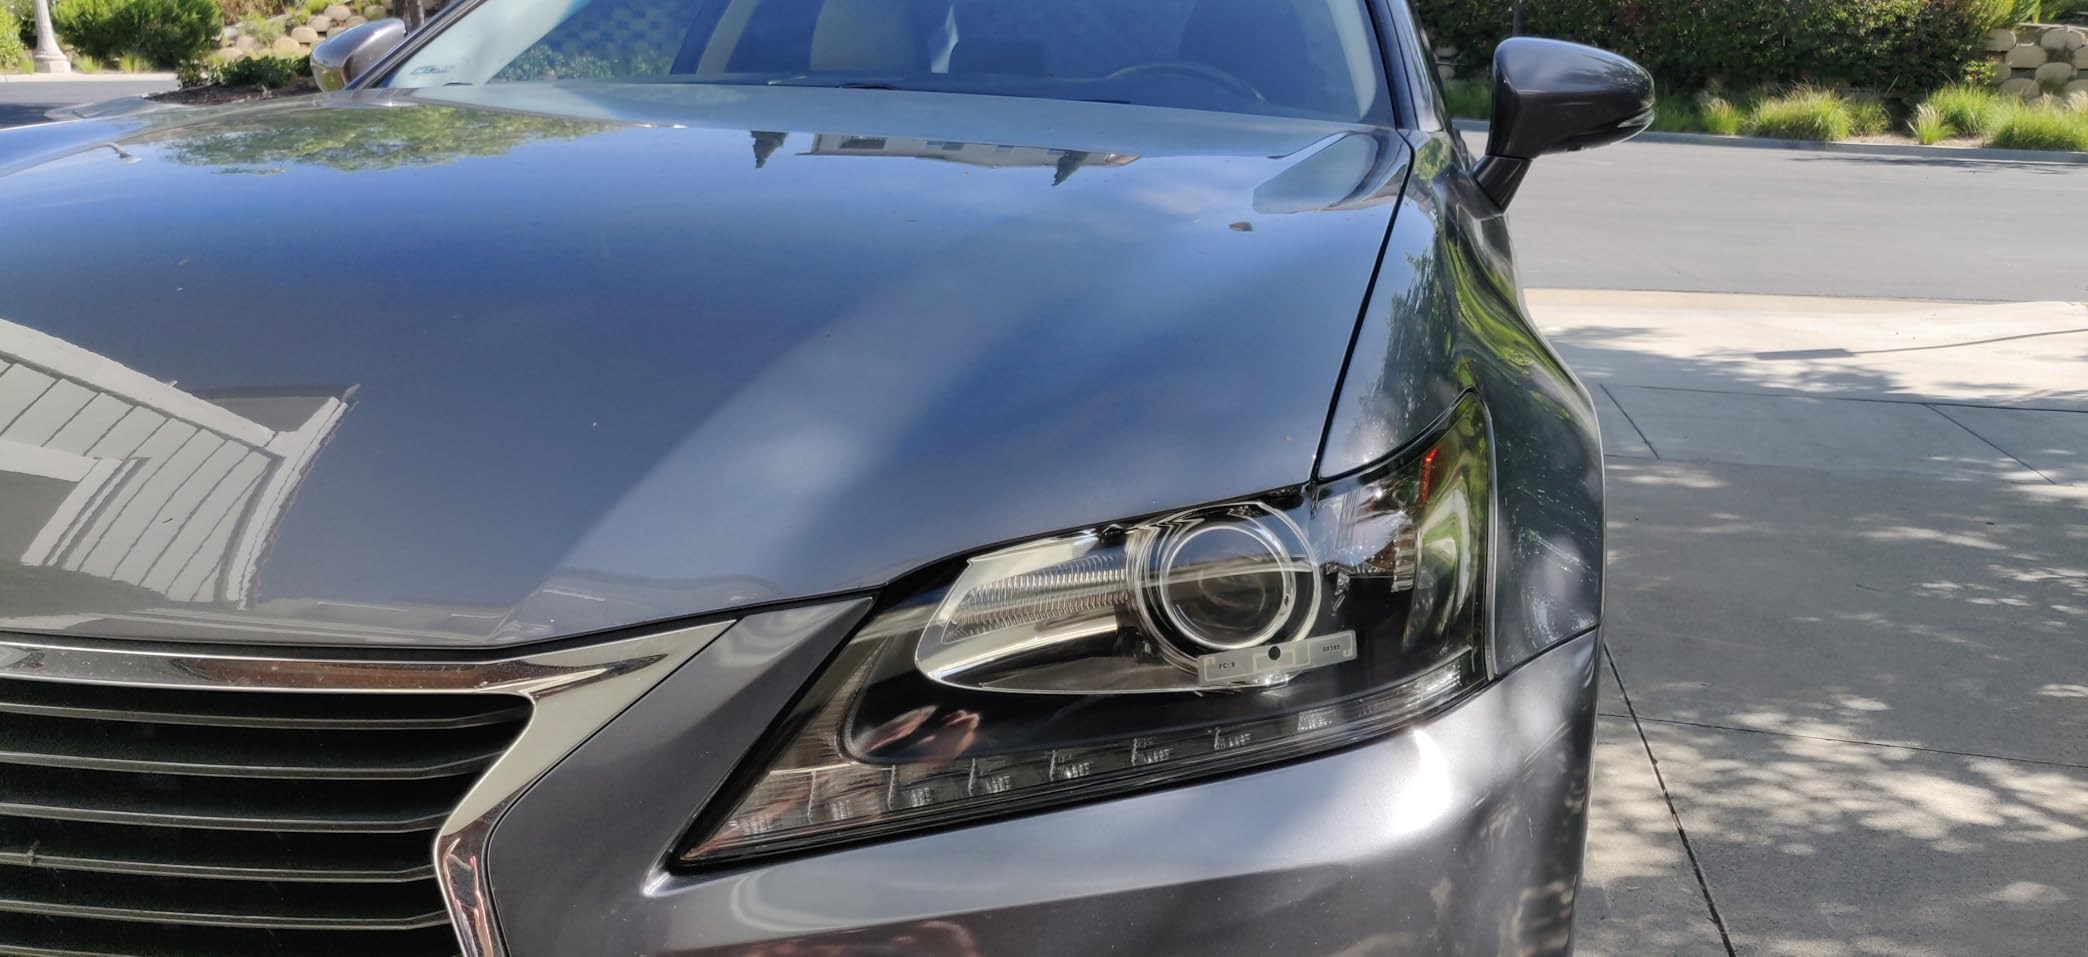
Where it earns its rating is consistency rather than spectacle. Instead of a dramatic transformation on one lens, you get the same moderate improvement on every lens you point it at, and the process is the traditional one, sand and polish, so you have full control over how aggressive you get.
The clear coat is a standard UV block rather than a ceramic chemistry, so treat the durability window as the shorter end of what is available. A pro shop quoted on the Toyota 4Runner forum mentioned having good luck with 3M kits in a commercial setting, and owners on toyotaownersclub independently rate the 3M system as clearly better than the toothpaste approach. That is useful context for how this kit is regarded in the trade.
What is in the box and how far it stretches
Enough consumables to service two lenses, with enough left over in practice that experienced owners stretch it further. Three sets of headlights from one kit is the figure owners report, which makes this the most sensible pick if you own an older daily driver and a second car that has been sitting outside.
Package dimensions are 8 by 2 by 6 inches and it weighs under an ounce, so storage is not the issue. The issue is whether the abrasives are aggressive enough for your lens, and on that it sits in the middle of this roundup.
Where the hand process slows you down
There is no shortcut here. The traditional sand-and-polish route is more hands-on than a wipe system, and on a 20-year-old car with severe yellowing you will likely be tempted to stop early. That temptation is what produces the milky finish owners complain about.
The clearest limitation in the reviews is scope. This kit is at its best on light to moderate oxidation. Deep pitting usually needs more aggressive sanding than the included papers provide, and no amount of compound will hide a surface that has physically lost material.
3. 3M Ultra Headlight Restoration Kit 39195: Best Full Abrasive System
3M Ultra Headlight Restoration Kit, Contains Masking Tape, Light Sanding Discs, Wax Protectant and More, Use on Plastic Lenses Headlights, Taillights and More, Easy Heavy-Duty Restoration (39195)
3.25 inch disc pad holder, 500 to 3000 grit discs, clear coat wipes
3.68 oz
Drill or hand use
Pros
- Full multi grit system from 500 grit up to 3000 grit
- Drill or hand application both supported
- Also works on taillights and fog lights
- 3M abrasives clear yellowing without damaging plastic
Cons
- Full sanding sequence takes far longer than wipe kits
- Drill control matters to avoid marking nearby paint
- Needs careful masking around the housing
This is the kit I would pick for a lens that is genuinely bad, because it is the only one in this roundup that starts the abrasion ladder at 500 grit. Everything else begins at 800 or 1000, and on a car old enough that the clear coat has properly failed, that 300-grit difference is the difference between removing oxidation in one pass and making four.
The package is complete in a way the cheaper kits are not: a 3.25 inch disc pad holder, six 500 grit gold sanding discs, four 800 grit white finishing discs, one 3000 grit Trizact refining disc, two quick headlight clear coat wipes, masking tape, and a wax protectant. The progression from coarse cut to refine is built in, which removes the most common beginner mistake of stopping too soon.
It ranks near the top of the whole category, and the reason is that 3M abrasives remove yellowing without eating into the plastic lens. That sounds obvious until you have watched a cheaper disc load up and gouge a soft, UV-degraded surface. On a lens with 20 years of sun behind it, gentleness matters as much as cutting power.
Owners on toyotaownersclub rate this kit as clearly better than the toothpaste approach and say it is worth the money, and a pro shop quoted on the Toyota 4Runner forum said they have good luck with 3M kits at work. That is a useful cross-check from people doing this many times a week.
Why the grit ladder suits an older lens
Oxidation on a young lens is a surface film and 1000 grit will shift it. On a car where the clear coat itself has chalked over, you are removing a degraded coating rather than a film, and coarse grit is the only thing that will shift it in reasonable time. The 500 grit discs handle the worst of it and the 3000 grit refining disc is what removes the sanding haze that makes people think the job failed.
Everything here works with a common household drill or entirely by hand. For a first-timer, hand application on the refining stages and a drill on the coarse cuts is a reasonable compromise.
The trade-off: time and drill control
The full sequence takes noticeably longer than any wipe kit in this roundup, and on a severely yellowed older car you should expect to spend real time on the coarse stages. Masking tape is included for a reason, and the reviews single out steady drill handling as the main skill needed to avoid marking nearby paint.
The disc pad holder is a real quality-of-life item at this size. Small pads on a large curved lens are the slow part of any job, and 3.25 inch discs cover more plastic per pass than the 3 inch foam pads used in the budget kit later in this list.
4. Meguiar’s Two Step Headlight Restoration Kit G2970: Best Drill-Free Polish
Meguiar’s Two Step Car Headlight Restoration Kit
Two step cleaner and coating system
12.7 fl oz
Hand application with abrasive pads
Pros
- No drill or power tool required
- Crystal clear finish from hand application
- Under an hour for both headlights
- Enough product for two to three vehicles
Cons
- Coating needs reapplying roughly yearly
- Spray technique is easy to get wrong
- Faint scratches can remain visible under bright light
The Meguiar’s system is the one to buy if the drill is simply not happening. Two steps, one cleaner and one coating, both applied by hand with the included abrasive pads, and the manufacturer states the coating protects against re-oxidation for up to 12 months. On a lens with haze rather than deep pitting, that is a genuinely good outcome.
The stated protection window is the honest headline here. Twelve months is not a marketing stretch, it is the number on the label, and owners report clarity that holds for a year before needing attention again. That predictability is worth more on an older car than a dramatic claim, because you can plan around it.
The process takes under an hour for both headlights and there is enough product for two to three vehicles, which makes it the most economical pick if you have more than one older car or a fleet of work vehicles. Support is responsive, and the brand has a long detailing heritage that shows in the instructions rather than the marketing.
Owner reports on durability are mixed rather than bad. On the jeepgarage forum, one owner compared two coatings over time and found both began to peel off in under two years, with the Rust-Oleum product lasting slightly longer than the Meguiar’s but neither being what was hoped. That matches the label, which promises a year rather than permanence.
Who should skip the drill entirely
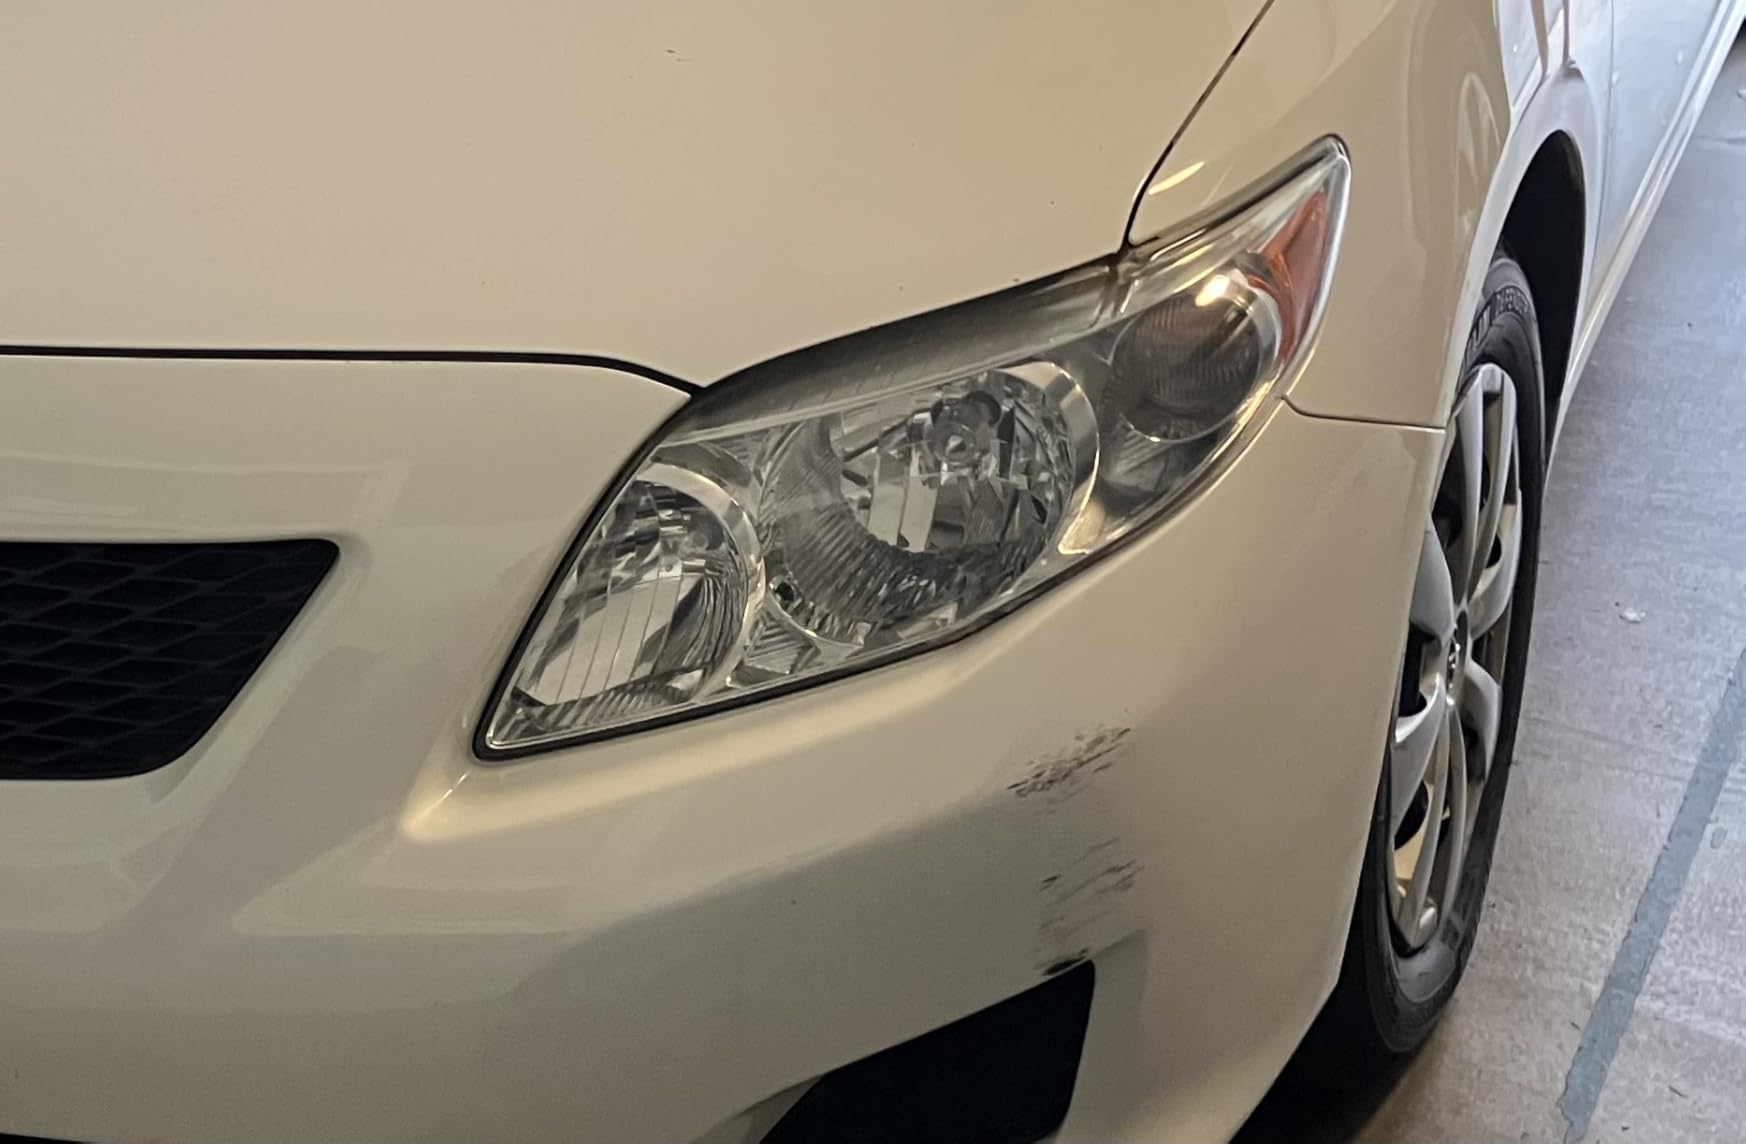
Anyone working on a lens that has never been sanded, or one that has moderate haze and no pitting. The pads do a good job on a surface that needs chemical work and abrasion together, and the whole job fits in a Saturday morning without a rotary tool, a drill, or a dedicated backing pad.
It also suits anyone restoring a car they intend to sell or keep only through one winter. A year of protection on a beater is a strong return for under an hour of work.
What the two-step system will not fix
Deep oxidation. Reviews are clear that severe yellowing may need repeated applications or a more aggressive power tool kit, and that a genuinely pitted lens needs wet sanding before this product has anything to bite into. The abrasive pads are doing a chemical-assisted job here, not a mechanical one.
The spray step is the most common source of disappointment. Too much or too little leaves a filmy look from the side, and coating can overspray onto surrounding paint where masking tape alone is not enough protection. On an older car with thin, tired paint next to the lens, that matters more than the packaging suggests.
5. Mothers NuLens Headlight Renewal Kit 07251: Best Single-Step Polish
Mothers NuLens Headlight Renewal Kit (07251)
PowerPlastic 4Lights polish with foam tool and discs
13.6 oz
Plastic lens compatible
Pros
- Single step that polishes and protects together
- Handles light to moderate oxidation in one pass
- Plenty of compound for multiple vehicles
- Users on 15 year old lenses report near new results
Cons
- Not enough 1500 and 3000 grit discs to finish two lenses
- No included final protective coating
- Back of box instructions are hard to follow
Mothers NuLens is the polish to reach for when you want one step rather than four, and the included PowerPlastic 4Lights compound is a genuinely good metal-style polish that does two jobs at once: it removes light to moderate oxidation and leaves an oxidation-inhibiting protective layer behind as it goes.
The package weighs 13.6 ounces, which tells you the compound volume is generous, and users working on heavily yellowed lenses more than 15 years old report results that look close to a new unit. Owners working within the multi-grit sequence with a rotary tool get the most out of it, and there is plenty of material for repeat treatments or a second vehicle.
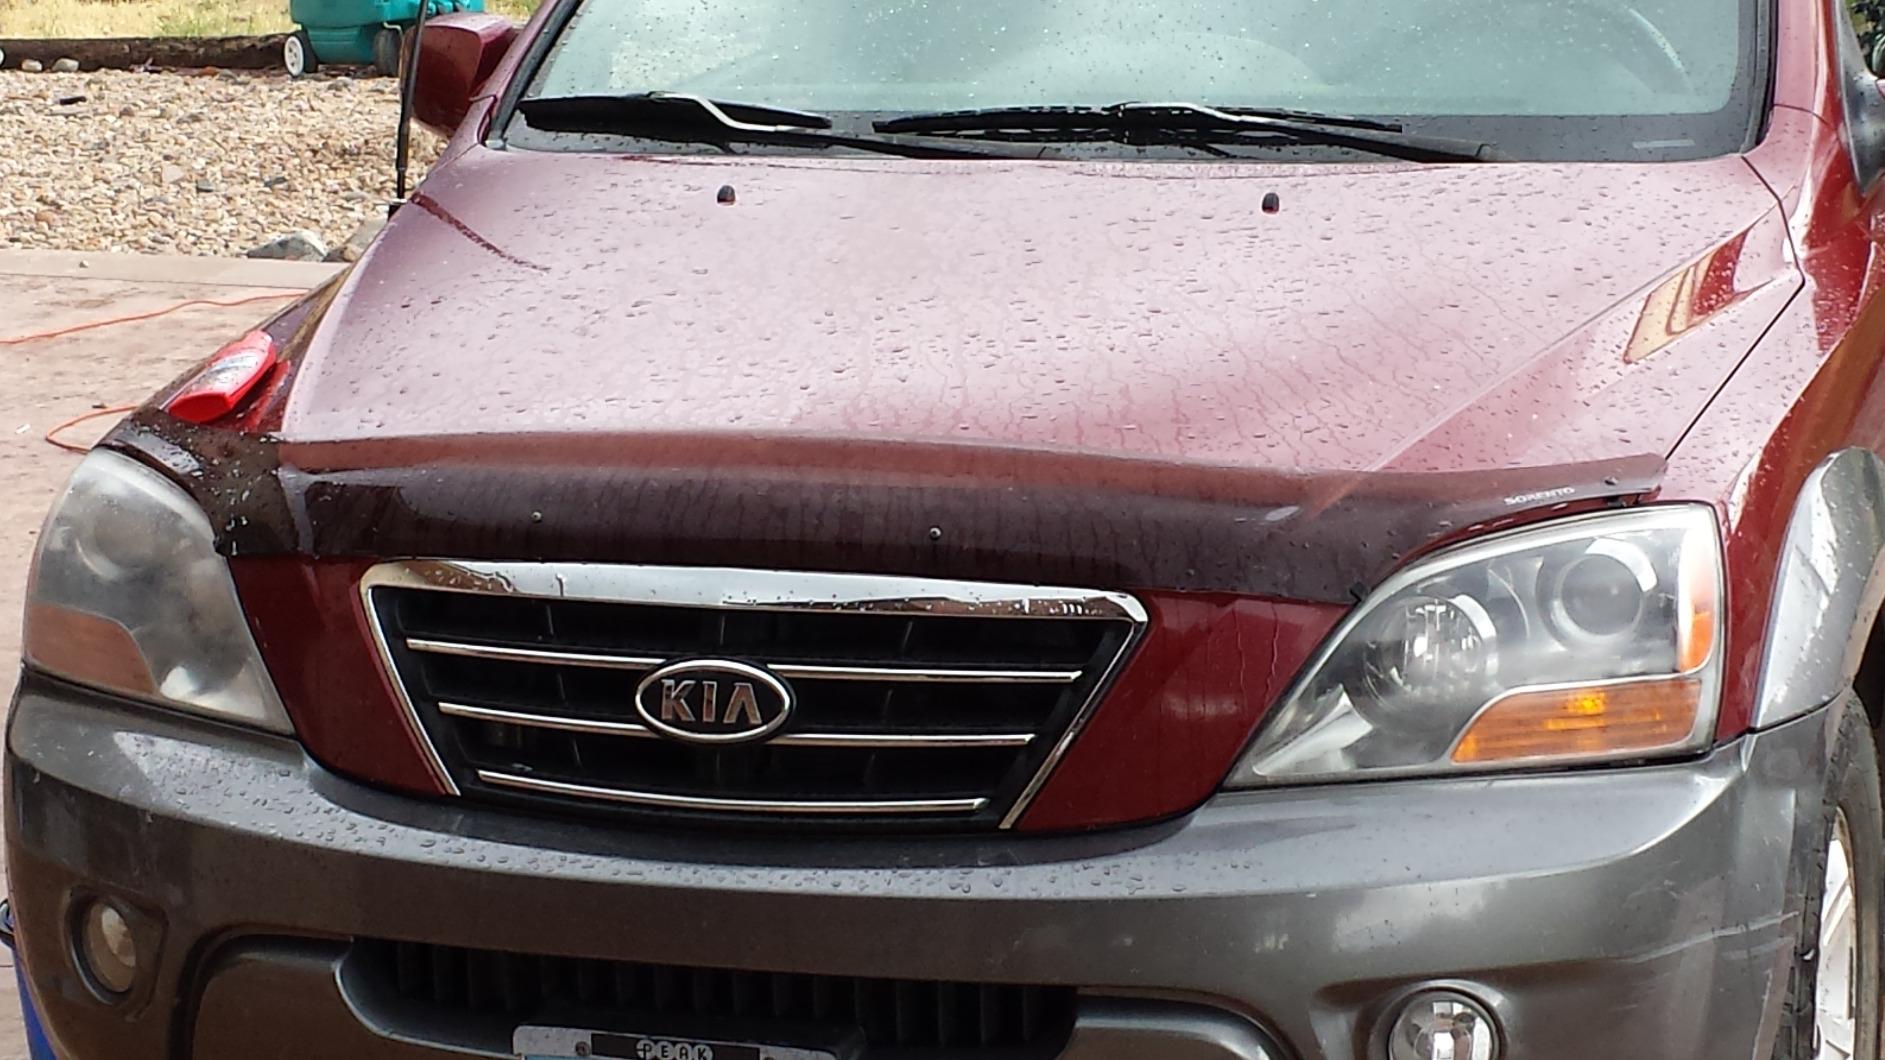
It is also the lowest rated of the multi-stage kits in this roundup, and the reason is specific rather than general. The most common complaints are about the box, not the chemistry: unclear instructions that lead people to work the steps out of order, and not enough 1500 and 3000 grit sanding discs to properly finish a pair of lenses.
That second point is the one to weigh. If you intend to go the full multi-grit route, this kit can leave you one refinement disc short on the second lens, which is exactly the situation that produces the milky finish owners complain about elsewhere on this page.
When one step is genuinely enough
On a lens that has been inside a garage, or on a car that spends its life parked, the single-step route genuinely restores clarity in a fraction of the time. The compound buffs out hairline scratches and smudges as well as oxidation, and the foam polishing tool included makes the whole thing a one-afternoon job rather than an evening.
It is a good maintenance product too. Once a lens has been properly corrected by a full kit, NuLens is a sensible way to keep it looking clean between major restorations, and there is enough in the bottle to make that a realistic routine.
The two complaints that decide it
First, there is no final protective coating in the box, so re-polishing is needed more often than with the kits that include a UV wipe. You are polishing, not sealing, and the protective layer is a bonus of the polish rather than a separate step you control.
Second, the drill handling is not for beginners. Reviewers warn that a rotary tool can sling compound onto body paint, and there are reports of the sanding disc binder melting onto the lens surface or transferring to paint. On a car old enough to need this kit, that is a bad trade. Heavy oxidation can also run two to three hours per pair, which is a long time to be holding a rotary tool over a lens that is already fragile.
6. Chemical Guys Headlight Restore and Protect: Best Value Single-Step
Chemical Guys, Headlight Restore & Protect, Clears Cloudy Lenses, 16 oz
16 oz all in one restore and protect formula
2.5 x 2.5 x 8 in
Five minute hand application
Pros
- Cleans restores and protects in one product
- Five minute application by hand
- Large bottle covers many vehicles and repeat maintenance
- Works on headlights taillights fog lights and signals
Cons
- Very pitted lenses need wet sanding first
- Results can fade after a car wash
- Hand work takes real time on badly discoloured lenses
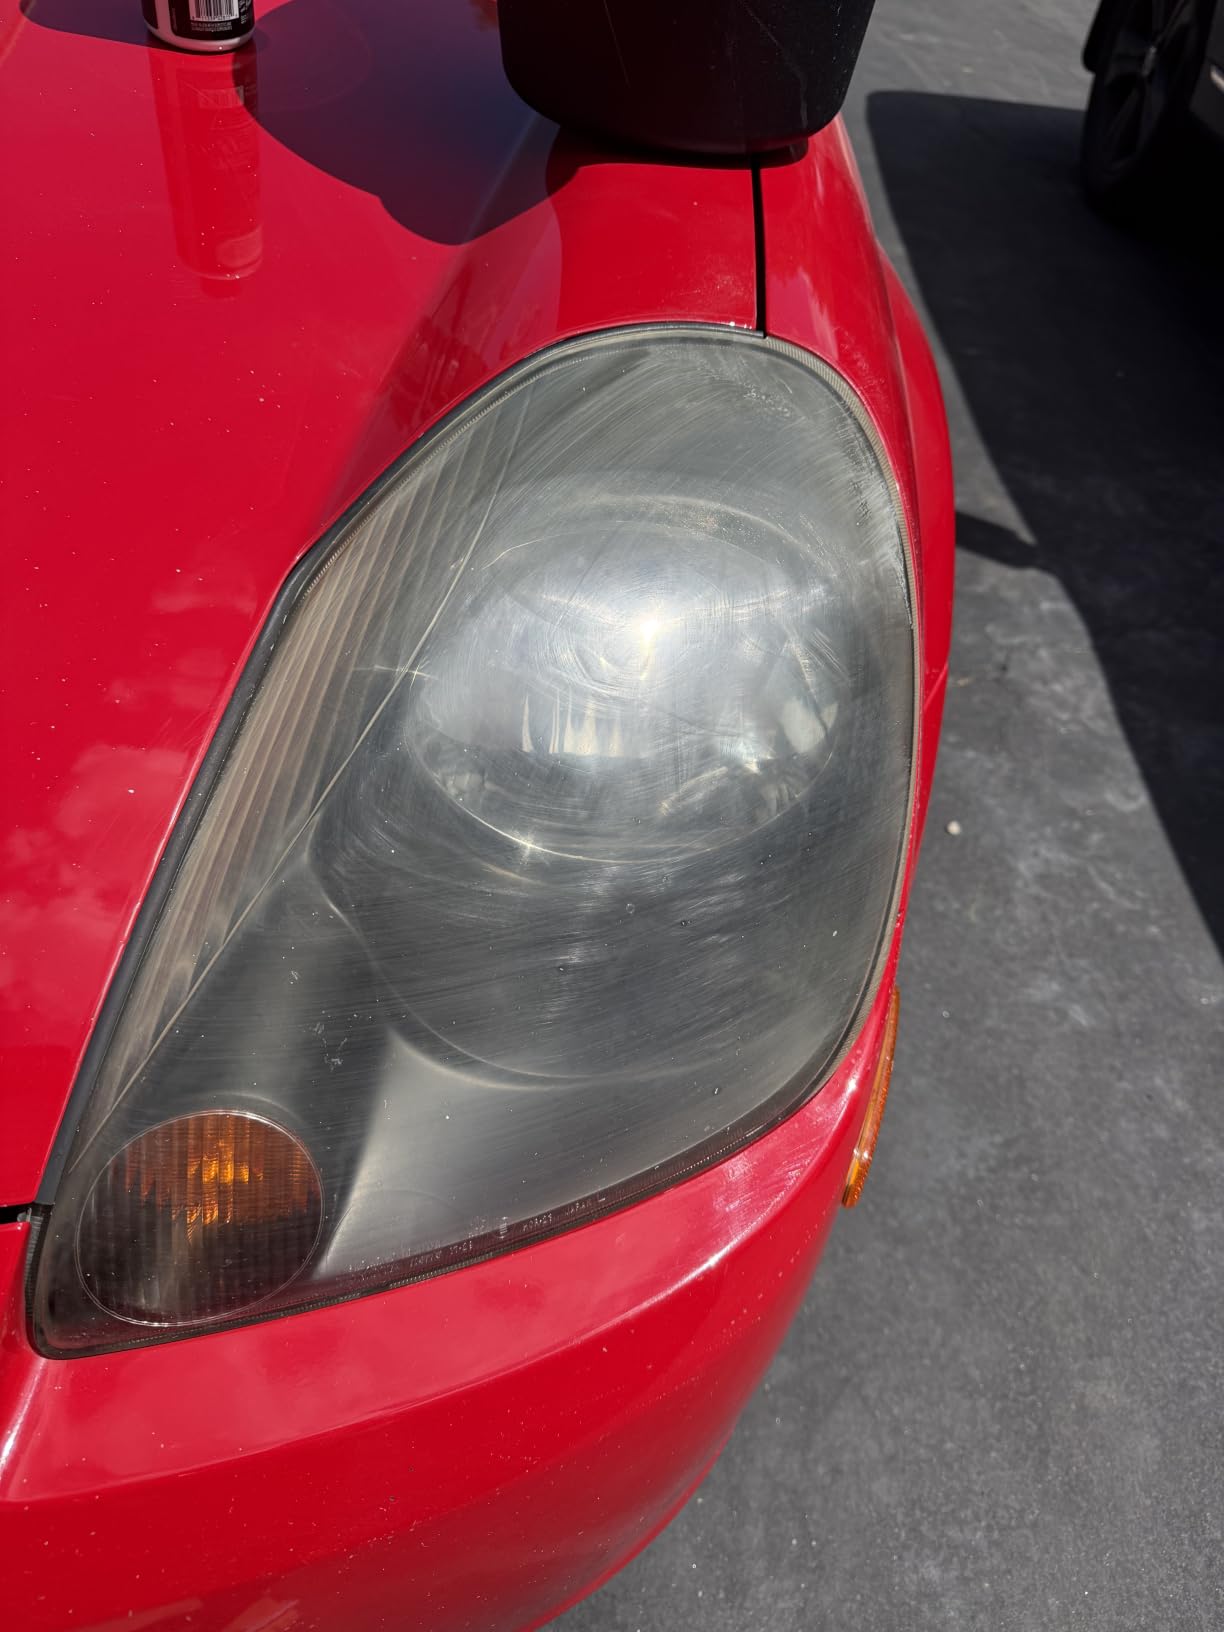
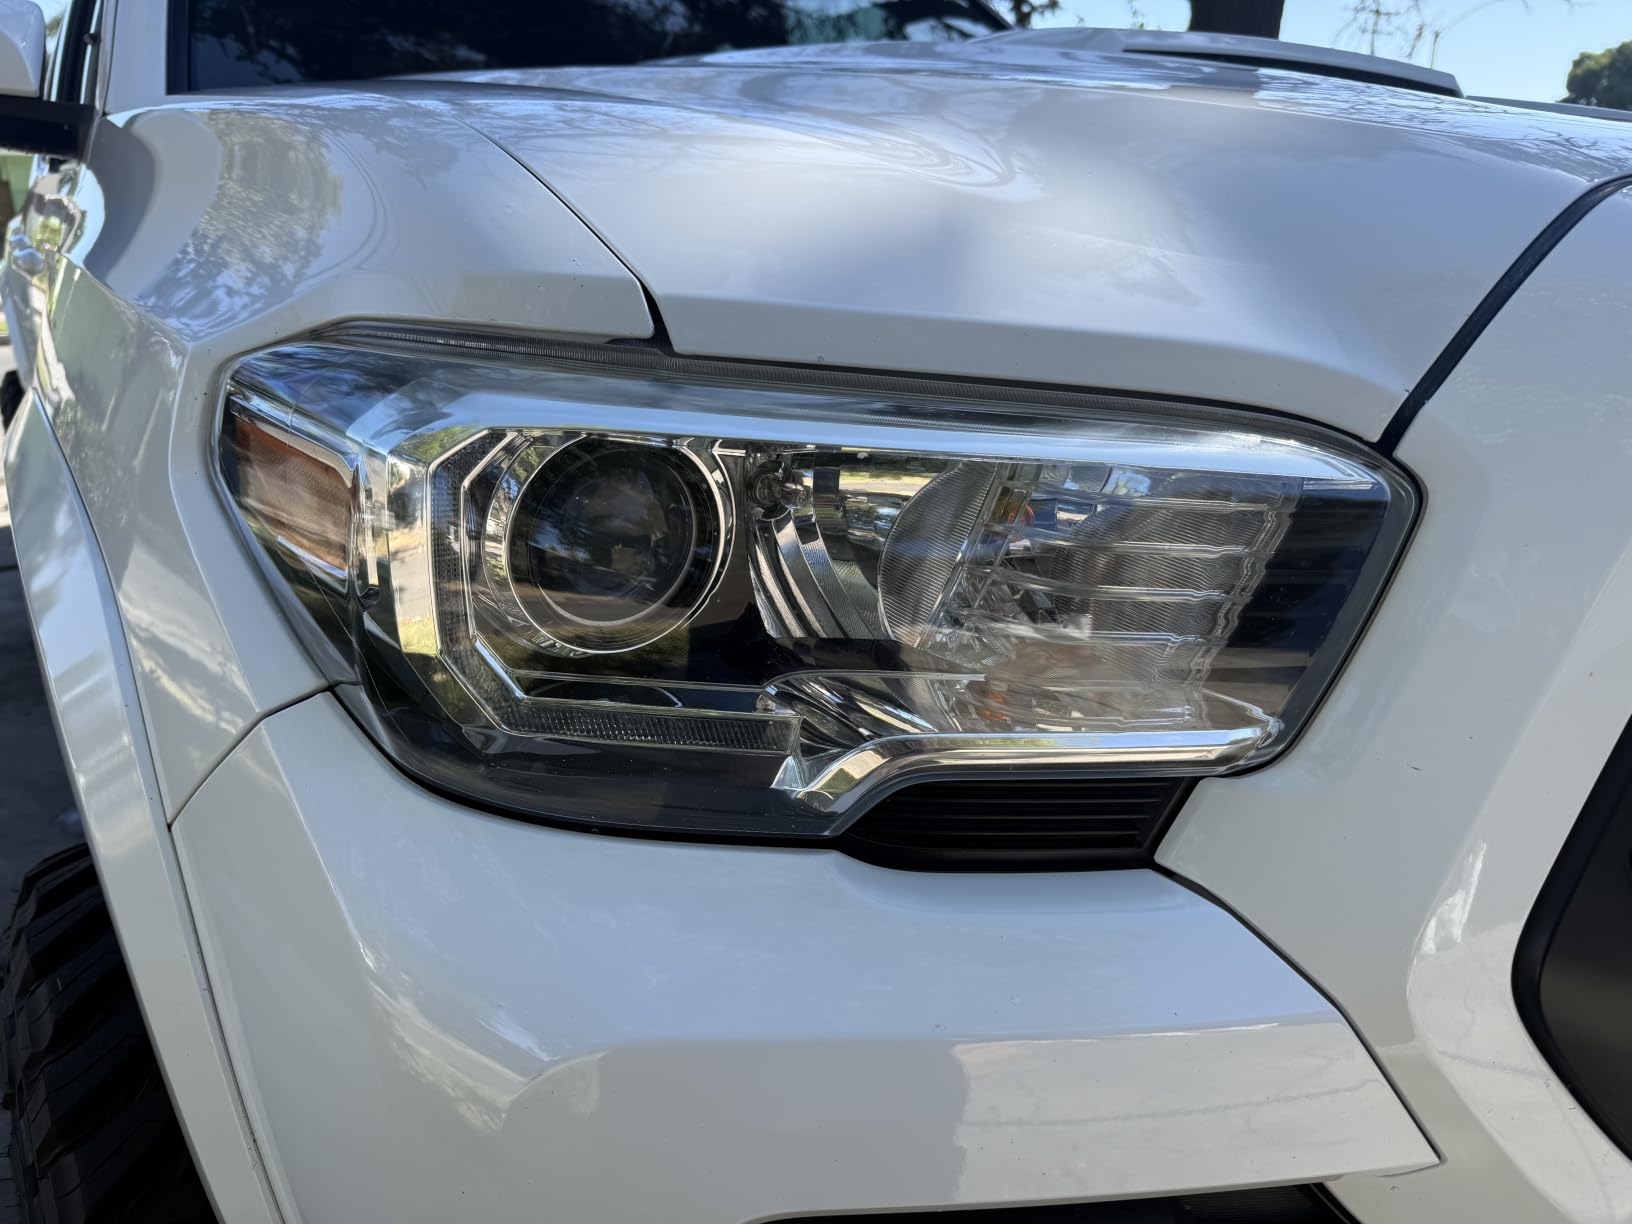
This is the fastest route back to presentable headlights that exists in this roundup, and for many older cars it is the only realistic one. Chemical Guys packs cleaning, restoration, and protection into a single 16 ounce formula you apply by hand with a microfiber cloth in about five minutes.
There is no separate coating step, which is both its strength and its limit. On a lens that is dull and lightly yellowed, the result is genuinely good, and the bottle volume is large enough to cover a lot of vehicles or several maintenance cycles. You can also apply it with a foam or microfiber applicator on a machine if you prefer.
It is safe across the whole lighting family, working on headlights, taillights, fog lights, and turn signals, on factory or aftermarket lenses alike. On a car with three or four sets of lamps, that breadth is worth paying for.
The honest weakness is that a chemical product has nothing to work with when the surface itself is damaged. If the oxidation has bitten into the clear coat rather than sitting on it, the answer is an abrasive stage, and this is not one.
When a five minute hand job is the right call
Light haze, a lens that has gone slightly dull, or a car that is due for its seasonal clean. For that range of problems this product is hard to argue with, because five minutes per lens is a commitment almost anyone will keep and the result is visible immediately.
It is also the sensible maintenance product for a lens you have already restored with an abrasive kit. Once the hard work is done, keeping the surface clean is what stops the yellowing from accelerating again, and one bottle will handle that for a long time.
When it is not enough
Very severe or heavily pitted lenses need wet sanding before the polish will have any effect at all. Reviews are blunt about this, and about the fact that results can diminish after a car wash, so the protection is not a permanent thing on this kind of product.
Hand application on a badly discoloured lens also takes considerably more time and pressure than five minutes, and it works less effectively on lenses carrying heavy abrasion marks or deep scratches. On a 20-year-old car in that condition, buy a kit with abrasives instead of fighting the chemistry.
7. Clear Lights Tech 3-Wipe Headlight Restoration Kit: Best for Light Haze
Clear Lights Tech, Headlight Restoration Kit – Headlight Cleaner 3-Wipe System, Helps Remove Yellowing & Oxidation, Helps Improve Headlight Visibility, Long-Lasting UV Protection.
Two cleaning wipes plus one UV coating wipe
1.45 oz
Compact hand application
Pros
- No tools needed at any point
- Lightweight compact package stores easily
- Removes light haze yellowing and grime
- Cleans and protects in a single sitting
Cons
- Lowest average rating of the eight kits
- No abrasive stage for deeper oxidation
- Best suited to light haze only
The three-wipe system is the shortest possible version of this job: two cleaning wipes and one UV-resistant protective coating wipe, done entirely by hand, in a single sitting. For a lens that is merely hazy rather than properly yellowed, that is a fair trade and the package takes up almost no space in a drawer.
It weighs 1.45 ounces and measures 4 by 1 by 7 inches. That is not a criticism so much as a description of what it is, a refresh product rather than a correction product, aimed at lenses that have dulled and picked up grime rather than lenses whose clear coat has failed.
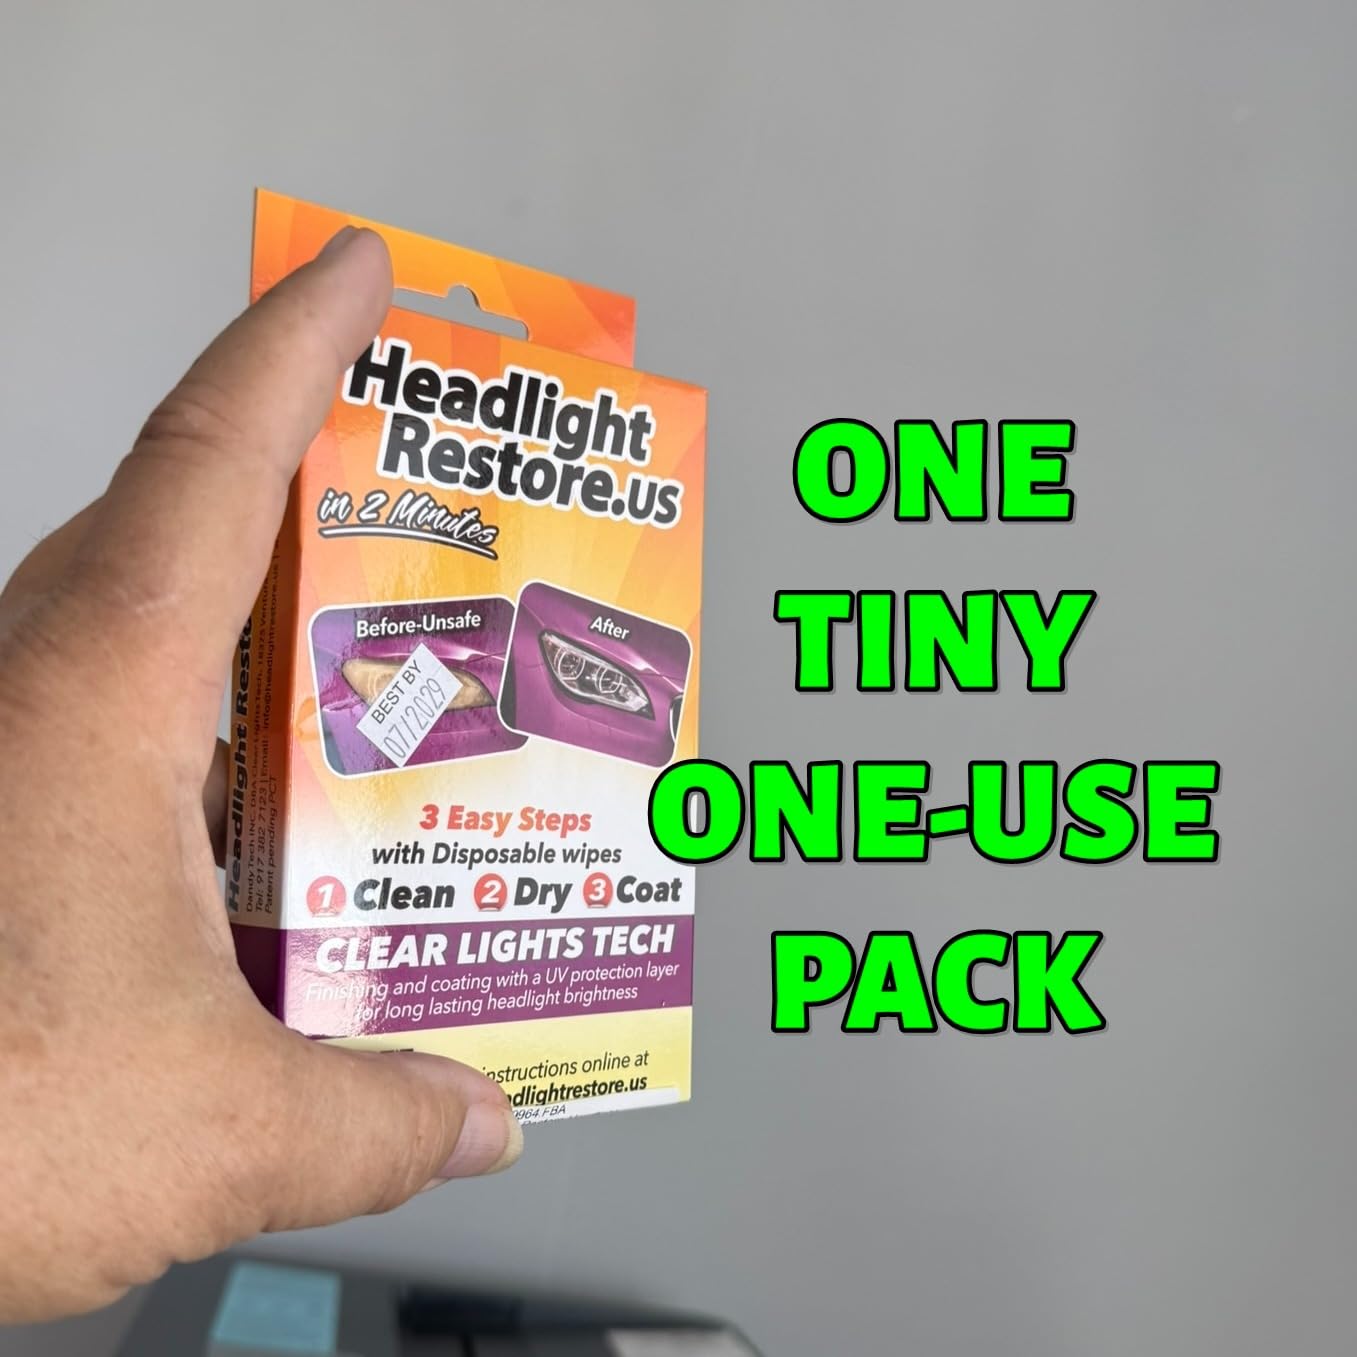
It carries the lowest average rating of the eight kits, at 4 out of 5 with a 10 percent one-star share. That rating spread is the honest signal here. The people who like it like it a lot, and the people who bought it for a properly yellowed older lens were disappointed, which is a predictable split.
On an older car this is where the difference between a refresh and a restoration shows up most clearly. The wipe system has no abrasive stage, so it cannot reach the deeper oxidation that a car with 20 years of sun has.
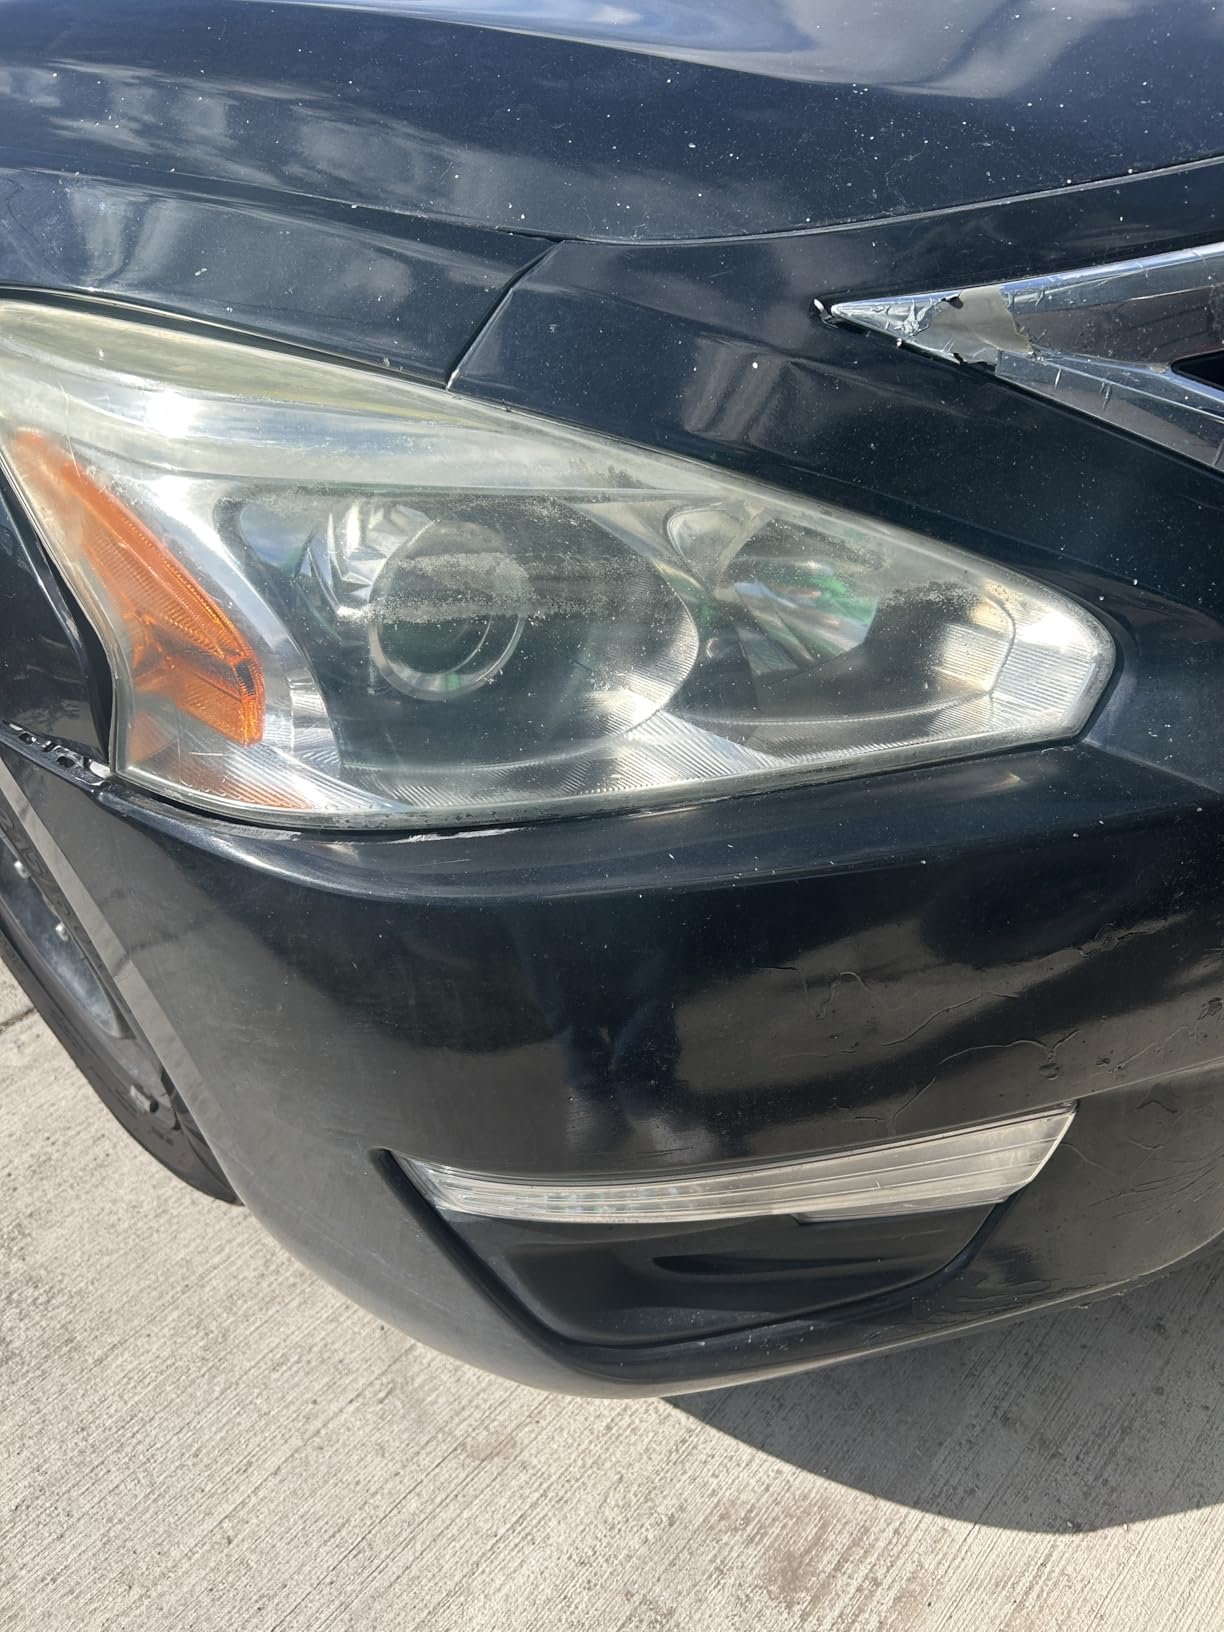
Is a three-wipe kit realistic for an older car?
Only if your lenses are on the mild end of the scale, and the way to tell is the touch test. Run a clean finger across a dark surface with the lens cold and still. A faint greasiness is haze and grime, which this handles well. A genuinely rough, chalky, or pitted feel means the surface itself has degraded, and no wipe will fix that.
If the touch test is positive for haze, this kit is quick, cheap in effort, and improves the look of the car noticeably in under half an hour. If it fails, you will know before you have spent the kit.
What you give up
Abrasive capability, and with it the ability to touch anything more than surface clouding. There is no compound, no discs, and no rotary step, so scratches, oxidation in the clear coat, and pitting are all outside what this product can reach.
It is worth pairing with something else rather than buying alone. Treat it as the maintenance layer that keeps a properly restored lens clean, and pick a full kit for the correction work. As a standalone answer to a badly yellowed older lens, it will underdeliver, and the reviews make that clear.
8. 3M Auto Restore and Protect Kit 39194: Best Budget Multi-Step
3M Auto Restore and Protect Headlight Restoration Kit, Use On Plastic Lenses, Headlights, Taillight, Fog Lights and More, Includes Sanding Discs, Headlight Clear Coat Wipes, Foam Pad and Glove (39194)
1000 and 3000 grit discs, clear coat wipes, foam pad, glove
2.47 oz
Drill or hand application
Pros
- Lowest cost of the eight kits
- Includes sanding discs clear coat wipes and a foam pad
- 3M abrasives clear yellowing without damaging plastic
- Works on taillights fog lights and signals
Cons
- Only two discs so less aggressive than the full 3M kit
- Less abrasive capacity for severe oxidation
- Masking and steady drill handling still required
This is the compact sibling of the 3M Ultra kit, and it makes a persuasive case for itself on a car where the lenses are bad but not catastrophic. You get 1000 and 3000 grit Trizact refining discs, two quick headlight clear coat wipes, a 3 inch foam pad with a Hookit attachment, and a disposable glove, all for the least money in this roundup.
The refinement-only grit range is the defining limitation. Starting at 1000 rather than 500 means this kit is built for lenses that need the haze removed and the finish refined, not for lenses whose clear coat has chalked into something closer to stone.
It works by hand or on a common household drill, which keeps it accessible, and the package is small enough to store easily.
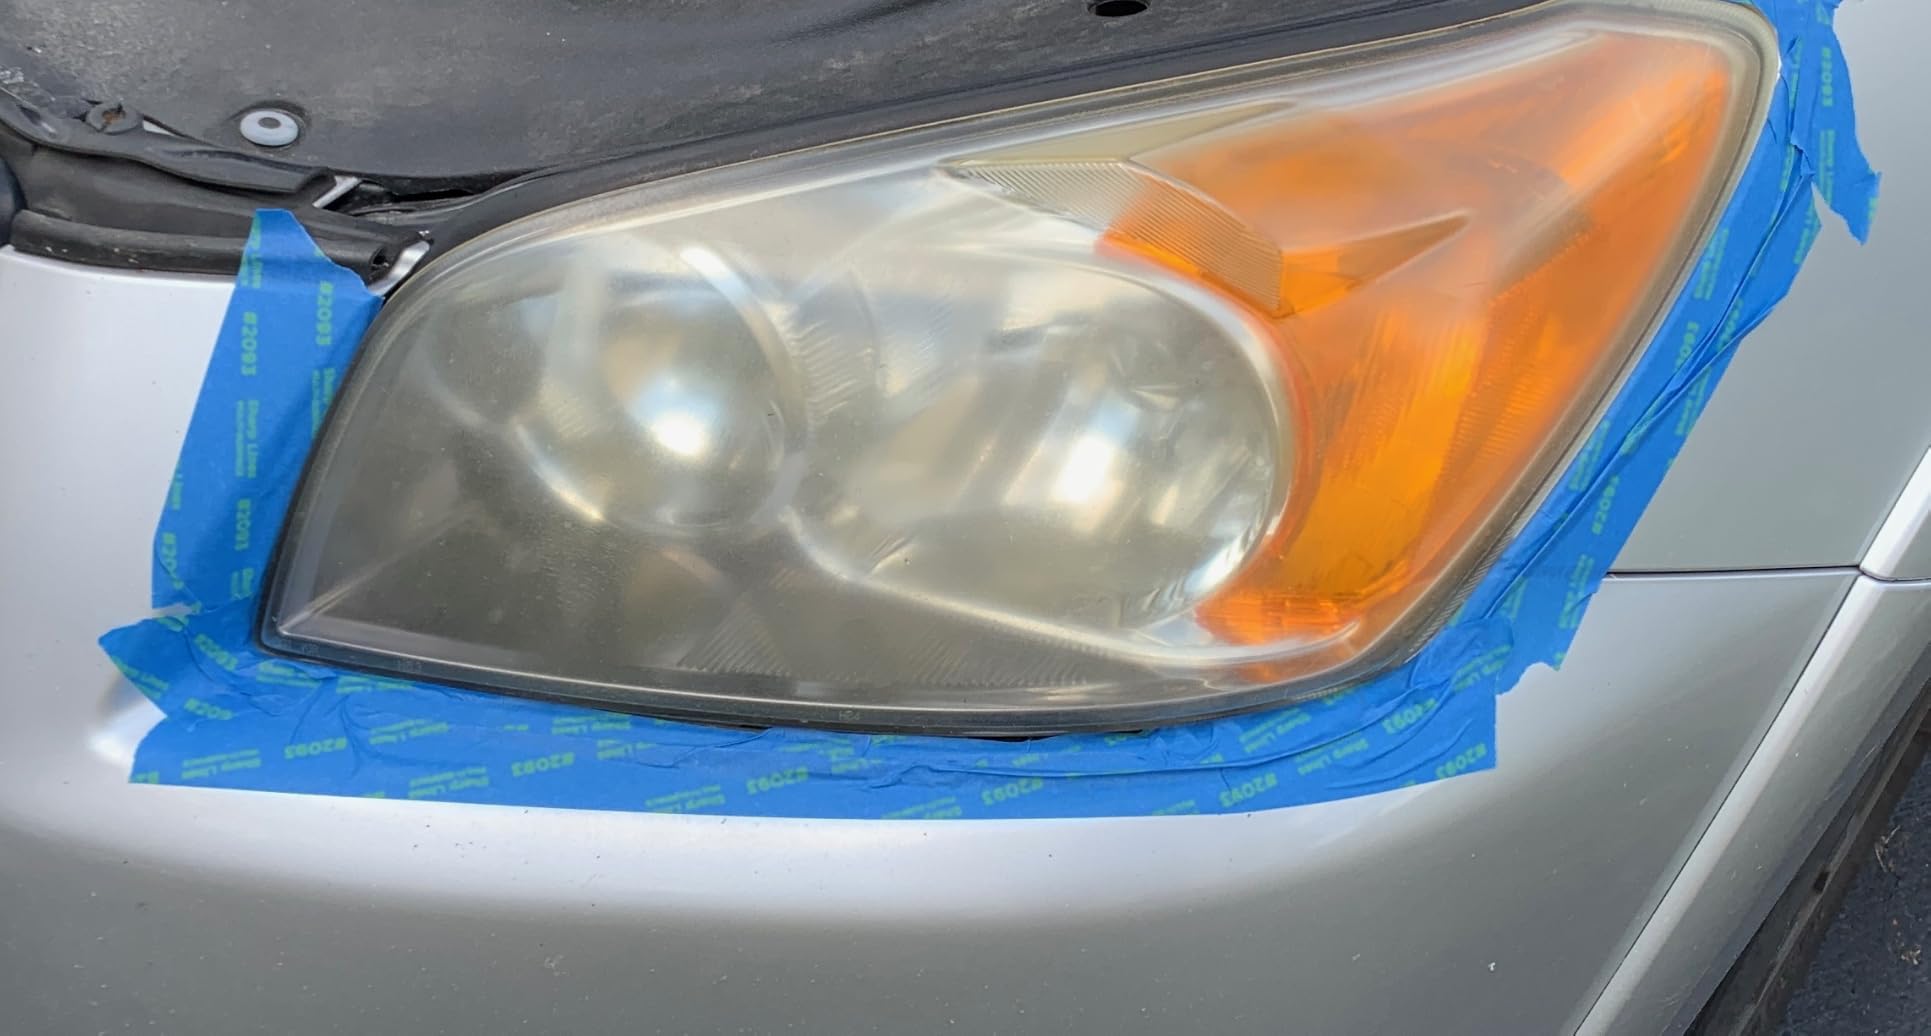
It still ranks high in the category and holds a 4.5 average across nearly 8,000 ratings, with a rating distribution where 74 percent are five star. That is a strong showing for the entry-level pack in a category where buyers tend to learn the hard way.
The manufacturer also lists the same plastics compatibility as the larger kit, working on headlights, taillights, fog lights, and directional lights, and makes the same claim for the abrasives, that they remove yellowing and buildup without damaging the plastic lens surface.
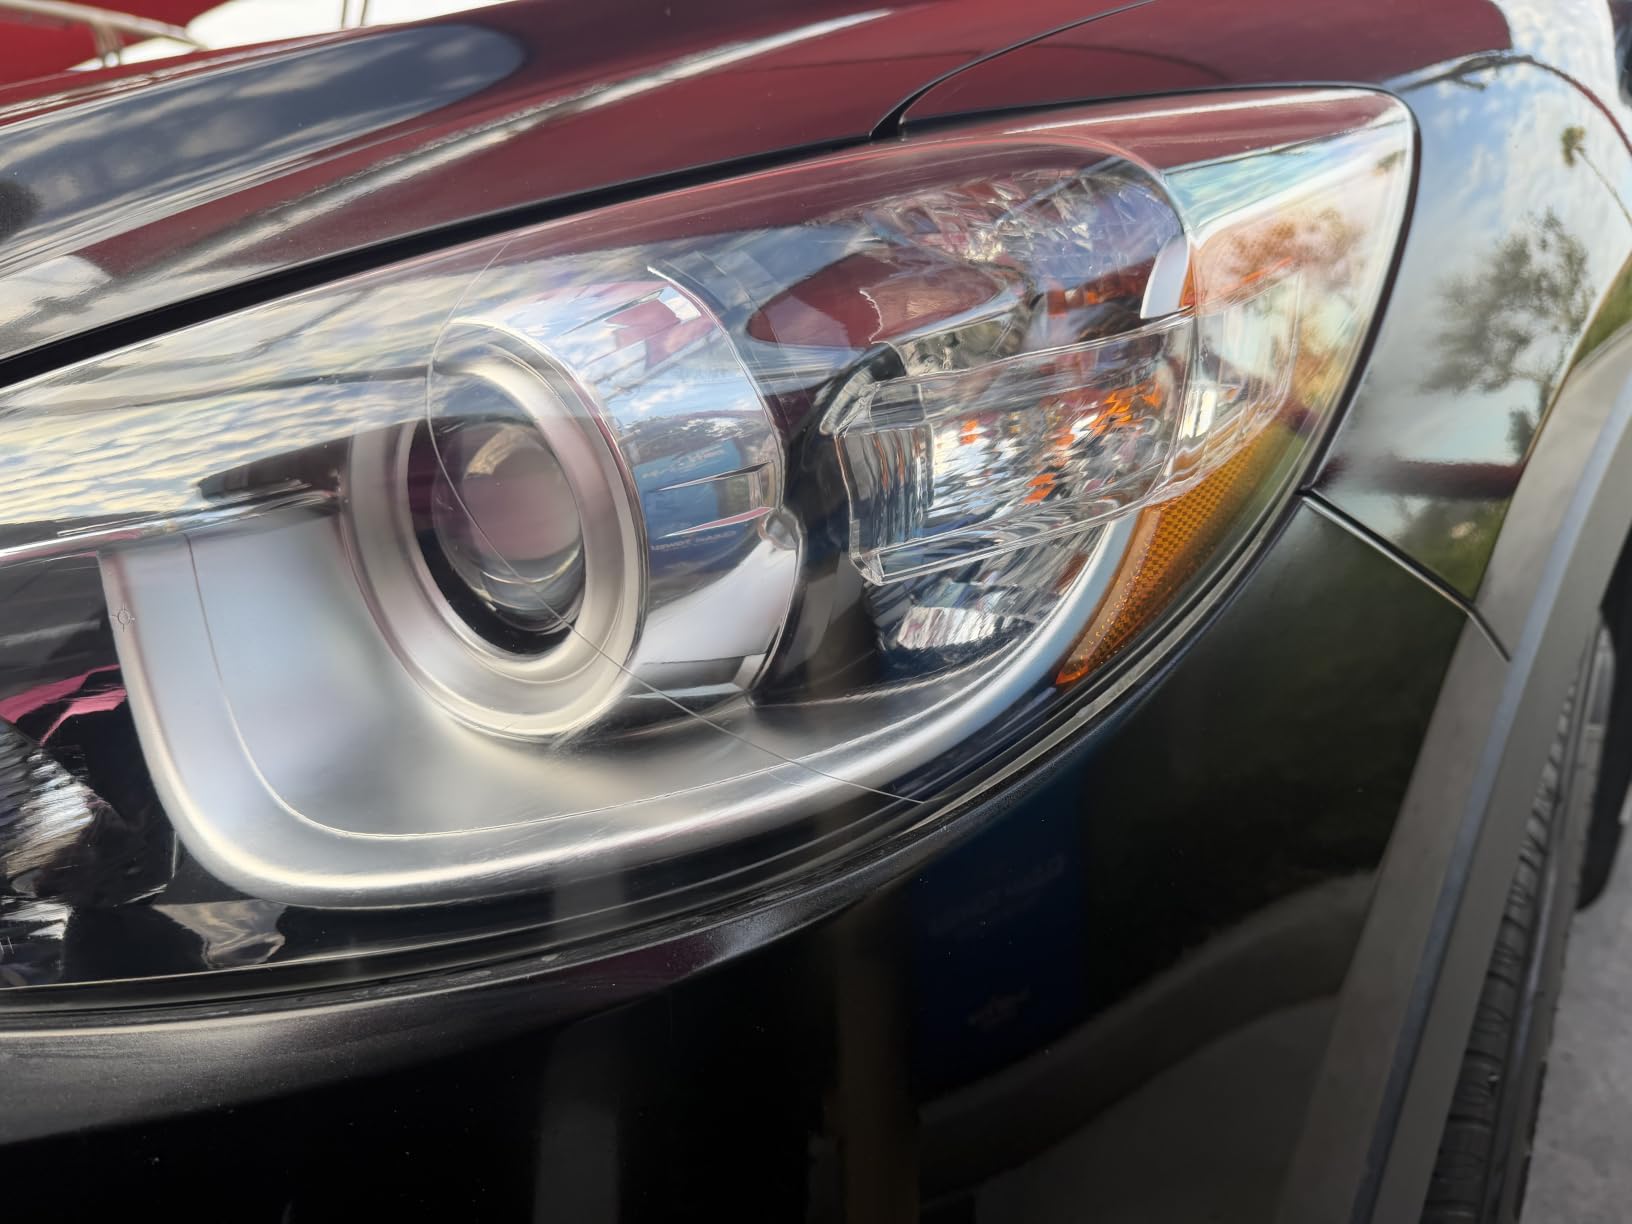
What this compact kit actually covers
Two lenses on one car, comfortably. The 1000 grit disc handles the initial cut on moderate oxidation and the 3000 grit refining disc removes the sanding haze, which is the step that decides whether the finish looks like glass or milk. The foam pad gives you a stable handheld surface to work with.
The disposable glove is a small touch that says something about the job, since the sanding slurry is genuinely abrasive and you will be touching residue with your hands throughout. Using it is not optional.
Where the smaller disc count bites
Two discs is not many. If the lens is worse than you assumed, you can be through both before the job is done, and buying a second pack mid-project is the least pleasant version of this task. Check the touch test first.
Masking and steady drill handling are still needed, the same as the bigger 3M pack. The reviews make the point that handling care matters more here than the price suggests, because a marked bumper on a car old enough to need a restoration kit is an expensive mistake.
Our advice is to buy this one if the lenses are moderate and the budget is tight, and step up to the 500-grit version if you can see real pitting or a chalky, uneven surface. The price gap between the two is small compared with the cost of doing the cheaper kit twice.
How Long Does Headlight Restoration Actually Last?
Expect 6 to 12 months from most all-in-one kits and 18 to 36 months with a quality ceramic or urethane seal. On a car 15 to 20 years old the underlying polycarbonate is already UV-degraded, so your results sit at the short end of those ranges rather than the middle.
This is the question forum owners ask most and no competitor page answers with numbers, so here is what owner reports actually show. Across independent threads, the recurring expectation is 6 months to a year for most kits, with bare plastic beginning to oxidize again in roughly that window. Bare plastic, in other words, does not last at all, which is why a sealant is not optional.
Ceramic systems extend the window but do not remove the ceiling. The clearest long-term reports on clubfrontier describe ceramic coatings starting to fade at the top of the lens around the two-year mark, where the top takes the most direct sun. On jeepgarage, owners comparing two aftermarket coatings found both peeling off in under two years, with one lasting only slightly longer than the other. Nobody in the reports we found has a 20-year result, and anyone claiming one is selling something.
Work out your own expected duration by seal chemistry, not by brand name:
- Wax protectant only – weeks to a couple of months. It is a shine product, not a UV product.
- Standard wipe-on UV clear coat – 3 to 6 months. This is the most common kit finish and the most common disappointment.
- Premium UV block clear coat, single application – 6 to 12 months, and closer to the 6 month end on a badly degraded lens.
- Ceramic sealant – 18 to 36 months, fading first where the lens gets the most direct sun.
- 2K two-part urethane clear – 2 to 3 years, the best DIY-available chemistry, but it needs spray equipment and proper prep.
- Headlight wrap or PPF – around 5 years, and it works by blocking UV rather than fighting the oxidation, which is why owners treat it as the only genuinely long-term option.
The pattern to notice is that thickness matters as much as chemistry. Several owners applied a heavy coat in one pass and got a cracking appearance, and the fix is multiple thin coats. A rigid film on a material that expands and contracts with temperature will spider-web long before it wears through.
How to Restore Foggy Headlights: A Step-by-Step Older-Car Guide
Before anything else, run the touch test. With the lens cold, wipe a clean finger across the dark plastic. Greasy and hazy means external contamination, which is the best case. Chalky, rough, or pitted means the surface has degraded and needs abrasion. If the fogging is inside the housing, no kit will fix it.
That internal case is the one owners most often waste a kit on. Failed lens seals let moisture in, and no amount of surface polishing touches it. Check whether the haze is uniform and whether it clears and returns with temperature change before you buy anything.
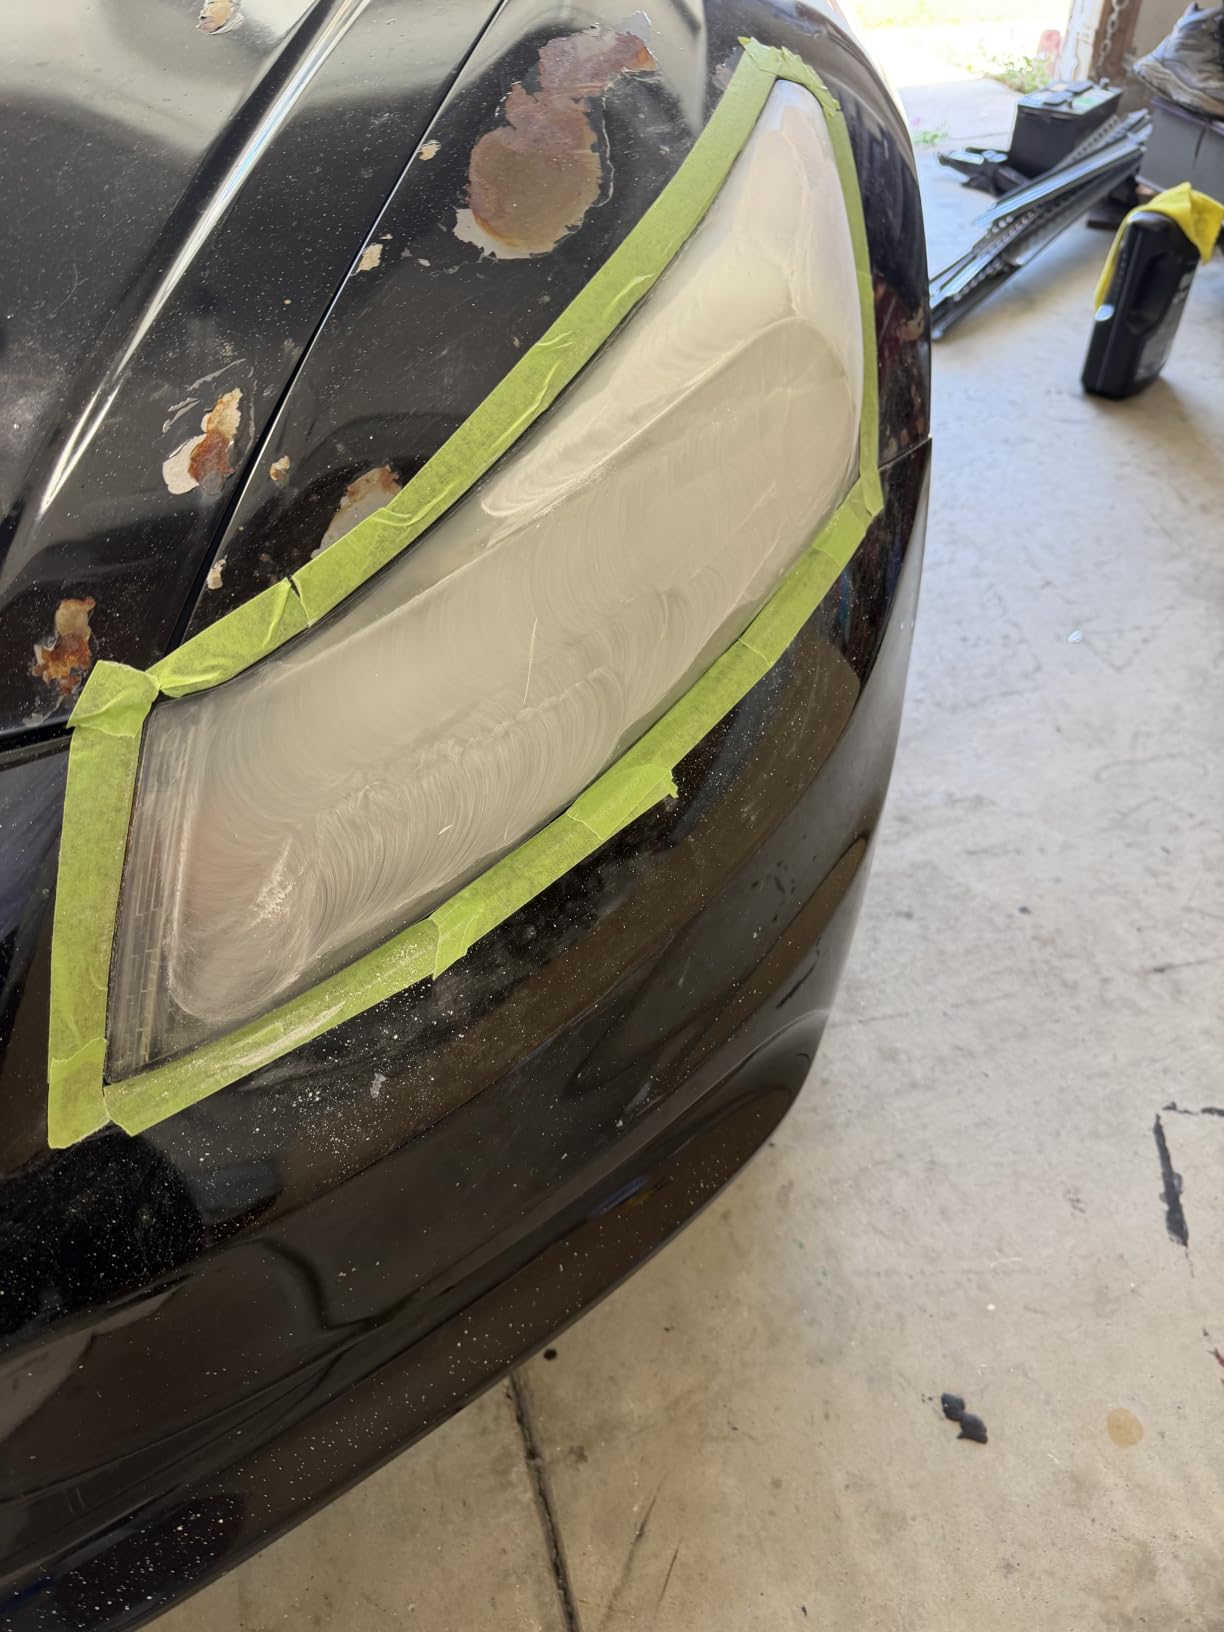
Step 1: Wash and degrease. Clean the lens thoroughly before touching it with abrasive. Road film and wax left on the surface turn into grinding compound under a sanding disc.
Step 2: Mask everything but the lens. Paint, chrome trim, rubber seals, and the painted area immediately around the housing all need tape. On a 20-year-old car the paint is thin and easily marked, and overspray onto a bumper is a costly mistake.
Step 3: Wet sand with a constant water supply. Start at the coarsest grit your lens needs, usually 500 or 800 for severe yellowing, and keep the surface lubricated throughout. Dry sanding on polycarbonate generates heat, and heat plus a degraded lens is how lenses crack. Work to a consistent matte finish rather than chasing a perfect surface.
Step 4: Refine and polish. Move up through the progression, ending at 3000 grit, then work a compound to remove the sanding haze. This is the step most often skipped and the reason lenses come out looking milky. Owner after owner describes stopping too early and ending up with a general even haze across the whole lens.
Step 5: Seal. Apply the UV or ceramic coating in thin coats, allowing cure time before the lens sees water or night driving. A thicker coat is not a better coat, it is a coat that will crack.
Budget more time than you think. The standard DIY guide says 30 to 45 minutes per lens, and on a car with 15 to 25 years of UV damage behind the lens, expect two or three passes and a much longer afternoon. Our own realistic figure for a pair of genuinely bad headlights with a full multi-grit kit is closer to half a day.
When Restoration Is Not Worth It on an Older Car
Restoration wins when the lens is structurally fine, the coating has degraded, and a replacement assembly costs several hundred dollars. It loses when the plastic itself is finished, or when the housing has a crack or a failed seal.
Headlight assemblies are commonly quoted in the low hundreds of dollars and, depending on the vehicle, well into four figures, which is the number that makes restoration arithmetic compelling on an older car. One forum owner put the counter-argument plainly: they are made to be replaced, and trying to polish plastic back clear is a futile effort, but it can make them serviceable for an extra year or two. That is the honest way to think about it, as a serviceability decision rather than a permanent fix.
Walk away from a kit if any of these are true:
- Pitting you can catch a fingernail in. That is material loss, and polishing will never put it back.
- The haze is inside the housing. A failed seal is a replacement trigger, not a restoration trigger.
- The lens is cracked, crazed, or spider-webbed. Sanding a crazed lens makes it worse.
- You need the car back on the road tonight. A proper job is a half-day and the coating needs cure time.
One more consideration specific to older cars: aftermarket replacement lenses are often a far better economic decision on a low-value vehicle. Multiple owners conclude that fitting aftermarket lenses and getting four or five years out of them beats restoring original assemblies that will need attention again in a year. The forum consensus on PPF versus ceramic versus clear coat is blunt, that nothing consumer-grade is permanent, and that PPF is the closest thing to a real answer.
Buying Guide: How to Choose a Headlight Restoration Kit
Start with the state of the plastic, not the brand. Run the touch test, and let it pick the kit type for you, because every mistake in this category comes from pairing the wrong method with the wrong damage.
Light haze, no pitting: a hand polish or a two-step no-drill kit. The Meguiar’s Two Step and the Chemical Guys all-in-one both live here, and both deliver in a fraction of the time a full kit needs. The Chemical Guys is the fastest route to a presentable car in an afternoon.
Moderate yellowing: a multi-grit system with a drill option. The 3M 39194 and the Sylvania kit both suit this range, with enough consumables to do a second lens or a second car.
Severe yellowing on an older car: a kit that starts coarse. The 3M Ultra with its 500 grit discs is the pick here, and the Cerakote system is the alternative if you refuse to use power tools.
Hand only, no drill at all: the Cerakote wipe system or the Meguiar’s two-step. Both are designed for it, and both work better than a kit that expects a rotary tool you do not own.
On seal chemistry, the ordering that matters is short: wax protectant is not UV protection and should not be counted. A standard wipe-on clear coat is a 3 to 6 month product. A dedicated ceramic sealant is the best trade-off between longevity and DIY application. A 2K two-part urethane clear lasts longest but needs proper spray equipment. And if you want a genuinely different answer rather than a better version of the same one, a headlight wrap blocks UV rather than fighting the oxidation, and outlasts anything you can paint on.
The downside of ceramic is prep discipline and cure time. It needs a fully decontaminated, oil-free lens and several hours before it is water-safe, and a chemical-only ceramic system cannot remove pitting or deep UV degradation the way wet sanding can. Buyers expecting it to do both jobs are the ones who end up disappointed.
Finally, count how many lenses you are going to service. Owners with two cars or a fleet treat kit consumable allowance as a real buying factor, and on older cars there is rarely just the one car. A kit that covers two lenses and a bonus set is worth more than a marginal improvement in coating chemistry.
Myths and Home Remedies That Do Not Work
Toothpaste, baking soda, WD-40, and Scratch-X all produce a short-lived cosmetic improvement lasting days to weeks. None of them remove oxidation, and none of them provide any UV protection whatsoever.
Toothpaste is the most widespread. It contains mild abrasives, so it will knock back light haze and make a lens look meaningfully clearer, which is why it keeps resurfacing as advice. What it leaves behind is a milky finish, and it does nothing to slow the oxidation that caused the problem.
WD-40 works in a different, temporary way. It fills microscopic scratches and evens out the light scatter, so the lens looks briefly clearer. It does not remove oxidation, offers no UV protection, and has to be removed before any real restoration or sealant will bond to the plastic.
Steel wool with acetone is the other popular shortcut, and the detailers who mention it are candid that it works and is entirely temporary. On an older car with real degradation, it is also the fastest way to scratch a lens you cannot replace cheaply.
None of these are dangerous so much as wasted, and each one leaves a surface that some abrasive kit will then have to cut through anyway.
Why Your Lenses Are Still Cloudy After Sanding
Four causes account for nearly every failed result, and all four are avoidable before you spend money.
You stopped at too coarse a grit. Owners commonly report finishing at 800 or 1500 because that is what they had, and ending with a milky or general even haze. The 3000 grit refinement step is not optional polish, it is the step that removes the sanding haze.
The compound was not fully worked. Even a good polish leaves a fine haze if you stop early or use too little on the pad. This is the most common cause and the easiest to fix, with a second application.
The haze is internal. Condensation from a failed lens seal looks exactly like oxidation from the outside and no kit touches it. Check whether the fogging changes with temperature before you start.
The lens is deeply pitted. Pitting is permanent micro-cavity damage, and once the surface has lost material, no amount of compounding makes it optically clear again. The correction-and-recoat technique, compounding before or between kit stages, gives a noticeably better result on lenses that are merely hazy, and nothing at all on a pitted one.
How to Care for Restored Headlights
The single biggest factor in how long your restoration lasts is what happens in the car wash afterwards. Automatic car washes with rotating brushes are the most common way a good result gets destroyed in a year.
Hand wash only, with a pH-neutral shampoo, and dry with a clean microfiber towel. Keep harsh degreasers and abrasive powders away from the lens, and keep wax and sealant off it too, since build-up around the edge of the lens is where coatings start to peel first.
Wax the surrounding trim and bumper if you want protection there, but treat the lens as a coated surface in its own right. If a car wash is your only option, touchless is dramatically better than brushes, and the difference shows up a year later in whether the top of the lens is hazing.
For anything else on the car, our guides to the best LED headlight bulbs for cars and the best emergency kits for cars cover the upgrades that pair with a clear lens.
Frequently Asked Questions
Do any headlight restoration kits really work?
Yes, but for a narrower reason than the marketing suggests. A kit works by sanding off the failed factory UV clear coat, compounding the polycarbonate back to optical clarity, and applying a fresh seal. The clarity gain is immediate and real, while durability runs 6 to 18 months with a standard coat and longer with a quality ceramic or urethane sealant.
How long do headlight restoration kits last?
Expect 6 to 12 months from most all-in-one kits and 18 to 36 months with a quality ceramic or urethane seal. On a 15 to 20 year old car the underlying polycarbonate is already UV-degraded, so results sit at the short end of that range. A standard wipe-on clear coat is closer to 3 to 6 months.
What is the difference between a Sylvania headlight restoration kit and a Cerakote headlight restoration kit?
Sylvania is a multi grit wet sanding system with a large consumables allowance and a standard UV block clear coat. Cerakote is a wipe based system whose main value is a chemical ceramic UV seal, which outlasts a standard clear coat but cannot fix deep pitting. Sylvania suits someone with a drill; Cerakote suits someone who will not use power tools.
Does WD-40 clean oxidized headlights?
No. It fills microscopic scratches and evens out light scatter, so the lens looks briefly clearer, but it does not remove oxidation, offers no UV protection, and must be removed before any real restoration or sealant will bond. The improvement lasts days to weeks.
Why are my headlights still cloudy after sanding?
Four causes. You stopped at too coarse a grit and skipped the 3000 grit refinement, so the sanding haze never came off. You did not fully work the compound. The fogging is internal condensation from a failed lens seal, which no kit can fix. Or the lens is deeply pitted and the plastic has physically lost material, which polishing cannot replace.
What is the best UV protectant for headlights?
Look for a true ceramic or elastomer coating rather than a wax or a generic UV sealant. Ceramic sealants and 2K two part urethane clear outlast standard wipe-on clear coats, and a headlight PPF wrap outlasts both because it blocks UV instead of fighting oxidation. Car wax does not qualify as UV protection for a lens.
Can ceramic coating last 20 years on headlights?
No. No consumer headlight coating has been shown to last 20 years. The honest ceiling is roughly 3 years for a quality ceramic seal, with owners reporting the top of the lens fading first at around the 2 year mark. A headlight wrap gets closer to 5 years, after which the lens usually needs replacing rather than re-restoring.
What is the downside of ceramic coating on headlights?
Prep discipline and cure time. A ceramic seal needs a fully decontaminated, oil-free lens and several hours before it is water-safe. Chemical only ceramic kits also cannot remove pitting or deep UV degradation the way wet sanding can, so a badly degraded lens still needs an abrasive stage first.
Conclusion: Which Kit for Which Older Car
For most older cars, the best headlight restoration kits for older cars question comes down to how bad the plastic is. The Cerakote Ceramic Headlight Restoration Kit is our top pick because a ceramic seal is the only thing in this roundup that meaningfully extends the window on a bad lens, and it needs no power tools to get there.
If your lenses are severely yellowed and you own a drill, the 3M Ultra kit is the better tool, because starting at 500 grit is the difference between one pass and four on a clear coat that has properly failed. If you will not use power tools, take the Meguiar’s Two Step and accept its stated 12 month protection window as the honest number.
And if the touch test comes back pitted or the fogging is inside the housing, skip all of them. On a low-value car, aftermarket replacement lenses are frequently the better decision, and treating restoration as a way to get another year or two of serviceable light is the right mental model. That is where we are in 2026, and it has not changed since we started tracking these kits.