
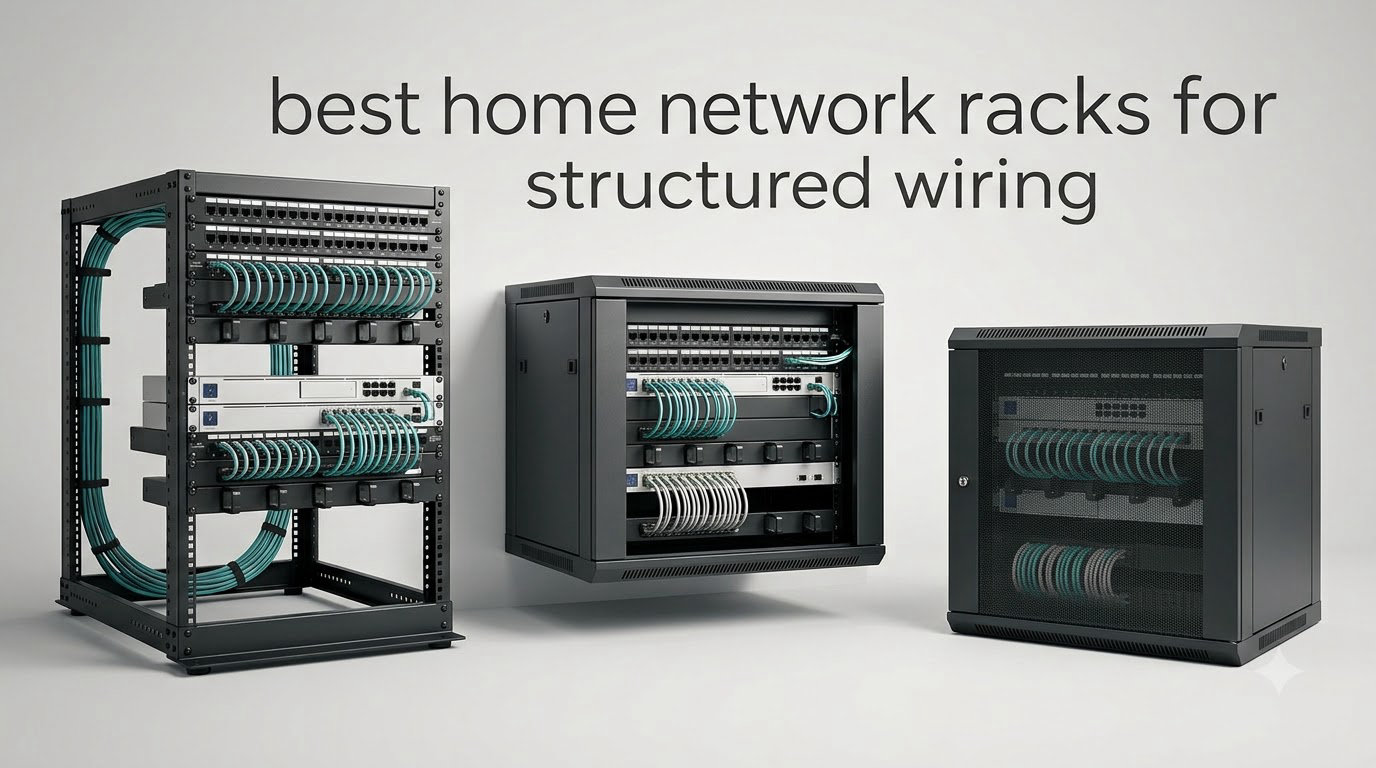
A home network rack is a 19-inch-wide steel frame or cabinet, open frame or enclosed, that consolidates your router, switches, patch panels, NAS and power gear into a single mountable, cable-managed unit instead of scattering them across shelves and furniture. For structured wiring it is the termination point where every in-wall Cat6 run ends up.
Most of the confusion in this category comes down to three numbers: rack units, usable depth, and load rating. Get those right and any of the eight racks below will fit your closet. Get them wrong and you will end up with a cabinet that is too shallow for the gear you already own, which is the single most common complaint we found while researching this roundup.
We spent six weeks comparing spec sheets, digging through buyer reviews and cross-checking forum threads on r/homelab, r/HomeNetworking and the Tom’s Hardware boards. Everything we recommend here conforms to the 19-inch EIA-310-E mounting standard, and every depth figure we quote is usable mounting depth or clearly marked as overall depth.
If your networking gear has outgrown a single shelf, or you are running in-wall Cat6 and need somewhere clean to land the patch panels, this roundup is for you. If you are still shopping for the switch itself, start with our network switch picks for home offices and size the rack around it.
Table of Contents
Top 3 Home Network Racks in 2026

StarTech WALLMOUNT6 6U
- 6U open frame
- 35cm (13.78 in) deep
- 44 lb capacity
- arrives fully assembled

Our top three cover the three genuinely different answers. The StarTech WALLMOUNT6 is the strongest all-round pick and carries the highest rating in the group. The ECHOGEAR 15U is the heavy-gauge open frame for anyone building a real home lab. The NavePoint 12U is the enclosed cabinet for closets where you want the gear locked and dust-free.
All 8 Home Network Racks at a Glance in 2026
| Product | Specifications | Action |
|---|---|---|
| StarTech WALLMOUNT6 6U Open Frame |
|
Check Latest Price |
| ECHOGEAR 15U Open Frame Rack |
|
Check Latest Price |
 NavePoint 12U Enclosed Cabinet NavePoint 12U Enclosed Cabinet |
|
Check Latest Price |
 Tecmojo 12U Open Frame AV Rack Tecmojo 12U Open Frame AV Rack |
|
Check Latest Price |
 StarTech 18U 2-Post Open Frame StarTech 18U 2-Post Open Frame |
|
Check Latest Price |
 Tecmojo 6U Enclosed Cabinet Tecmojo 6U Enclosed Cabinet |
|
Check Latest Price |
 RackPath 9U Wall Cabinet RackPath 9U Wall Cabinet |
|
Check Latest Price |
 VEVOR 6U Wall Mount Cabinet VEVOR 6U Wall Mount Cabinet |
|
Check Latest Price |
Read the depth column before anything else. Two of these cabinets are around 14 inches of usable depth, which comfortably holds a patch panel, a 24-port switch and a shallow NAS, but will not take a deeper 2U chassis without a modification.
1. StarTech WALLMOUNT6 6U Open Frame Rack – Best Overall
StarTech 6U 19in Wall-Mount Network Rack, 14in Deep, 44lb (WALLMOUNT6)
6U open frame
35cm (13.78 in) mounting depth
44 lb (19.9kg) capacity
Fully assembled cold-rolled steel
Pros
- Arrives fully assembled and installs quickly
- Sturdy cold-rolled steel with no flex when loaded
- Brace bar mounts top or bottom for flush stacking
- Light enough for one person to hang
- Best value of the open frames
Cons
- Only 12 cage nuts and screws included
- Included wall fasteners are too light for a loaded rack
This is the rack we keep coming back to. It has the highest rating of the eight and by far the largest review base, which means the failure modes are well documented rather than mysterious. For a plain home network rack that needs to hold a router, a switch and a patch panel without drama, it is hard to argue with.
It arrives fully assembled, which is the single biggest time saver in a wall-mount install. There is no flat-pack, no cross-threaded hardware and no lost bag of screws at 10pm. You hold it up, mark the wall, drill four holes and hang it.
The brace bar is the detail nobody advertises. It can be fitted at the top or the bottom of the frame, so you can push two WALLMOUNT6 units flush against each other and still have somewhere solid to run your fasteners. That flexibility matters if you are building toward a second rack later.
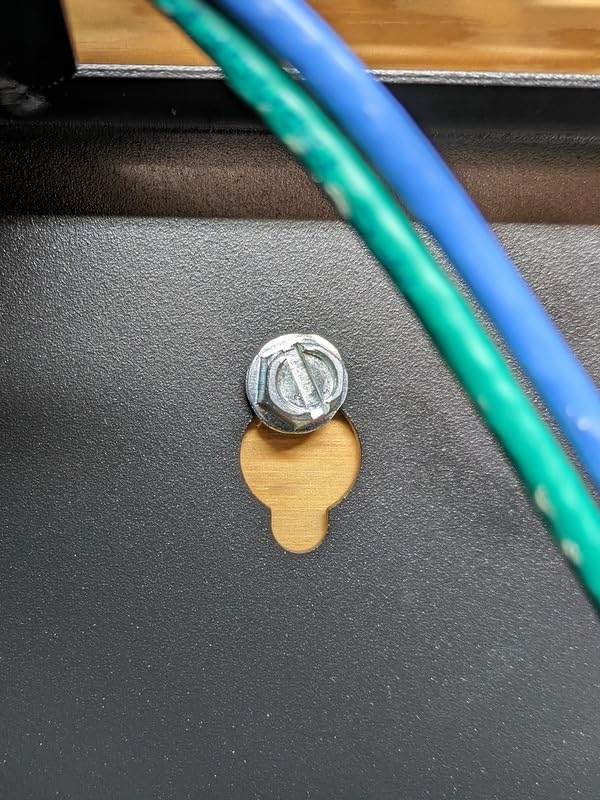
Weight capacity is 44 lb (19.9kg) and the frame is cold-rolled steel, so a full load of switches, a small UPS and a NAS is well inside the rating. Buyers note some flex in the back panel before equipment goes in, which is normal for a 2-post open frame and disappears once it is loaded.
The depth is the thing to plan around. Maximum mounting depth is 35 cm, roughly 13.78 inches. That is enough for patch panels, cable managers, most 24-port switches and shallow 1U appliances. It is not enough for a deep 2U server chassis, and a forum thread on r/homelab makes the same point about 450mm and 600mm wall boxes: they are built for networking gear, not servers.
One r/HomeNetworking owner reported picking up a 15U wall mount rack, finding it straightforward to install and noting the door could be removed if you do not want it. The same instinct applies here. An open frame has no door to remove, which is the whole appeal.
What to check before you buy it
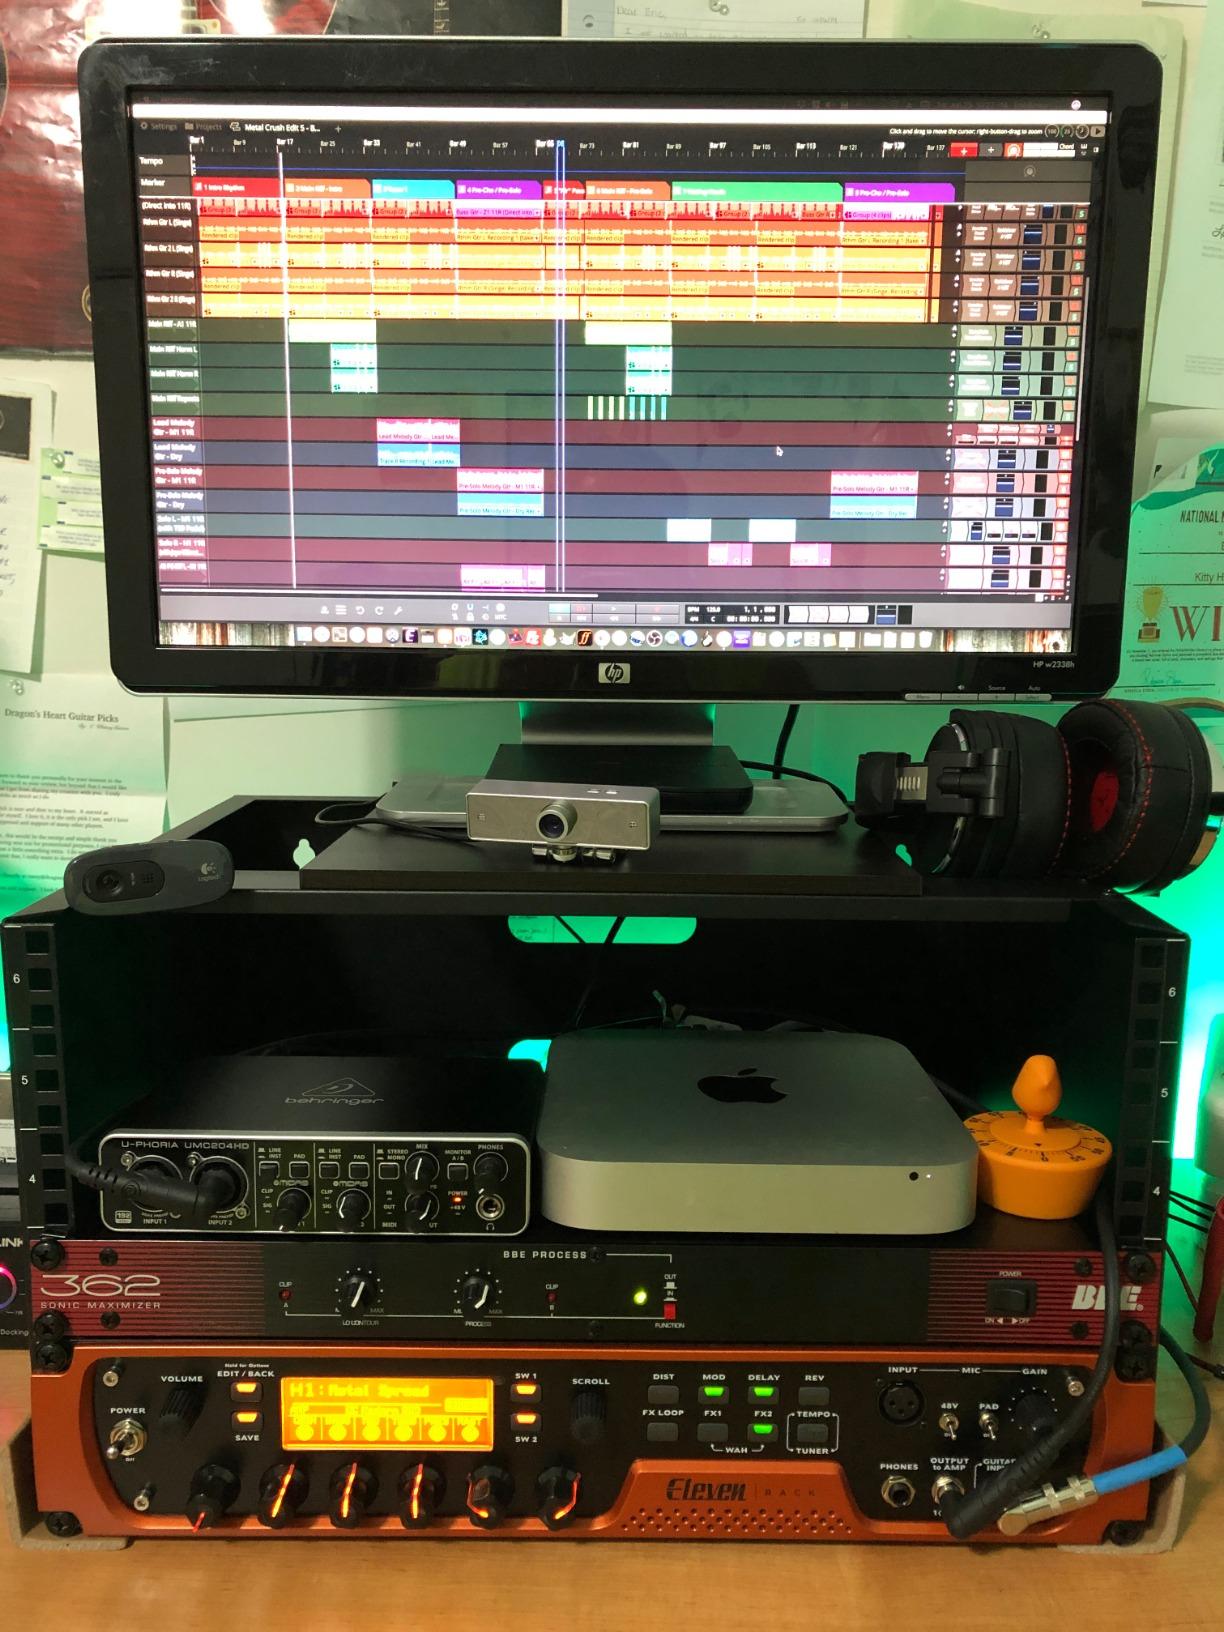
The included hardware is genuinely undersized for a full build. Reviewers repeatedly recommend buying extra cage nuts and screws, because the twelve supplied only cover about 3U of equipment. Budget for a pack of M6 cage nuts before you start.
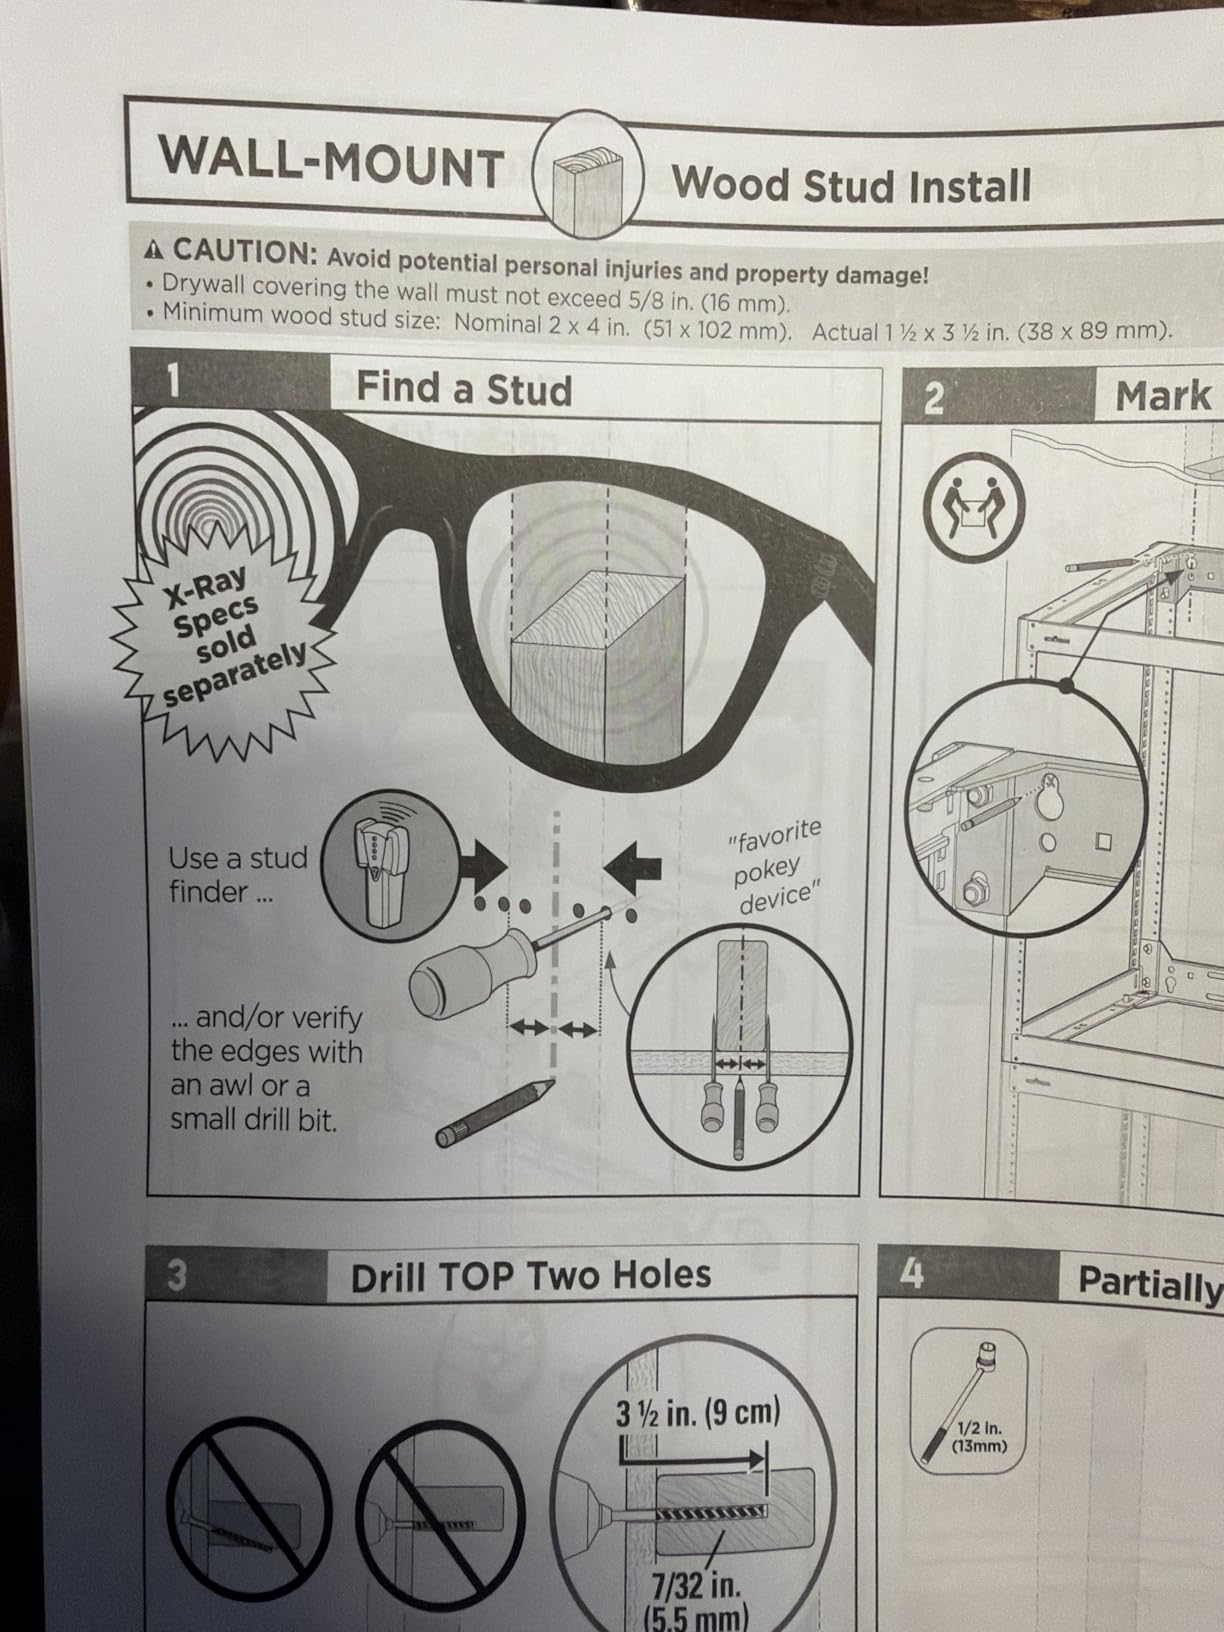
More importantly, swap the supplied wall fasteners. Light drywall anchors are not adequate for a loaded steel rack on a wall, and a few owners have had to redo the fixings. Fasten into studs where you can, and add a plywood backer board if the studs are not behind the mounting holes.
Who it suits and who it does not
Choose this if you are terminating Cat6 runs, want visible cable management, need to get at ports without swinging a door, and plan to stay in the 6U to 8U range. It is also the one we would choose for a garage or utility room where dust is a factor but appearance is not.
Skip it if you plan to add a rack-mount NAS with deep drive bays, a security camera NVR with multiple bays, or anything that needs more than about 13 inches of depth. Also skip it if you want a lockable, dust-sealed box. In those cases move up to the NavePoint or RackPath cabinets.
2. ECHOGEAR 15U Open Frame Rack – Best Premium Open Frame
ECHOGEAR 15U Open Frame Rack w/Optimal Air Flow, DIY Assembly, 20.4” Depth
15U open frame
20.4 in deep with 19 in usable
37.1 lb steel build
Two vented shelves included
Pros
- Heavy-gauge steel with no flex once assembled
- Two vented shelves plus leveling feet in the box
- Excellent airflow and front access
- Wall mount or freestanding on leveling feet
- Clear illustrated instructions
Cons
- Deeper than most home installs need
- Supplied screw count is short for a full build
If you want the open frame experience but with a much heavier structure, this is the one. It weighs 37.1 lb, and buyers consistently describe it as showing no flex once assembled and mounted. That matters when you are hanging gear off the front rails and reaching in to patch cables.
At 15U and 20.4 inches deep, it is the largest open frame we looked at. A thread on r/homelab sums up the size logic better than any spec sheet: server racks are 800mm, 1000mm and 1200mm, but most homelab hardware fits comfortably in a shallower frame. This one is deep enough for both worlds.
The box includes two vented shelves, one at 1U and 15.12 inches deep and one at 2U and 18 inches deep, along with leveling feet, shelf stops and 25 rack screws. Assembly is described as simple and under 20 minutes, with well-illustrated instructions.
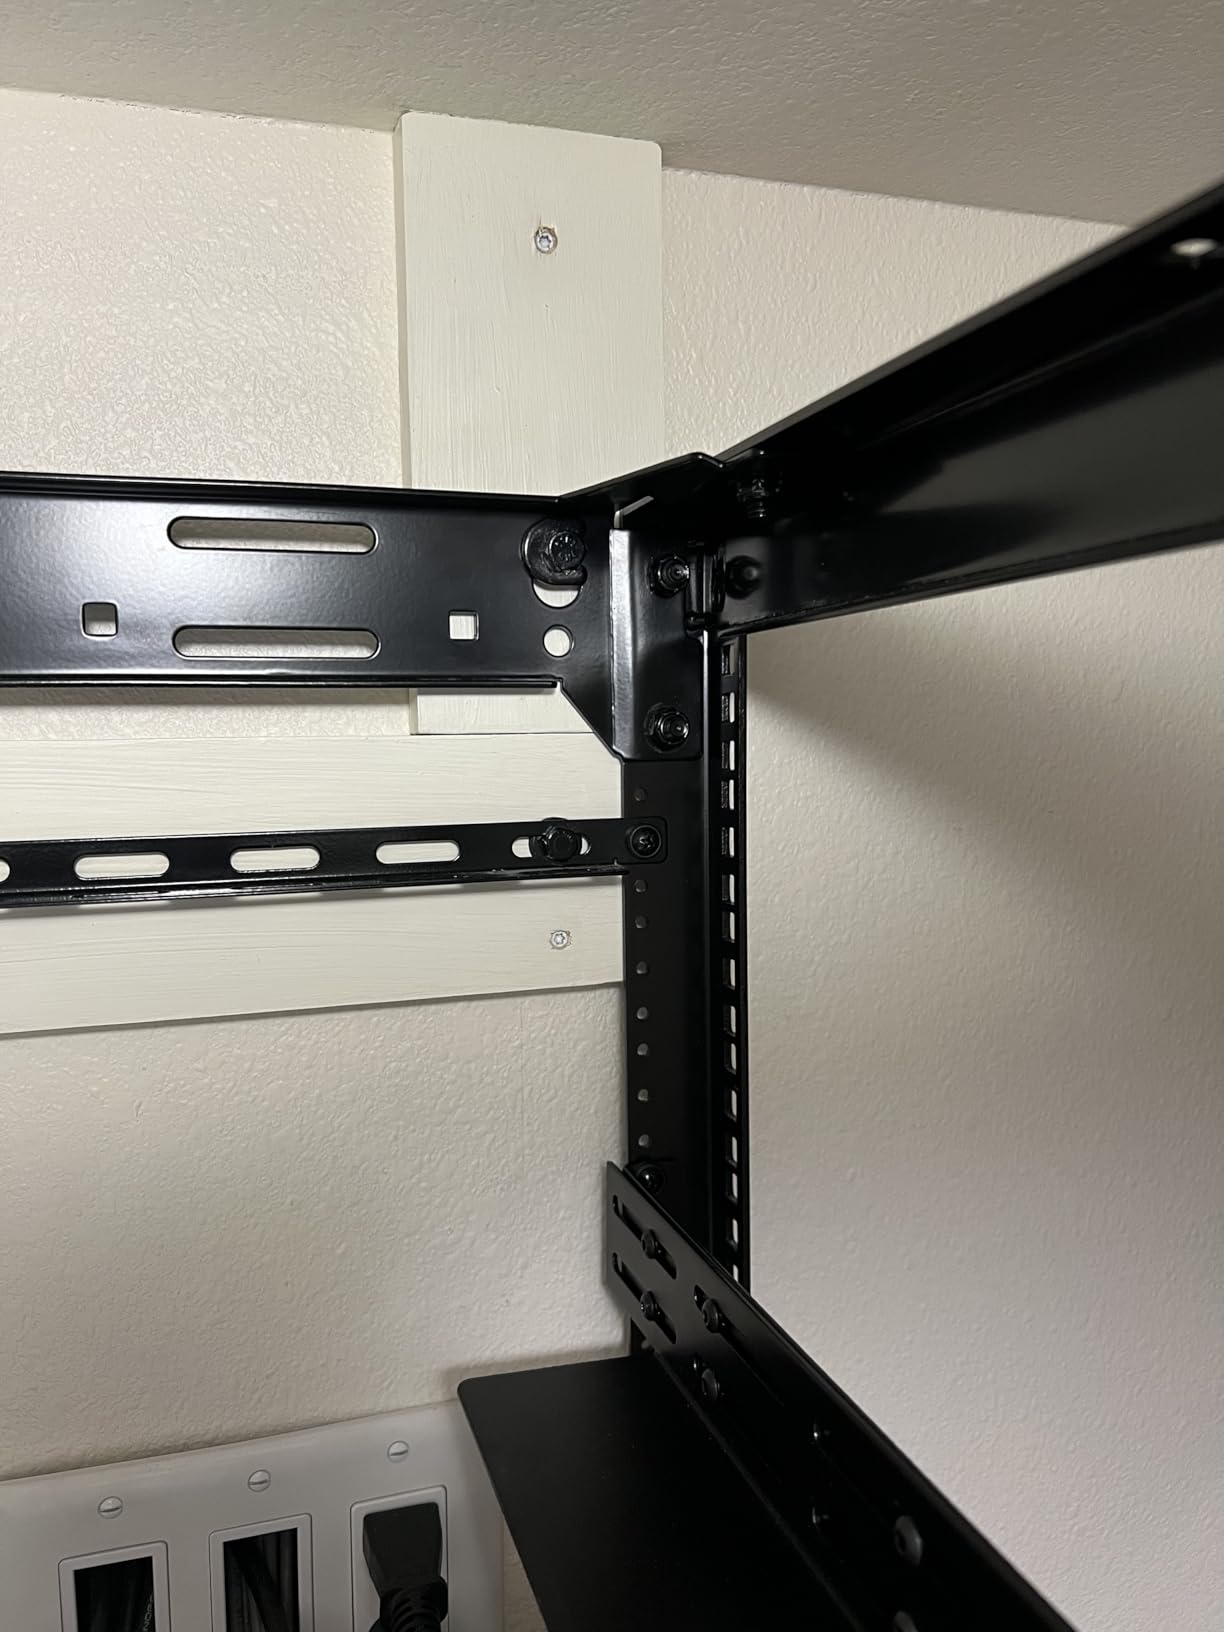
You can wall mount it or leave it freestanding on the included leveling feet. That second option is underrated: it lets you build the rack on the floor, load it, and then move it into the closet as a single unit rather than carrying individual devices across a room.
One practical caveat for a structured wiring install. Reviewers note that this rack cannot be wall mounted using the square holes, so the threaded holes must be used instead. If your wall plan was built around self-tapping screws into square holes, adjust the layout before you drill.
There is no top shelf or top panel in the box. Plenty of owners add their own plywood top, which also gives you a landing surface for a switch that is not yet racked, or a place to rest a laptop while you patch.
Deciding between 15U open frame and a 6U open frame
The honest answer is that 15U buys you options, not requirements. If your list of gear is a router, a 24-port switch, a patch panel and a cable manager, a 6U open frame is genuinely enough and easier to hide.
Buy the 15U when you are running a home lab with multiple services, expect to add a NAS, or want somewhere to grow without a second purchase. Fifteen rack units leaves real headroom even after a 2U loss to braces.
Where it is not the right pick
It is not the right pick for a shallow closet. A 20.4 inch deep rack needs roughly 22 inches of clear wall depth once door swing and cable bend radius are allowed for. Measure before you commit.
It is also not right for anyone who wants the contents hidden. There is no door, no lock and no dust filtering, so this is an open, visible, ventilated piece of equipment. That is a feature in a garage and a drawback in a hallway.
3. NavePoint 12U Enclosed Cabinet – Best Value Enclosure
NavePoint 12U Server Rack Enclosure with Glass Door, Cooling Fan, Locks, & Removable Side Panels – 12U Wall Mount Network Cabinet 19 Inch Rack 17.7″ Deep (450mm)
12U enclosed wall mount
17.7 in (450mm) deep
Welded cold-rolled steel, 110 lb
Built-in fan and flow-through vents
Pros
- Sturdy welded steel frame rated to 110 lb
- Lockable glass door and lockable side panels
- Built-in fan plus flow-through ventilation
- Compact depth suits tight closets
- Removable side panels ease cabling
Cons
- Enclosed depth limits deep rack gear
- Assembly required
This is the enclosure most structured wiring buyers end up with, and the reason is simple: it locks. The front door is reinforced heat-treated tempered glass with a security lock, and the removable side panels carry their own locks, so the whole box can be secured.
Cooling is handled by a built-in fan plus flow-through ventilation, which is what you want in an enclosed steel box sitting in a warm closet. Owners rate it well on exactly this point, alongside the working locks and the solid feel of the frame.
Load capacity is 110 lb on a welded cold-rolled steel frame that fits EIA standard 19-inch gear. Dimensions are 17.72 inches deep, 21.65 wide and 24.42 high. That footprint fits behind most closed closet doors without swallowing the shelf space above it.
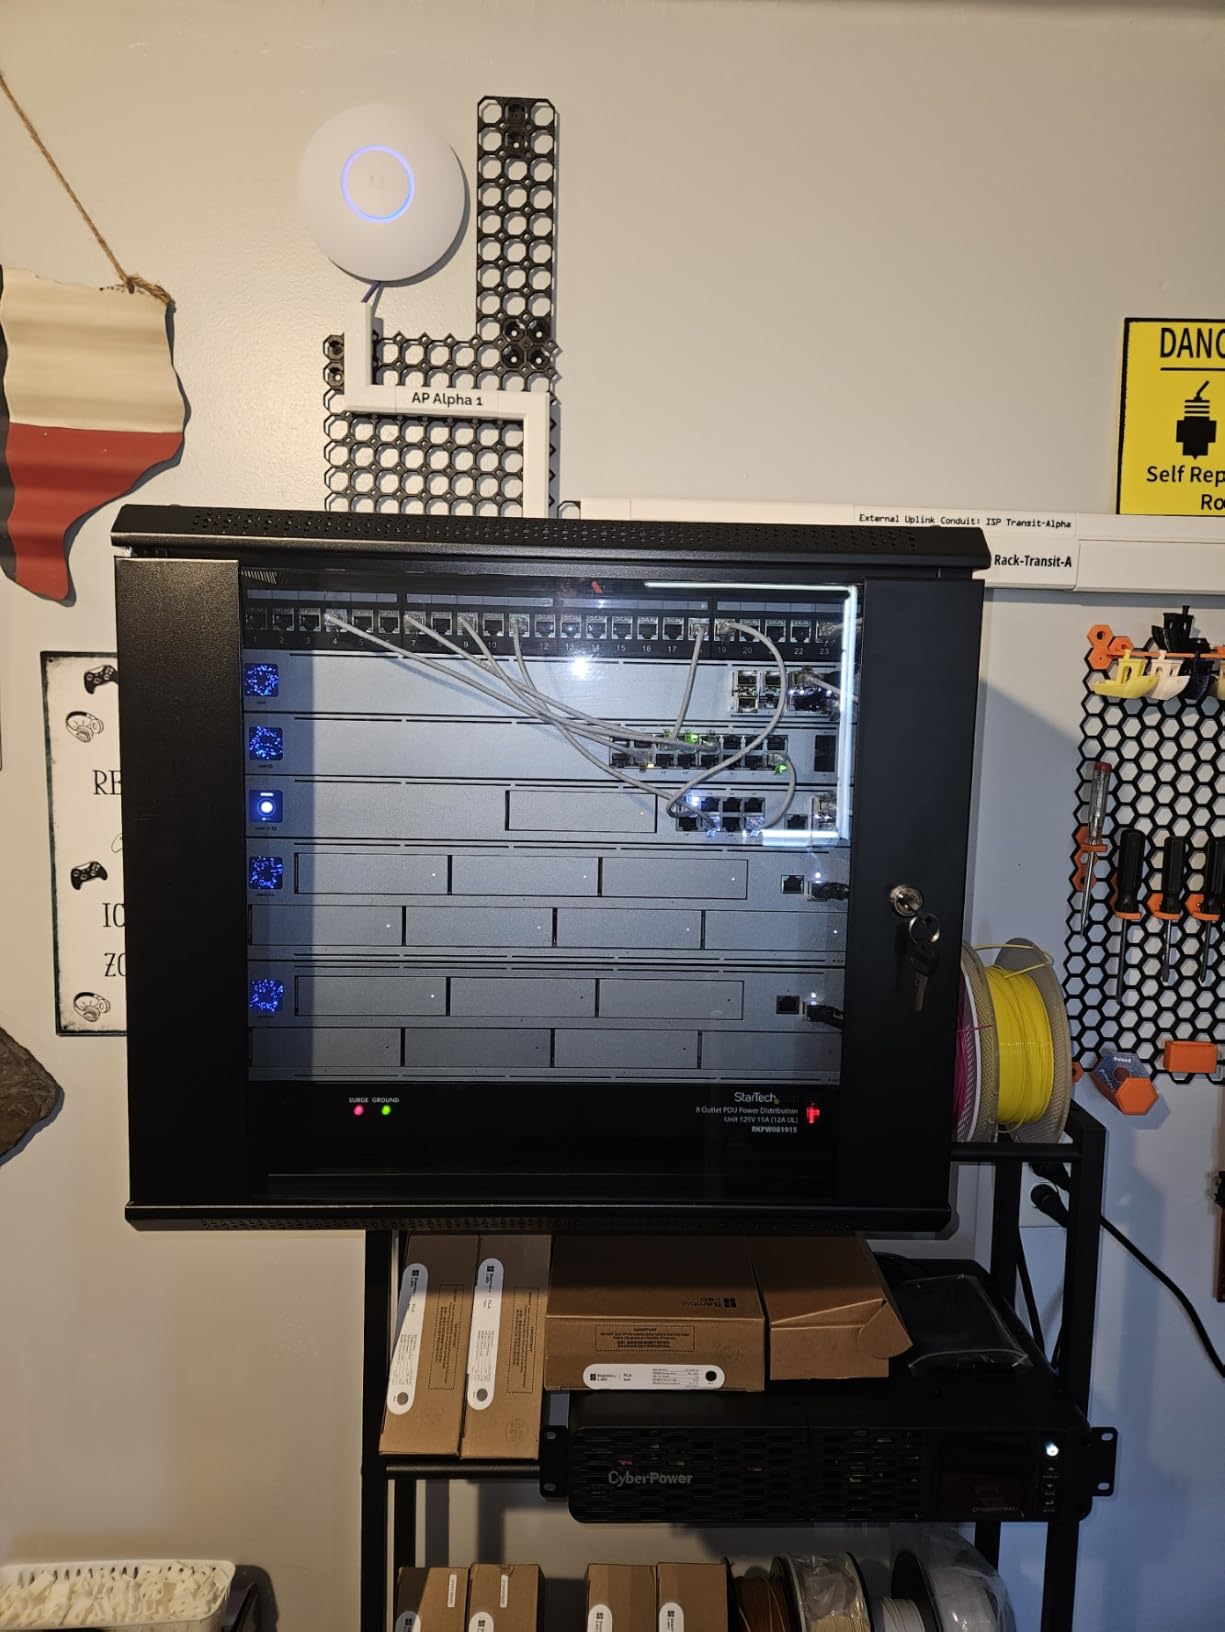
Usable depth is the trade-off. At roughly 17.7 inches overall you have room for a patch panel, a switch, a 1U UPS and a shallow NAS, but a multi-bay NVR or a deep 2U server is a squeeze. Reviewers flag this as the main limitation of the enclosed format, not of this cabinet specifically.
Assembly is required. It is not difficult, but budget an evening rather than an afternoon if it is your first rack. The removable side panels are the part you will thank yourself for later, because they turn an awkward cable-routing job into a straightforward one.
For buying the gear itself, our home office switch guide covers the 24-port and 8-port options most people land on inside a 12U cabinet like this one.
Is 12U the right size for structured wiring
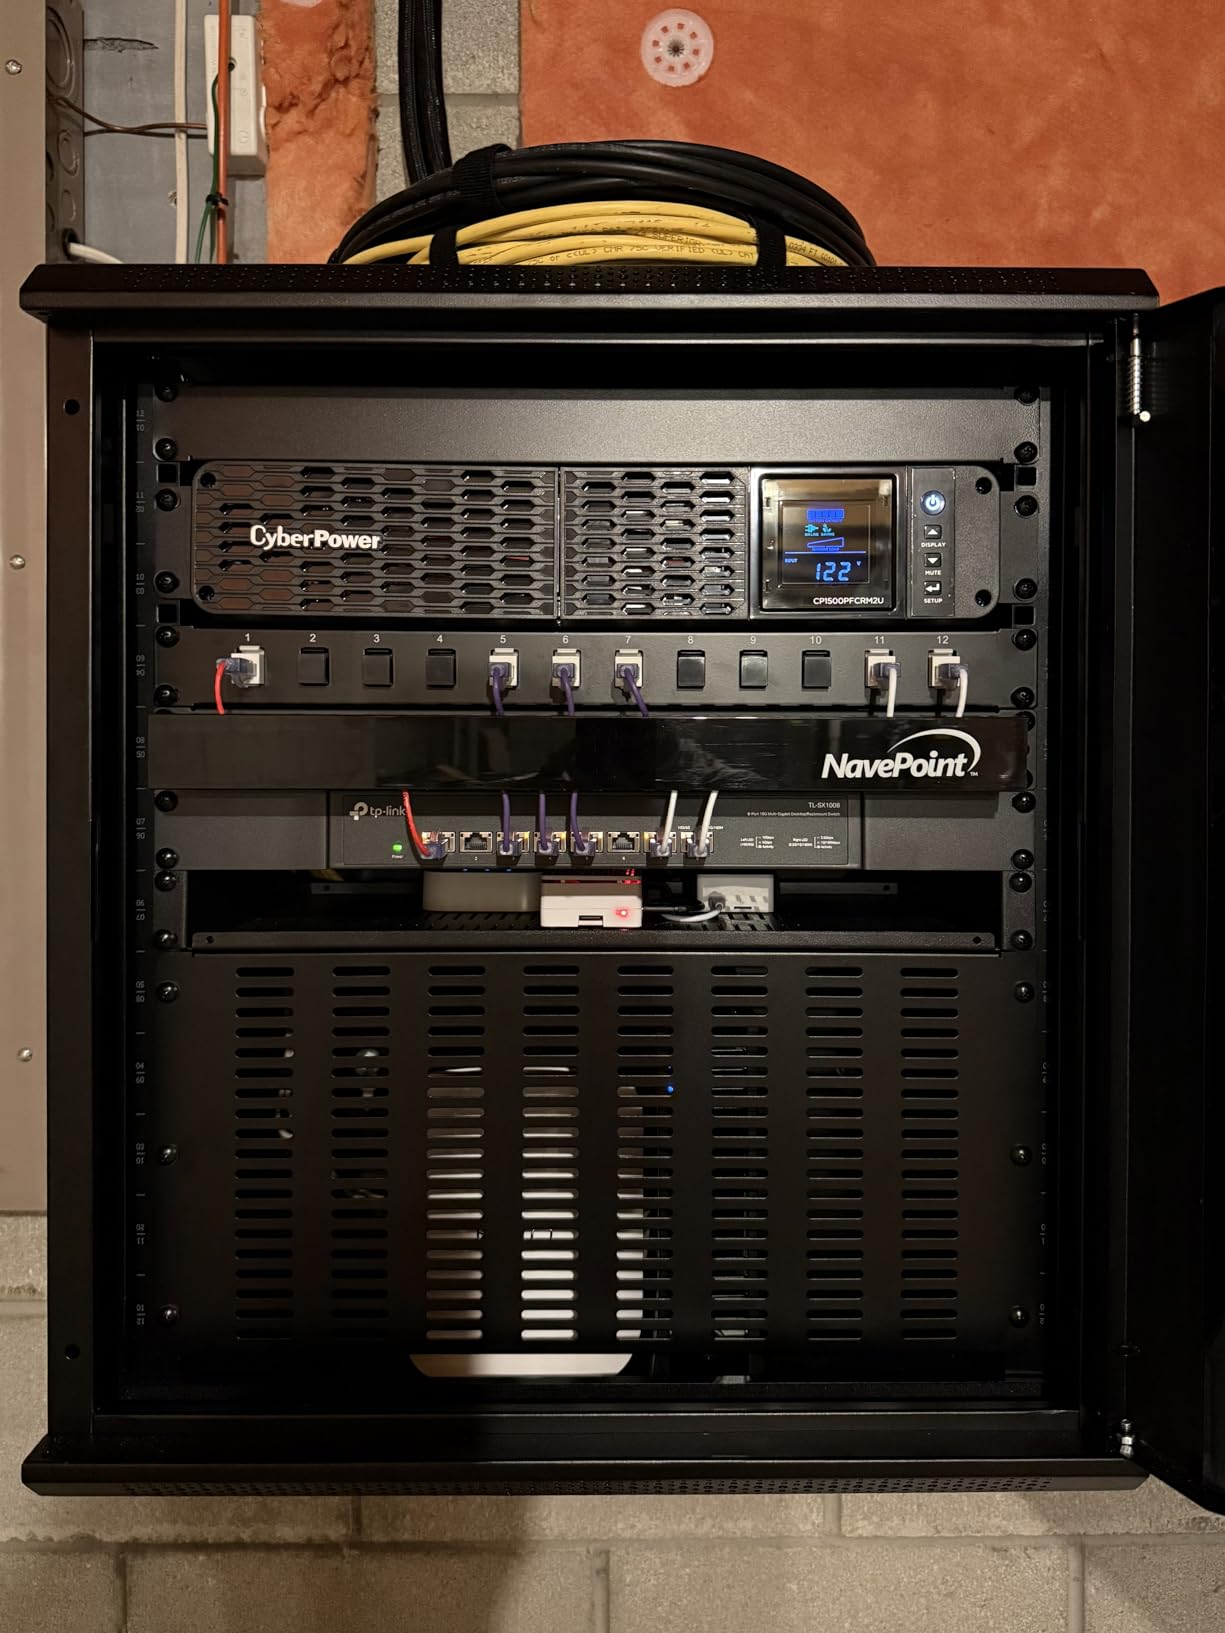
For a typical Cat6 structured wiring install, 12U is comfortable. A 24-port patch panel takes 1U, a 24-port switch takes 1U, a horizontal cable manager takes 1U or 2U, a 1U UPS takes 1U and a modem or ONT takes 1U. That is 5U to 6U of gear in a 12U cabinet, which leaves room to grow.
If you are running two or more switches, a PoE injector shelf and a patch panel per floor, 12U fills quickly. In that case step up to a 15U or 18U frame, or use two smaller cabinets stacked vertically.
Enclosed cabinet drawbacks to plan around
Enclosure means heat, and heat means fans, and fans mean noise. In a closet next to a bedroom this is the thing people complain about most. If the cabinet is more than one wall from where you sleep, it is usually a non-issue.
Access is also slower. Every cable change means opening a door, and swing gates on enclosed cabinets eat into the space in front of the rack. If you will be re-patching constantly, an open frame is genuinely faster day to day.
4. Tecmojo 12U Open Frame AV Rack – Best for Home Labs
Tecmojo 12U Open Frame Network Rack for IT & AV Gear, AV Rack Floor Standing or Wall Mounted,with 2 PCS 1U Rack Shelves & Mounting Hardware,Network Rack for 19″ Networking,Audio and Video Device
12U open frame
20.15 in deep
130 lb wall / 260 lb ground
Two 1U ventilated shelves included
Pros
- Highest load rating in the group at 260 lb ground-mounted
- Two vented shelves
- shelf stops and velcro straps included
- Works freestanding or wall mounted
- Includes a drilling template for stud layout
Cons
- Braces consume about 2U of the stated 12U
- Painted threads can strip if not chased first
This is the rack to look at if your walls are old, your studs are awkwardly spaced, or you simply do not want to hang 30 lb of steel on plasterboard. It is rated at 130 lb wall mounted and 260 lb ground mounted, the highest capacity in this group, and it works equally well standing on the floor.
The included accessories are unusually generous for the money: two ventilated 1U shelves, four shelf stops, four velcro straps, a set of equipment mounting screws, an anti-slip shelf design, a top panel and a hole drilling template plus an online assembly video.
Both tapped and square holes are present on the uprights, which gives you flexibility when a device ships with only one type of fastener. The drilling template alone will save you an hour of stud layout on the first attempt.
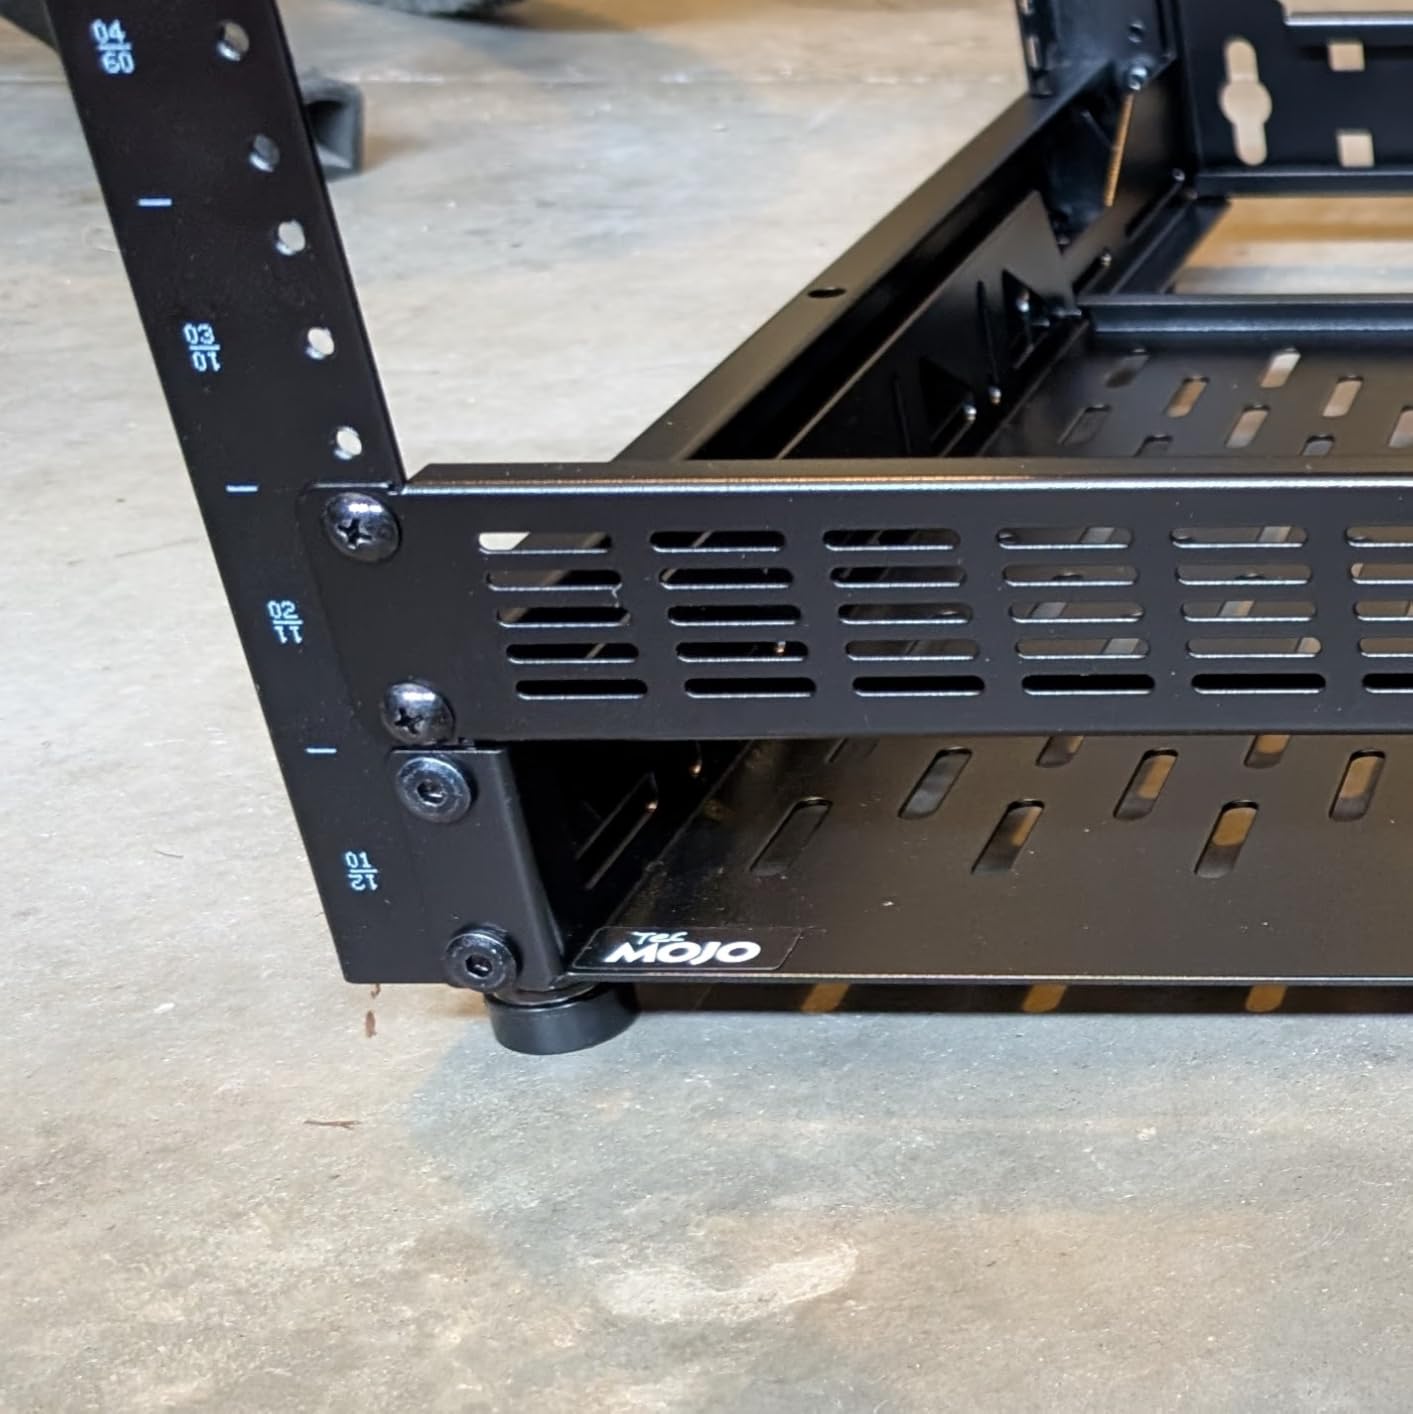
The catch, and it is a real one, is that the top and bottom cross supports consume roughly 2U. Buyers consistently note that a nominal 12U rack gives you closer to 10U of genuinely usable space. Plan your gear list against 10U, not 12U.
Assembly quality varies a little. Reviewers mention painted bolts and threaded holes that can strip or cross-thread unless you chase the threads first with a tap, and side upright hole patterns that may differ from the product photos. Ten minutes of care up front prevents most of this.
One further note: the uprights are slightly narrow for true 19-inch side mounting, so cage nuts only work on one face. That is a cosmetic and minor routing limitation rather than a functional problem for most home installs.
When a freestanding rack beats a wall mount
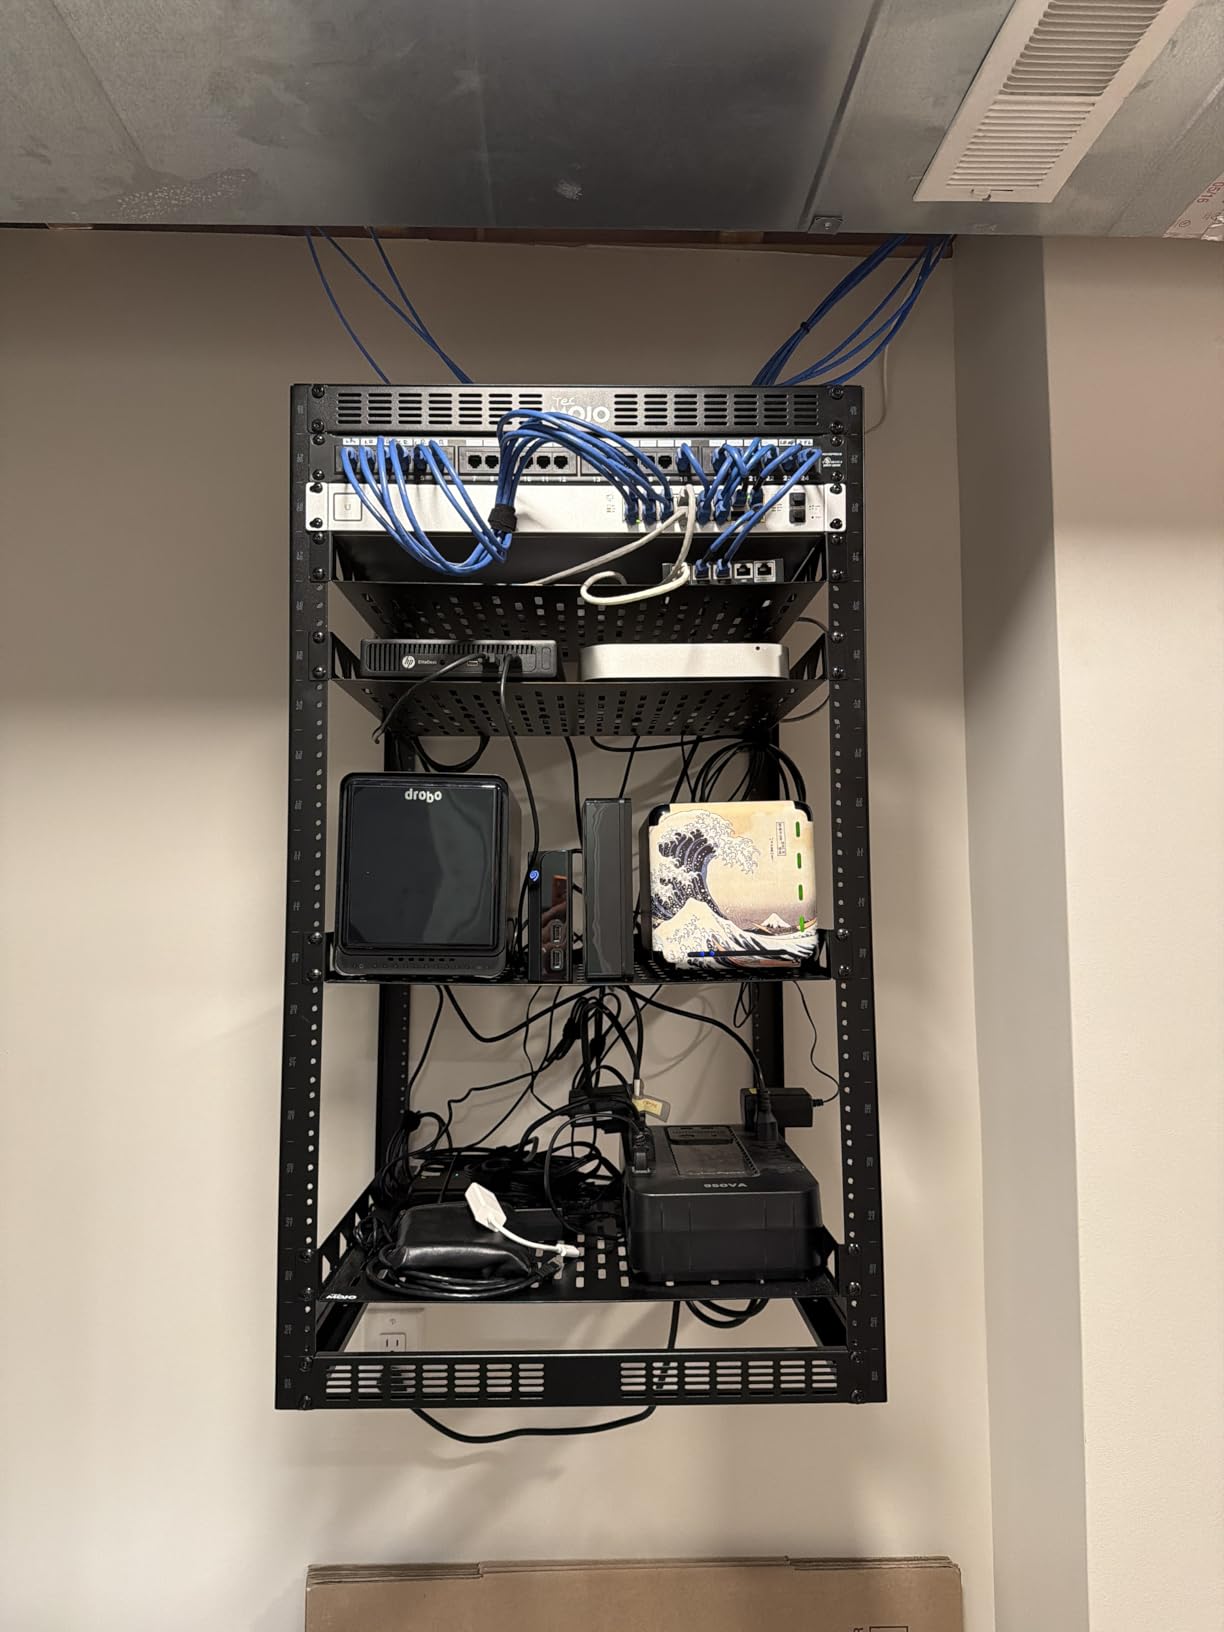
Freestanding wins when your studs are 24 inches on center and the cabinet is 21 inches wide, or when the wall you want to use is a masonry or plasterboard partition. Put the rack on the floor near a wall and you have removed the structural question entirely.
It also wins for weight. Ground-mounted capacity here is double the wall rating, so a NAS plus a mini PC plus a stack of switches is well within spec. The cost is floor space and the need to keep the area clear for airflow.
What to watch during assembly
Run a tap through each threaded hole before you put equipment screws in it. Painted threads that are not cleared will cross-thread, strip, or round off, and that is the single most common assembly complaint on this frame.
Count your cage nuts and screws before you start. The supplied set covers the shelves, not a fully populated rack, and owners note you will need to add more for every piece of 19-inch equipment you install.
5. StarTech 18U 2-Post Open Frame Rack – Best for Expansion
StarTech 18U 2-Post Wall Mount Open Frame Rack, 19in (RACK-18U-20-WALL-OA)
18U 2-post open frame
Adjustable 12-20 in depth
200 lb (90kg) capacity
2.0mm SPCC cold-rolled steel rails
Pros
- Adjustable depth from 12 to 20 inches
- 200 lb load rating on heavy-gauge rails
- Complete M6 cage nut screw and washer set
- Open frame airflow from every side
- Five-year warranty
Cons
- Flat-packed and requires assembly
- Large and heavy for a typical home closet
Adjustable depth is the feature that separates this from every other open frame here. The rails slide between 12 and 20 inches, so you can mount a shallow switch at the front for cable management clearance and slide deeper chassis back to use the full frame.
That means you can grow into a deeper device later without buying a new rack, which is the entire argument for buying 18U instead of 6U when you are unsure. The rails are 2.0mm SPCC cold-rolled steel and the frame is rated to 200 lb (90kg).
It is EIA/ECA-310 compliant, it arrives in ISTA-6 certified flat-pack packaging, and the box includes a complete set of M6 square cage nuts, M6 screws and plastic washers. The five-year warranty is the longest in this roundup, backed by lifetime technical support.
Is 18U overkill for a home install
For most people, yes. Eighteen rack units is 31.5 inches of vertical space, and the frame measures 35.7 inches tall by 19.8 wide. Unless you are consolidating an entire house onto one rack, you will have more empty space than gear.
It earns its place for two scenarios. First, future-proofing, where you want the option of deeper hardware later. Second, a genuine homelab with multiple compute nodes, a NAS and a patch panel farm, where 12U fills fast and 6U never worked.
What to consider before ordering
This one is flat-packed and needs assembly, and it is large and heavy for a home closet. Two people lifting it onto wall brackets is a sensible plan, and you will want to assemble it in the room it will live in rather than carrying a fully built frame around a corner.
Because there is no customer photo set for this rack, judge it on the spec sheet and the warranty rather than on user images. The numbers here, adjustable depth and a 200 lb rating, are the strongest in the group on paper.
6. Tecmojo 6U Enclosed Cabinet – Best for Tight Closets
Tecmojo 6U Wall Mount Server Cabinet IT Network Rack Enclosure Lockable Door and Side Panels Black, Cooling Fan, Standard Glass Door, 450mm Depth, for 19” IT Equipment, A/V Devices
6U enclosed wall mount
14.2 in maximum mounting depth
110 lb (50kg) capacity
EIA/ECA-310-E compliant
Pros
- Accurate machining makes assembly straightforward
- Lockable door and both side panels
- Quiet cooling fan that moves real air
- Reversible door swing fits either side
- Can be assembled while on the wall
Cons
- Shallow 14.2 in usable depth
- Included fan eats part of a U space
This is the smallest sensible enclosed cabinet in the group, and it is the one to choose when wall space is genuinely tight. Overall dimensions are 13.78 inches high, 21.65 wide and 17.72 deep, so it clears most low closets and utility room alcoves.
The build quality stands out. Owners describe the parts as accurately machined and aligning well during assembly, and the finish is good enough for a home or office install. The front door can be installed on either side to match your preferred swing direction, which is more thoughtful than most cabinets at this size.
Cooling comes from a pre-installed fan with a cutout for a second one. Reviews call the fan quiet and effective. The rails are fully adjustable with numbered U positions and square holes, and the top and bottom panels have punch-outs for cable entry.
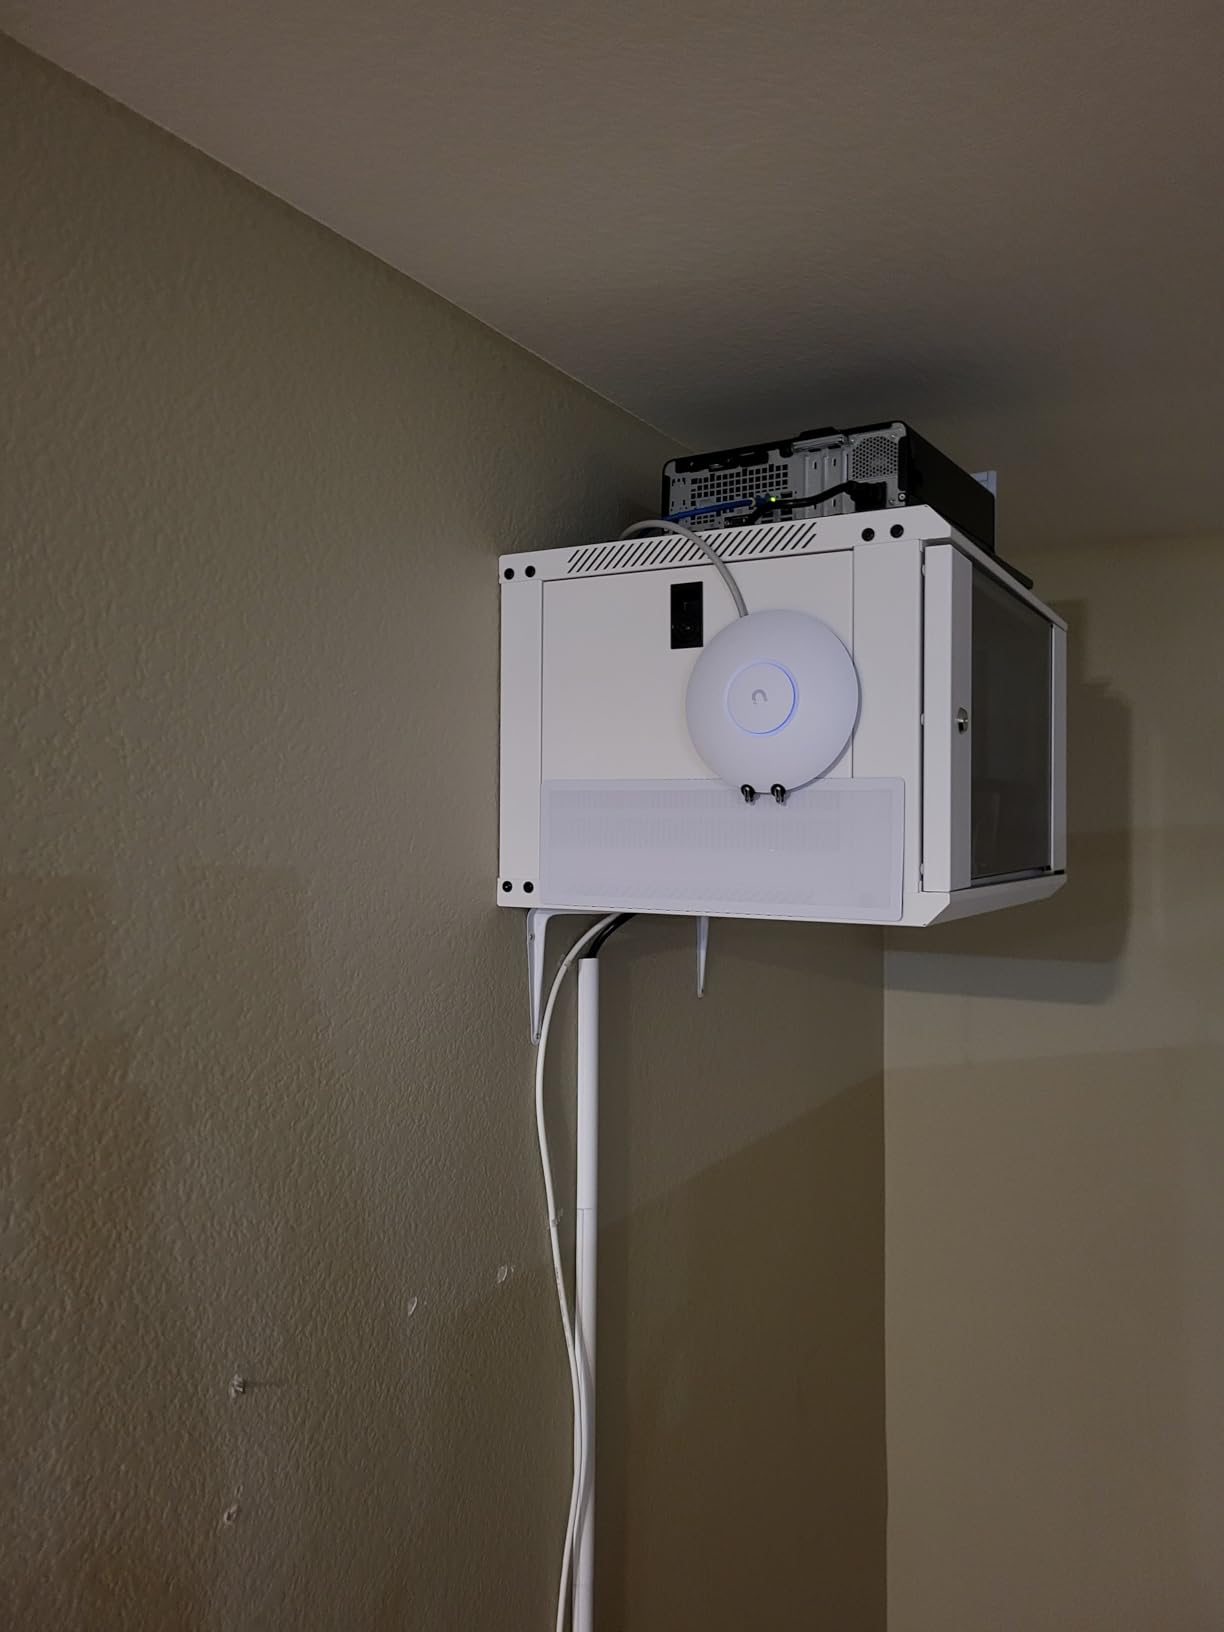
Maximum mounting depth is 14.2 inches. That is enough for patch panels, cable managers, switches and a shallow 1U appliance, but deeper gear needs modification. Check your device list before committing.
The included fan is thick enough to consume part of a U space, so plan your layout around it rather than discovering it halfway through. A few reviewers also note the included cage nuts and screws are smaller than standard M6, so buy your own if you want the standard fit.
There are no rear cable or outlet cutouts, so you will be drilling. A drill template from another rack, or a careful pencil outline, will keep the holes tidy.
What fits in a 6U cabinet
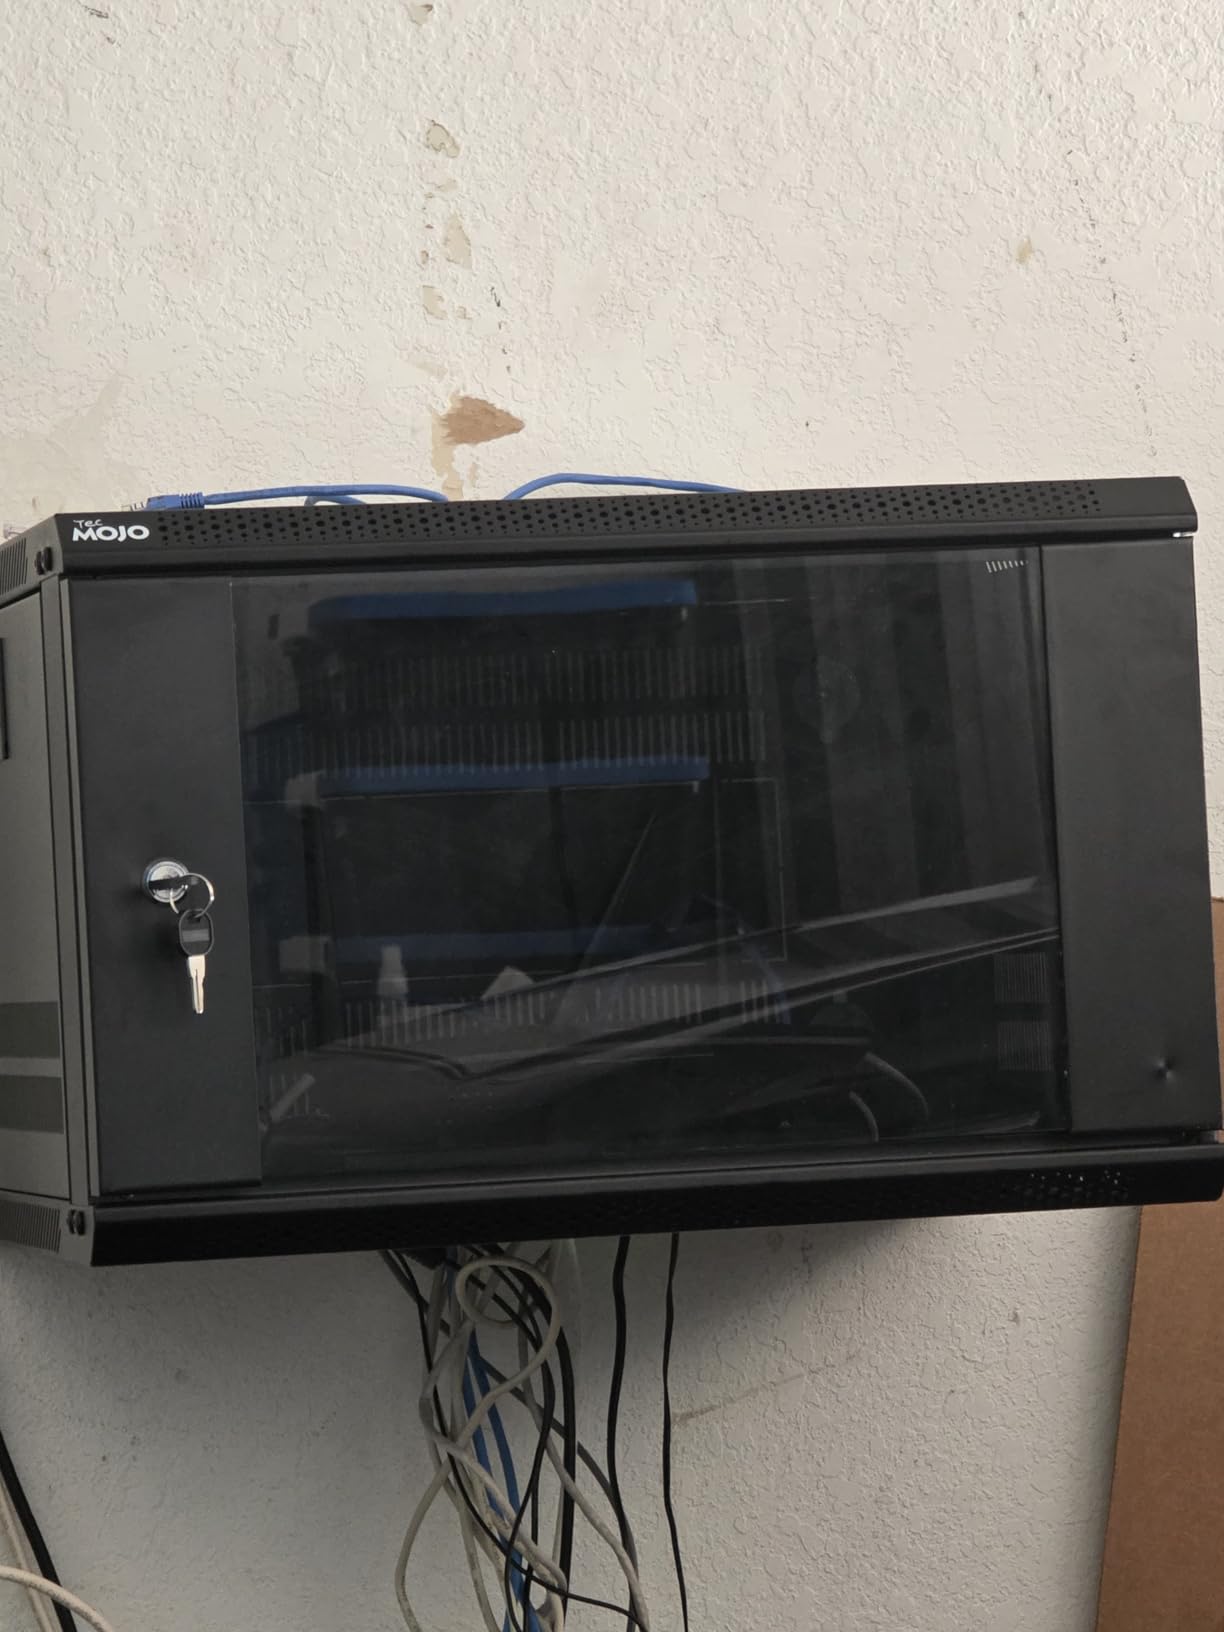
A realistic full 6U layout is a 1U 24-port patch panel, a 1U horizontal cable manager, a 1U 24-port switch, a 1U modem or ONT, a 1U blanking panel and a 1U small UPS. That is a complete, working structured wiring termination point in a box you can mount at chest height.
Add a NAS and you are at 7U, so 6U is only right if your storage is on a shelf below. For most people the step up to 9U or 12U buys more comfort than the extra cost does in hassle.
What to watch on arrival
Quality control is mostly good but not perfect. A few buyers report bent panels and a door that can go out of square once wall mounted. Inspect the box before assembly, and assemble it flat on the floor before you put it on the wall.
One upside worth planning for: because the parts fit well, you can assemble it in place on the wall, which turns a two-person lift into a one-person job. Check the door swing side before you fix the brackets.
7. RackPath 9U Wall Cabinet – Best for Quiet Spaces
RackPath 9U Wall Mount Network Rack Cabinet – Quiet Cooling Fan, Locking Glass Door, 17.7″ Deep (450mm), Removable Locking Side Panels, Fits 19″ IT & A/V Equipment
9U wall mount cabinet
17.7 in (450mm) deep
110 lb (50kg) capacity
Pre-installed 120mm low-noise fan
Pros
- Quiet 120mm fan as the cooling default
- Sleek look that suits a visible wall
- Adjustable rails and good usable depth
- Lockable glass door and side panels
- Assembles in about 20 minutes
Cons
- Stock fan is very deep and blocks the top U
- Only one fan included
- Sharp screw tips on cable panels
If your rack is going into a closet near a bedroom, fan noise is the deciding factor, and this is the cabinet built around that concern. The pre-installed 120mm low-noise fan is the cooling default, and owners describe the cabinet itself as sleek and clean enough for a visible wall or office space.
Capacity is 9U with a 17.72 inch depth, so it sits between the 6U and 12U cabinets in this roundup. The mounting rails are fully adjustable, which buyers single out as giving slightly more usable depth than comparable cabinets at this size.
Construction is cold-rolled steel with a black powder coat, rated to 110 lb (50kg). The front door is lockable tempered glass, the side panels are removable and lockable, and the top and bottom cable management panels come out for easier routing.
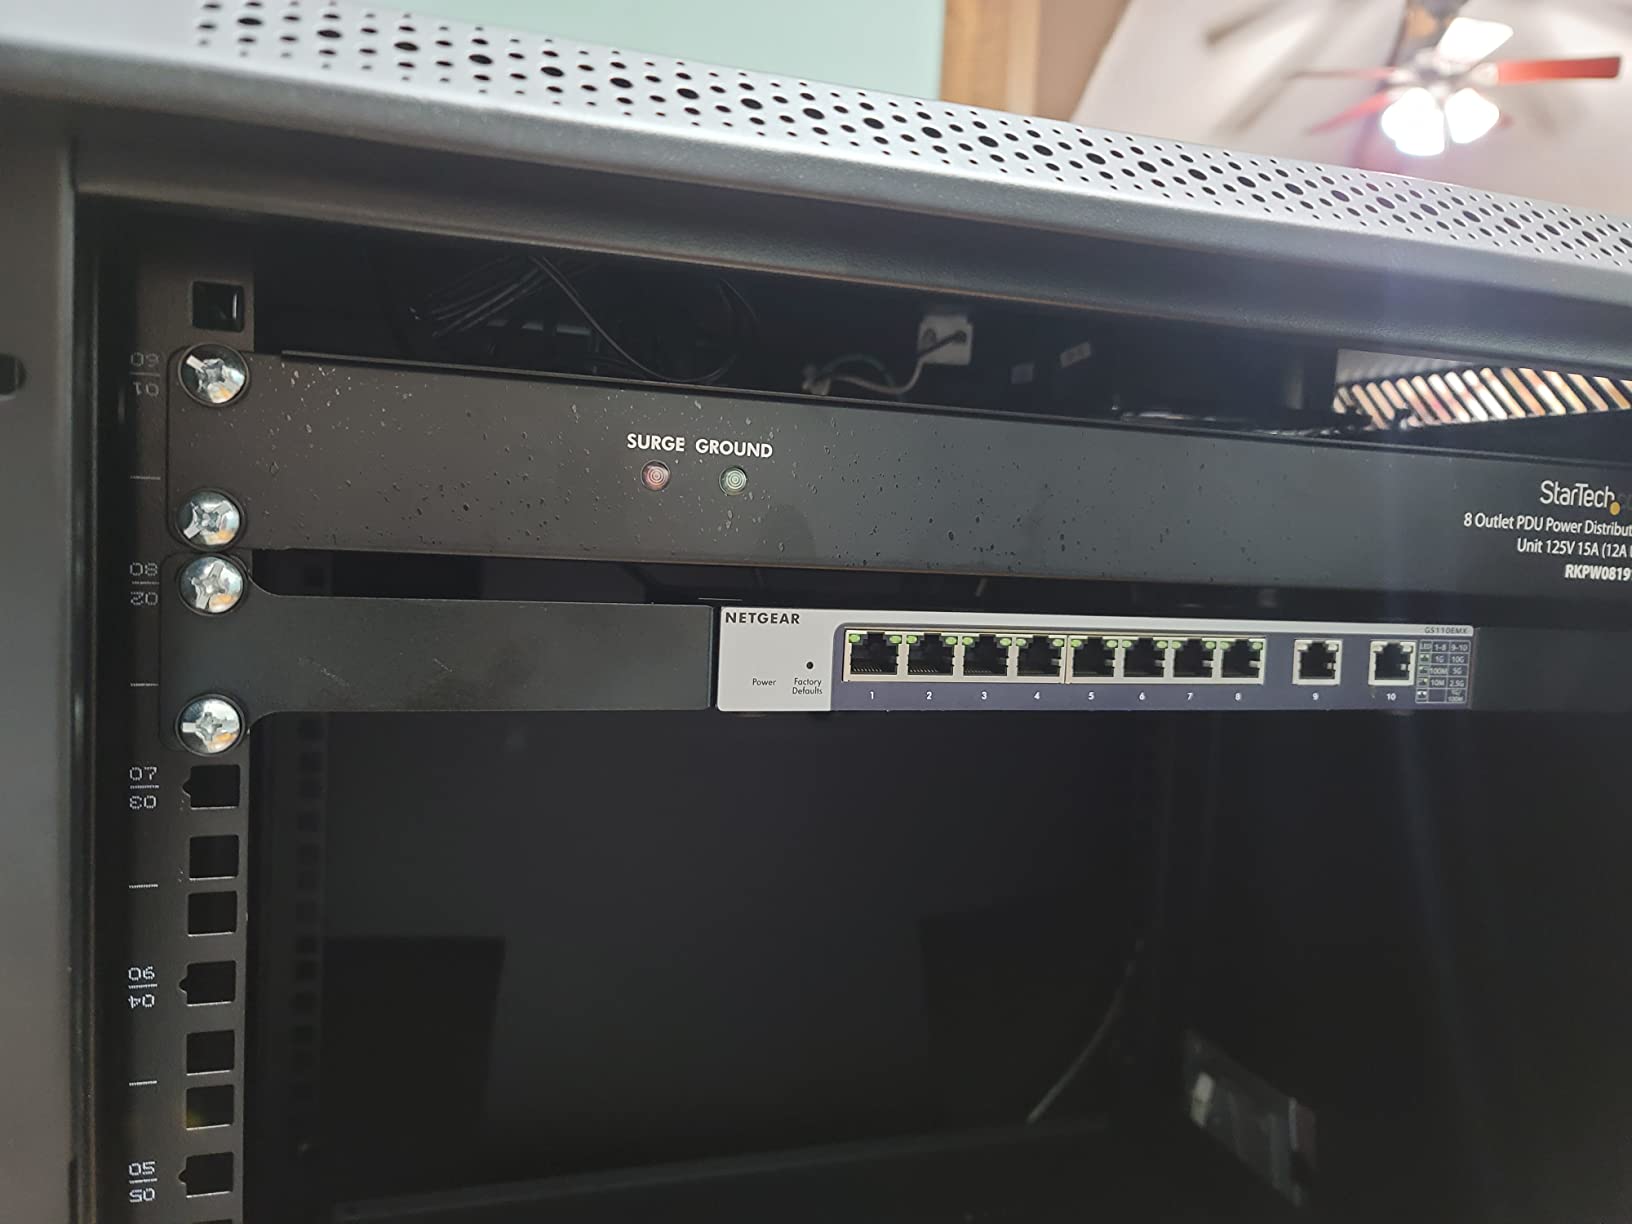
The most repeated complaint is the depth of the included fan. It is unusually deep, which leaves the top rack unit usable only for something around an inch deep. Measure your tallest 1U device and decide before you plan the layout.
Only one fan ships and the second mount is blanked off, so a second fan is an extra purchase. Owners also flag sharp screw tips on the top and bottom panels that do not sit flush, and occasional transit damage to panels and the door.
One more caveat that matters if you are loading it heavily: reports suggest heavy loads on the cabinet floor can bow the unit and make the side panels hard to remove. Keep the load spread across the rails rather than concentrated low.
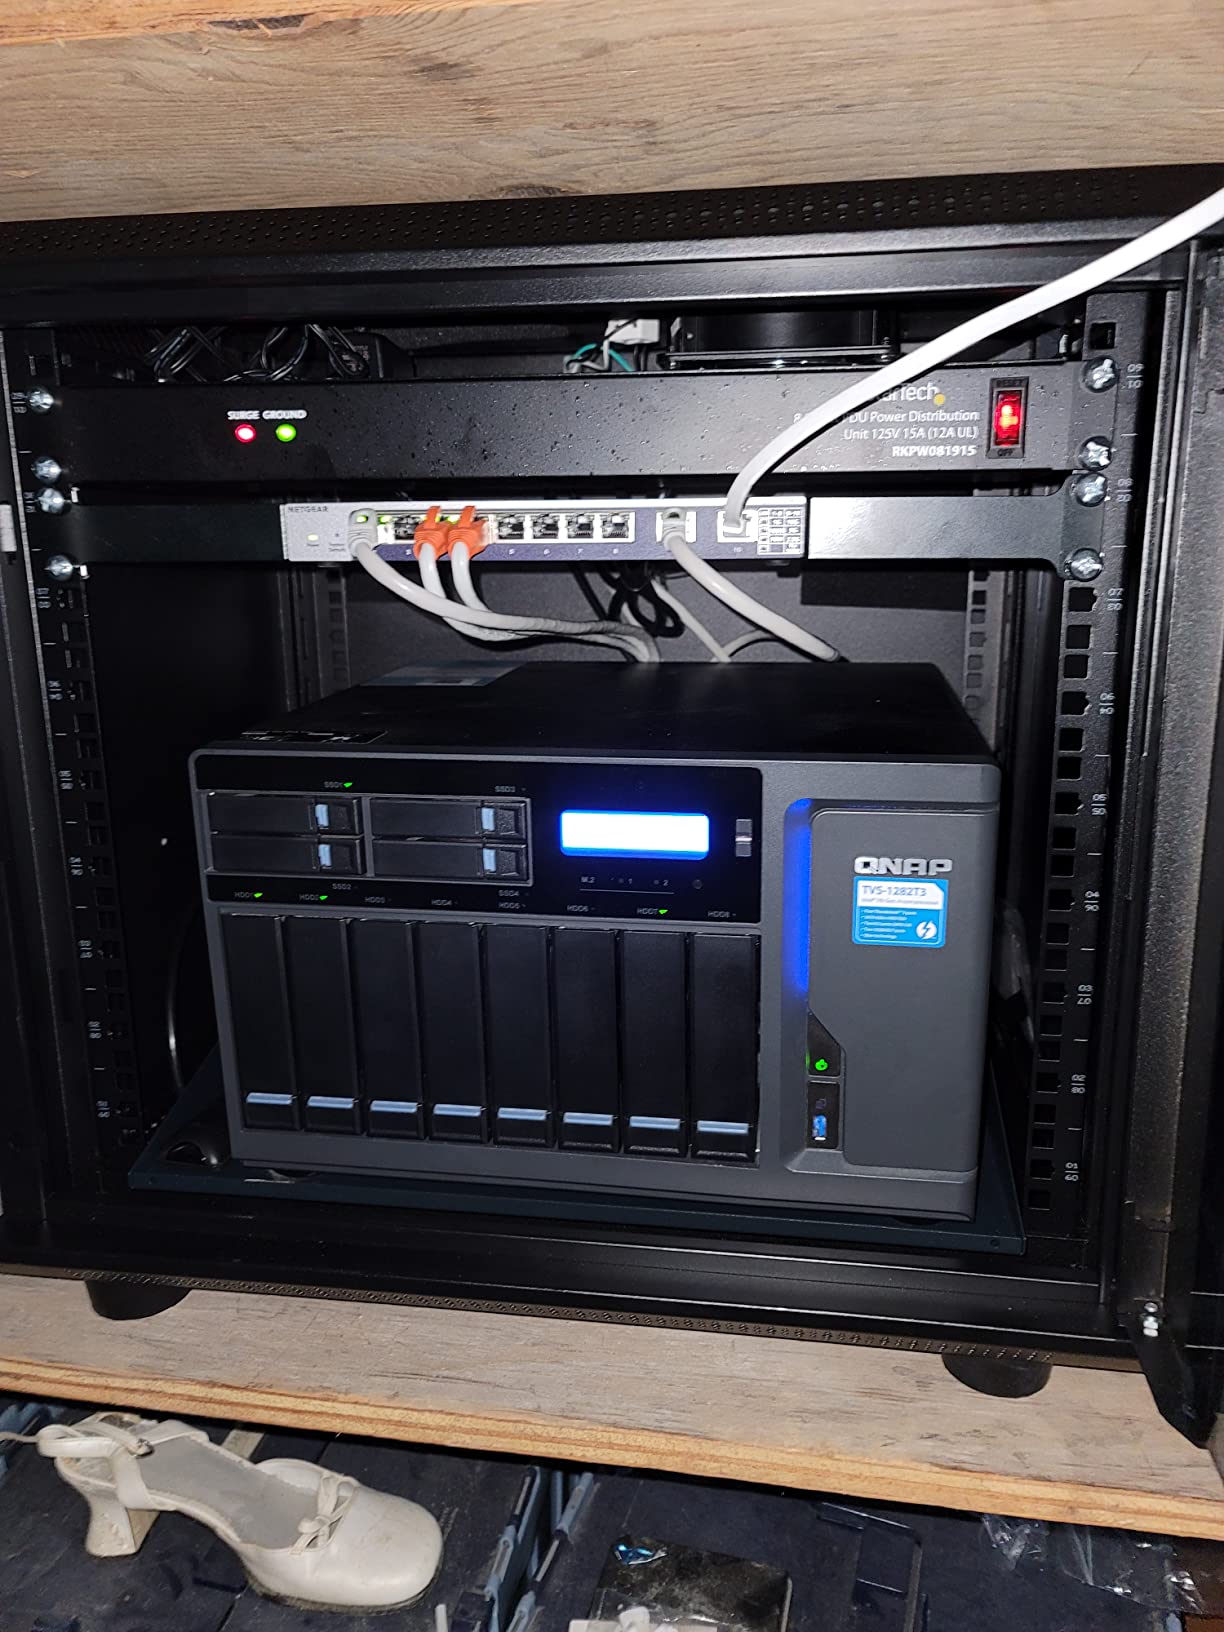
Is 9U a good middle size
Yes, and it is the size most buyers underestimate needing. Nine rack units fits a patch panel, two switches, a cable manager, a small UPS and a shallow NAS with room left over, which is a full home network without a 12U cabinet.
Choose 9U over 6U if you are within one device of filling the smaller cabinet, and over 12U if you are starting from nothing and you want to consolidate the modem, router, switches and a NAS in one box.
Where noise and heat actually matter
A single quiet fan is the right call in a closet with a door, because the enclosure does most of the cooling work and the fan only has to move air through a small volume. The same fan in an open, ventilated room would be wasted capacity.
If the cabinet ever runs hot, the answer is a second fan and better cable routing rather than a louder single fan. Blank off-panel airflow behind a switch is the most common cause of heat build-up in a small enclosed rack.
8. VEVOR 6U Wall Mount Cabinet – Most Versatile
VEVOR 6U Wall Mount Network Server Cabinet, 14.8” Deep, Server Rack Cabinet Enclosure, 200 lbs Max. Ground-Mounted Load Capacity, with Locking Glass Door Side Panels, for IT Equipment, A/V Devices
6U wall mount or floor mount
14.8 in maximum depth
100 lb wall / 200 lb ground
Welded alloy steel frame
Pros
- Low entry cost for an enclosed 6U cabinet
- Welded frame feels solid
- Vents and heat sink holes for airflow
- Adjustable square-hole mounting rails
- Also works floor mounted
Cons
- Shallow 14.8 in usable depth
- No cooling fan included
- One-year warranty
This is the cheapest way into an enclosed, lockable 6U cabinet, and for a straightforward install of a router, a switch and a patch panel it does the job without drama. Buyers credit the welded alloy steel frame, the venting and the adjustable rails for the value.
Cooling here is passive rather than forced. Vents plus heat sink holes in the top, bottom and rear panels move air through the box without a fan. In a closet with any air movement at all, that is often sufficient, but it is not the same as a cabinet with a fan fitted.
Load capacity is 100 lb wall mounted and 200 lb ground mounted, and the mounting rails are fully adjustable with square holes. Wiring holes appear on the top, bottom and rear panels, so cable routing is easier than on the Tecmojo 6U.

Maximum depth is 14.8 inches, which is the same shallow profile as the 6U enclosed cabinets above it. Plan for patch panels, switches, cable managers and shallow appliances only. A deep 2U chassis will not slide in.
The warranty is one year, which is the shortest in this roundup, and the lack of an included fan means a warm closet will need one added. Both are reasonable trade-offs for a lower entry cost, but they are trade-offs.
Note the overall size is larger than the usable space suggests: 17.8 inches deep, 23.6 wide and 13.8 high. The extra depth on the outside is the cable channel, not rack depth, so measure the closet with that in mind.
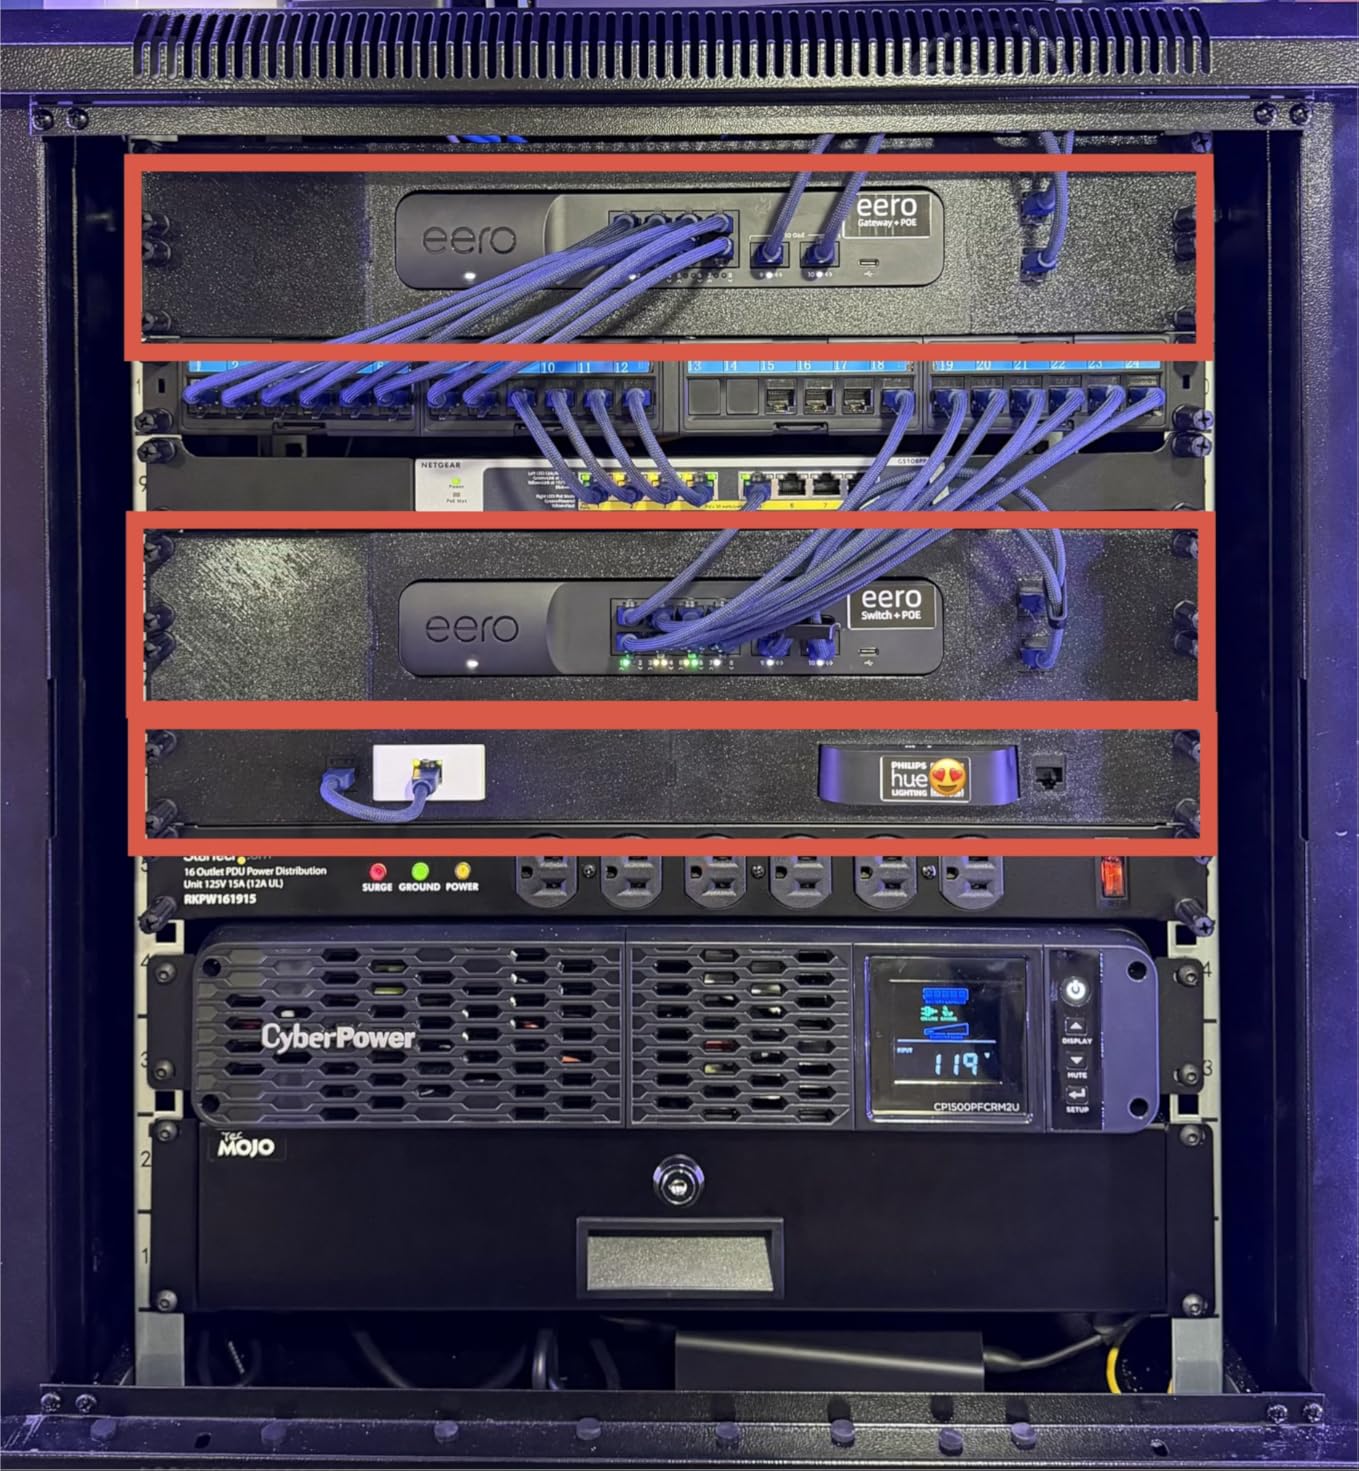
When the budget pick is the right buy
Choose this cabinet if you need a lockable enclosed box, you are mounting in a dry and reasonably cool space, and your gear is all shallow. A garage network rack with a router, a PoE switch and a patch panel is a very good fit.
Choose something else if the closet is hot, if you want quiet cooling included, or if you want longer warranty cover on a box that will be screwed into a wall for a decade.
What you give up versus the other 6U cabinet
Compared with the Tecmojo 6U, you lose the included fan, the reversible door swing and the longer warranty, and you gain a slightly more generous outside depth for cable routing. If your wall plan is tight, that extra depth can matter more than the fan.
Either way, both 6U cabinets land in the same place: 14-plus inches of usable depth. If your device list includes anything deep, save your effort and go straight to 12U.
How Many U Do You Need? A Rack Size Cheat Sheet
One U, or rack unit, equals 1.75 inches of vertical height on a 19-inch rail. A 12U rack is therefore 21 inches of usable mounting height, and understanding that single conversion is what makes rack sizing simple.
Work through your gear list one device at a time. A 24-port patch panel is 1U, a 24-port switch is 1U, a 1U horizontal cable manager is 1U, a blanking panel is 1U, a small UPS is 1U or 2U, and a desktop NAS is usually 1U or 2U depending on bay count.
- Router or modem only: 2U to 3U. A 6U rack is generous.
- Router, 24-port switch, 24-port patch panel, one cable manager: 4U. Add 1U for a UPS and you are at 5U.
- Two switches, patch panel, two cable managers, UPS, NAS: 7U to 9U. This is the typical structured wiring closet.
- Whole-home consolidation with PoE switches, a NAS, a small server and a controller: 12U to 15U.
- Homelab with multiple compute nodes: 18U or a 42U floor rack, and only then is a full server rack worth the floor space.
Then add headroom. We recommend buying roughly 50 percent more U than your current gear needs, because you will add a device within a year. Braces on some open frames also eat 2U, so check that before you commit to a number.
Rack Depth: What Actually Fits Inside
Overall cabinet depth is a marketing number. Usable mounting depth is the one that decides whether your gear fits. The difference between the two can be 3 to 6 inches, because the leftover is the space behind the equipment where cables bend and route.
- Around 14 inches usable: patch panels, cable managers, 24-port switches, small 1U UPS units and shallow appliances. This is the 6U cabinet class.
- Around 16 to 18 inches usable: adds most 1U NAS enclosures, small form factor PCs and the majority of 2U appliances.
- Around 19 to 20 inches usable: handles deeper 2U chassis and full-size mini servers. This is where the 15U and 18U open frames sit.
- 24 inches and beyond: server territory. Almost never needed in a home unless you are running rack servers.
This is the pattern that shows up repeatedly on r/homelab, where the consensus is that 450mm and 600mm wall boxes are built for networking gear while server racks run 800mm to 1200mm. Measure the deepest device you own, add an inch for connectors, and buy from there.
One more rule: add cable bend radius. A patch lead does not leave the switch in a straight line, and forcing tight bends behind shallow gear is what leads to intermittent port faults later.
Open Frame vs Enclosed Cabinet: Which One Fits Your Space
Open frames win on airflow, access speed and price. Everything is visible, every port is reachable without opening anything, and there is nothing to block airflow. They are also noisier to look at and offer no security.
Enclosed cabinets win on security, dust, appearance and noise containment. A lockable tempered glass door keeps gear secured, removable side panels make cable work manageable, and the steel box muffles fan noise that an open frame would broadcast.
Mounting is the other dividing line. An open frame with a top panel, like the Tecmojo 12U, is structurally rigid and works on the floor if your walls are not. A fully enclosed cabinet is much heavier and relies on its wall fixings, so mounting safety matters far more there.
For a garage or utility room, dust and load rating usually win and an open frame is the sensible answer. For a hallway closet or an office, an enclosed cabinet usually looks better and keeps curious hands out. Most structured wiring installs end up wanting one of each at different tiers.
Network Rack vs In-Wall Structured Media Center
This is the question nobody in this category answers directly, and it is the one that matters most if you have in-wall Cat6. A structured media center is a plastic or steel wall box that sits between the studs, holding keystone jacks and pass-throughs for low voltage cabling.
They are not competitors. The media center handles termination between walls. The rack handles termination of everything that terminates at your equipment closet: patch panels, switches, the modem, the UPS and any rack-mount gear.
The rule of thumb from a build log we found is the one we now use with clients: the patch panel keeps the clutter behind your rack rather than in front of it. A media center cannot do that, because it has no rails to mount a cable manager to.
Many homes end up with both. In-wall runs go to keystones in the media center at each room, then to a single consolidation point in the closet, where a patch panel in a rack feeds the switches. Skipping the rack leaves you with a switch on a shelf and a coil of unmanaged cable behind it.
A forum thread on r/homelab makes a related point worth repeating: telecom-style cabinets are shallow and wall mounted, which saves space, but they are not universally convenient for the full range of 1U gear. If you are terminating more than a handful of Cat6 runs, a 12U rack enclosure is the more useful endpoint.
What Goes Inside the Rack
An empty rack is a box, not a network. Here is the shopping list that turns any of these cabinets into a working structured wiring termination point, in the order we install it.
- Cat6 patch panel. Choose a 24-port 1U panel for up to 24 runs. It is the single most important item in the rack because it gives every permanent cable a permanent home.
- 24-port PoE switch. 1U, and the reason most homes outgrow a shelf. Port count should match or exceed the patch panel.
- Horizontal cable managers. One above and one below the switch. These are what stop jumpers from blocking airflow or snagging when you change a cable.
- 1U blanking panels. Cheap, and they stop air short-cycling through unused U space in an enclosed cabinet.
- Rack-mount PDU or surge protector. Vertical or 1U, with enough outlets for the modem, router, switch, NAS and the UPS itself.
- Small UPS. A 1U unit sized for a router, switch and modem keeps the network up through a short outage. It is also the single biggest quality-of-life upgrade in a home install.
- Labels. A label printer plus a numbering scheme, applied at both ends of every run.
One thing that should not go in the rack is your Wi-Fi access point. A discussion on the Tom’s Hardware forum concluded that Wi-Fi should be mounted where it gives the best coverage, and putting it in a rack at the far end of a house defeats the purpose entirely. Rack the switch, run PoE to the AP, and mount the AP in the room where you need signal.
How to Wall Mount a Network Cabinet Safely
Wall mounting is where most home rack projects go wrong, and it is a structural question rather than a product question. The rule is simple: fasten into studs, not into drywall alone.
- Find the studs and mark them. Standard spacing is 16 inches on center. A rack is typically 19 to 20 inches wide, so it will usually span a stud or sit between two.
- Check the total loaded weight. Add the cabinet weight, every device, and a margin. If the total is under 60 lb and you have two studs, a pair of structural screws into each stud is comfortable.
- Add a backer board if studs do not line up. A strip of plywood screwed across two studs gives you solid fixing points anywhere across the width.
- Use structural fasteners, not the supplied anchors. The light drywall anchors and wood screws in the box are for an empty frame only.
- Assemble square on the floor first, then lift it into place. It is easier to align a cabinet flat than one hanging from two screws.
- Leave a service loop behind every panel. Excess cable coiled behind the equipment is what lets you pull a new switch without re-pulling the wall.
For freestanding racks, the same total-weight arithmetic applies but the wall is out of the picture. The Tecmojo 12U, for example, more than doubles from 130 lb wall mounted to 260 lb standing on the floor.
Cooling, Ventilation and Noise at Home
Heat is the silent killer of home network gear. A closed steel cabinet in a warm closet can run 15 to 20 degrees above room temperature inside, and network switches start dropping ports at the top of their rated range long before they fail.
Three rules keep temperatures down. Route cables along the sides so they do not sit in front of the intake path. Fit blanking panels over unused U space. And if one fan cannot keep up, add a second rather than fitting a louder one.
Noise is the residential constraint. A single quiet 120mm fan inside an enclosed cabinet is a very different proposition from the same fan hanging off an open frame in the same room. If the closet is more than one wall from where you sleep, this stops being an issue for almost everyone.
Open frames sidestep the enclosure noise problem differently, and one forum response makes the practical point: telecom cabinets are shallow and wall mounted, great for space saving, but not universally convenient. Pick the form factor that suits the room rather than the spec sheet.
How to Organize a Network Rack
Order matters more than most people expect. Once the rack is full, you will not want to unplug half of it to reach the one thing you need.
- Power at the bottom. UPS and PDU low down keeps heavy cables and plugs away from the equipment you patch often.
- Patch panel near the top. Short jumper runs down to the switch, minimal cable movement when a port changes.
- Switch in the middle. The most-accessed device at comfortable height with cable managers above and below.
- Heavy or rarely-touched gear low. NAS and any mini server sit below eye level where a dropped cable cannot snag a running one.
- Blanking panels over gaps. Protects airflow and stops the rack looking unfinished.
For labeling, use a simple two-part convention: the room number and port number on both ends of every permanent run, matching the labels on each keystone faceplate. The build-log author we referenced credited the patch panel with keeping networking clutter behind the rack rather than in front of it, and a printed label map is what makes that system survive a year of changes.
Use reusable hook and loop cable ties rather than zip ties for anything you expect to move. Zip ties are cheaper and stronger, and they cut cables the third time you have to re-patch a port.
Frequently Asked Questions
What is the difference between a server rack and a network rack?
A network rack is built for lightweight 19-inch EIA-310-E gear such as patch panels, switches, media converters and blanking panels, usually in shallower 6U to 12U wall-mount or open frames. A server rack is deeper, heavier and rated for far more load, sized for servers with multi-bay storage. For a home install, a network rack is almost always the right form factor.
What does 12U mean in a server rack?
One U, or rack unit, equals 1.75 inches of vertical mounting height on a 19-inch rail. A 12U rack therefore provides 21 inches of usable mounting space, enough for roughly a dozen 1U devices such as patch panels, switches, cable managers and blanking panels, or fewer deeper 2U and 4U appliances. Always check whether braces reduce usable U on your chosen frame.
How much weight can a wall mounted server rack hold?
Home wall-mount racks typically rate between 44 and 200 pounds, and many of the same frames double their rating when stood on the floor. Add the cabinet’s own weight plus every device plus a safety margin before choosing. The rating is meaningless if the fixings go into drywall alone rather than into studs or a plywood backer board.
What are the available sizes for wall mount network cabinets?
The common wall-mount sizes are 6U, 9U, 12U, 15U, 18U and beyond. Small homes usually need 6U to 9U, a full structured wiring closet typically fits in 12U, and 15U to 18U covers homelabs that plan to grow. Very deep 42U racks are floor-standing and are rarely practical inside a residential closet.
What is the best layout for a server rack?
Put power and the UPS at the bottom, heavy or rarely-touched gear like a NAS just above it, the switch in the middle with horizontal cable managers above and below, and the patch panel near the top so jumper runs stay short. Fill unused U space with blanking panels to keep air moving through an enclosed cabinet.
How do I cool down and quiet a home network rack?
Route cables along the sides so they do not block intake paths, fit 1U blanking panels over unused rack space, and add a second fan rather than replacing a quiet one with a louder one. If the closet is warm, an open frame with no enclosure will stay cooler than any locked cabinet. Keep the rack at least one wall away from where you sleep.
What are the disadvantages of rack servers in a home?
Rack servers are deeper, heavier and far more expensive than the network gear a home actually needs, and they generate far more heat and noise than a switch and a NAS. A 42U floor rack also consumes a large share of a residential closet. Most home labs are better served by 9U to 18U cabinets or open frames with at least 24 inches of depth.
Conclusion: Which Home Network Rack Should You Buy
The best home network racks for structured wiring come down to three numbers, and the StarTech WALLMOUNT6 6U wins our comparison because it has the highest rating in the group, arrives fully assembled and needs no door, fan or depth you do not have. It is the rack we would put in a house with a router, a switch and a patch panel.
Buy the NavePoint 12U when you want the gear locked and dust-free, the ECHOGEAR 15U when you want a heavy-gauge open frame with room to grow, and the Tecmojo 12U open frame when your walls cannot take the weight. Whatever you choose, measure usable depth before you order, mount into studs, and buy the patch panel and cable managers in the same trip.
Once it is mounted and patched, the 2026-era upgrade that matters most is a small UPS on the bottom U. Everything else can wait.