
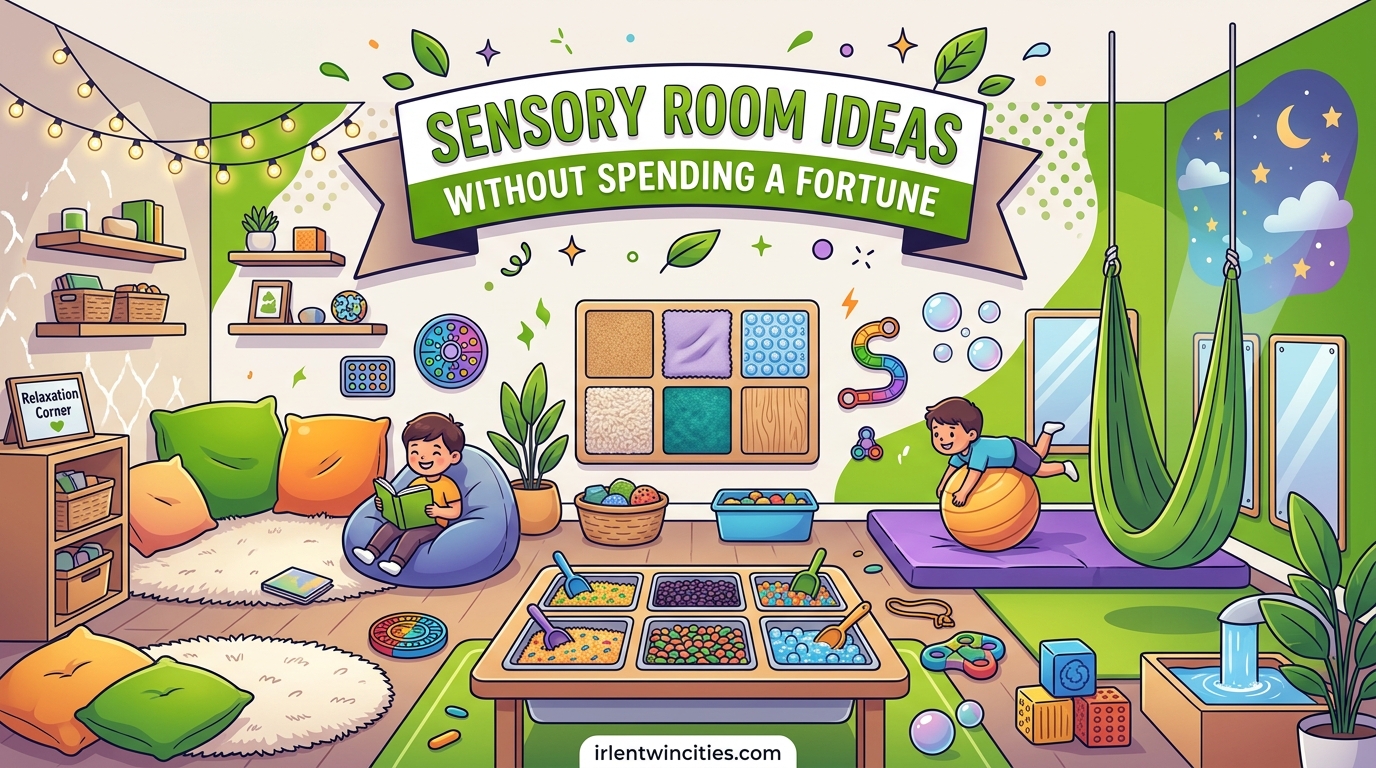
Creating a sensory room sounds expensive. I used to think you needed thousands of dollars for bubble tubes, fiber optic lights, and professional equipment. That is simply not true.
After helping dozens of families set up home sensory spaces, I have learned that sensory room ideas without spending a fortune are not only possible but often work better than commercial setups. You can build an effective sensory space for under $100, or even $0 if you get creative with what you already own.
This guide shares practical, tested strategies for creating sensory rooms on any budget. Whether you have a whole room, a closet, or just a corner to work with, you will find ideas that actually work.
Table of Contents
Quick Answer: 5 Ways to Start a Sensory Room Today for Under $25
You do not need to wait or save up. Here are the fastest ways to create sensory input without spending much:
- Use a cardboard box as a sensory den. Cut a doorway, add a soft blanket inside, and you have an instant retreat space. Total cost: $0.
- Fill a storage bin with dried rice or beans. Add scoops and small toys for tactile exploration. Total cost: $5-10.
- Hang a bedsheet over a doorway. This creates a simple fort with diffused lighting. Total cost: $0.
- Buy a $5 lava lamp or liquid timer. These provide visual calming without the $500 bubble tube price tag.
- Create a crash pad with old pillows and comforters. Pile them in a corner for safe jumping and landing. Total cost: $0.
These five items give you tactile, visual, and proprioceptive input immediately. You can expand from there as budget allows.
What Is a Sensory Room and Who Benefits
A sensory room is a designated space designed to provide controlled sensory input. It helps individuals regulate their nervous system through visual, auditory, tactile, and movement-based experiences.
These spaces help people with autism, ADHD, anxiety, sensory processing disorder, PTSD, and other conditions that affect how the brain processes sensory information. Adults use sensory rooms too, not just children.
The goal is simple: create an environment where someone can either calm down when overstimulated or wake up their senses when understimulated. You do not need a dedicated room. A corner, closet, or even a pop-up tent can work perfectly.
Sensory Room Ideas Without Spending a Fortune: Core Principles
Before diving into specific items, understand these three principles that will save you hundreds of dollars.
Start Small and Build Gradually
The biggest mistake I see is trying to create a complete sensory room in one weekend. You end up buying items your child ignores while missing what they actually need.
Start with one sensory category. If your child seeks movement, begin with a mini trampoline or swing. If they need calming, start with a quiet corner and soft lighting. Add items based on what gets used, not what looks impressive.
Use What You Already Have
Your house is already full of sensory tools. Couch cushions make perfect crash pads. A yoga ball replaces an expensive therapy ball. Flashlights become visual trackers. Rice or pasta in a bin creates tactile exploration.
Walk through your home with fresh eyes. Anything that provides pressure, movement, texture, or visual interest counts as sensory equipment.
Shop Smart and Secondhand
Dollar stores carry bins, scoops, containers, and craft supplies perfect for sensory play. Thrift stores often have bean bags, pillows, and rugs at a fraction of retail cost.
Facebook Marketplace and local parent groups are goldmines for sensory items families have outgrown. Many parents give away equipment rather than storing it.
Visual Sensory Elements You Can Create for Under $25
Visual input is often the easiest and cheapest sensory category to address. Here are proven alternatives to expensive commercial equipment.
Bubble Tube Alternatives ($15-25 vs. $300-600)
Commercial bubble tubes look amazing but cost hundreds. Instead, try these options:
Lava lamps provide slow, mesmerizing movement for $10-20. They create similar visual tracking opportunities without the noise or water maintenance.
DIY bubble tubes use a tall clear vase, water, oil, food coloring, and Alka-Seltzer tablets. Drop the tablets in and watch bubbles rise. Total cost: about $8.
Projector lights that display stars or ocean waves cost $15-25 online. These cover entire ceilings with moving visuals.
Fiber Optic Curtain for $20
Commercial fiber optic strands cost $200 or more. Make your own sensory curtain using dollar store materials. Hang strings of battery-operated fairy lights vertically from a curtain rod or tension rod. Add ribbons, scarves, or tinsel between the light strands. The result looks similar and provides the same visual stimulation.
This setup creates a safe space to walk through or hide behind, giving both visual and tactile input.
Acrylic Mirror Panels for $10-15
Shatterproof acrylic mirrors from hardware or craft stores cost a fraction of glass mirrors. Mount them on walls or the floor using command strips. These create infinite reflections when paired with lights, expanding visual space without expanding your room.
Tactile and Proprioceptive Elements on a Budget
Tactile and proprioceptive input helps with body awareness, calming, and focus. These are often the most important elements for sensory regulation.
DIY Crash Pad for $0-30
Commercial crash pads cost $120-200. Make your own using old pillows, comforters, and sleeping bags stuffed into a duvet cover or large sheet sewn shut. Layer foam pieces from old cushions for extra padding.
If you need to buy materials, thrift stores sell comforters for $5-10 each. Three comforters create a thick, safe landing zone for under $30.
Sensory Bins for $5-15
Sensory bins are containers filled with materials for tactile exploration. The container costs $2-5 at a dollar store. Fillings are where you save money:
- Dried rice or beans: $3-5 for several pounds
- Pasta shapes: $1-2 per box
- Cotton balls: $2 for a large bag
- Shredded paper: Free from your recycling bin
- Water beads: $5 expands to gallons of material
Add scoops, cups, and small toys you already own. Rotate fillings monthly to maintain interest.
Weighted Lap Pads for $10-20
Commercial weighted blankets cost $50-150. Make a simple lap pad by filling a sock or small pillowcase with rice or dried beans. Sew it shut or tie it securely. A 3-5 pound lap pad costs about $5 in materials.
For a no-sew option, fill a large ziplock bag with rice, tape it shut, and slide it into a soft pillowcase. This gives deep pressure input during homework, car rides, or calming time.
Fidget Tools for $1-10
Fidgets help with focus and self-regulation. You do not need specialty items:
- Hair ties or rubber bands: Loop around fingers for resistance
- Key rings: Attach and detach for fine motor work
- Stress balls: Fill balloons with flour, rice, or playdough
- Velcro strips: Stick and unstick for tactile input
- Paper clips: Link and unlink for fidgeting
Dollar stores sell pop tubes, mesh balls, and putty for $1-3 each.
Creating a Calming Corner in Small Spaces
You do not need a whole room. A closet, corner, or even under a bed can become an effective sensory space.
Closet Conversions
Remove closet doors and add soft lighting. A small bean bag or floor pillows create a retreat space. Hang a curtain across the opening for privacy. Add a few fidgets and a weighted lap pad.
This works especially well in bedrooms where the child already feels safe.
Corner Tents and Forts
Pop-up tents cost $15-30 and fit in corners. Use a tension rod and bedsheet for a $5 alternative. Add pillows, a soft blanket, and a basket of calming items.
The enclosed feeling helps block visual clutter and creates a defined safe space.
Under-Bed Sensory Boards
For extremely tight spaces, create a sensory board on a piece of cardboard or wood. Attach textured fabrics, locks, latches, switches, and mirrors. Store it under the bed and pull it out when needed.
This gives tactile and fine motor input without taking up permanent space.
Where to Find Budget Sensory Items
Knowing where to shop saves more money than any DIY project. Here are the best sources for affordable sensory equipment.
Dollar Stores and Discount Retailers
Dollar Tree, Family Dollar, and similar stores carry bins, scoops, containers, craft supplies, and seasonal items perfect for sensory play. I regularly find water beads, kinetic sand alternatives, storage containers, and fidget toys for $1-3.
Thrift Stores and Garage Sales
Bean bag chairs, floor pillows, rugs, and soft toys cost 50-90 percent less secondhand. Check weekly as inventory changes constantly.
Parent Groups and Online Marketplaces
Facebook Marketplace, Craigslist, and local parent groups are full of families giving away or selling sensory items their children have outgrown. Many therapy items have years of life left but no longer fit the child’s needs.
Post in special needs parent groups that you are looking for sensory equipment. Parents often prefer giving items to families who need them rather than dealing with selling.
Donation Requests
For schools or community spaces, consider donation drives. Many families have sensory toys their children no longer use. Local businesses may donate lighting, flooring, or storage items.
DIY Alternatives to Expensive Commercial Equipment
Here is a direct cost comparison between commercial sensory equipment and DIY alternatives that work just as well.
| Commercial Item | Cost | DIY Alternative | Cost |
|---|---|---|---|
| Bubble tube | $300-600 | Lava lamp + projector light | $25 |
| Crash pad | $120-200 | Pillows and comforters in duvet | $0-30 |
| Weighted blanket | $50-150 | Rice-filled lap pad | $10 |
| Fiber optic lights | $200-400 | Fairy light curtain | $20 |
| Sensory swing | $80-200 | Hammock chair or bedsheet swing | $25-50 |
| Sensory table | $100-300 | Storage bin on table | $5 |
| Ball pit | $150-300 | Play tent + ball pit balls | $40 |
The total cost of all commercial items above would be $1,200-2,150. The DIY alternatives total $130-180. You save over $1,000 while getting the same sensory benefits.
Safety Considerations for Budget Sensory Setups
Low cost should never mean low safety. Follow these guidelines to keep your sensory space safe.
Secure Everything
Mount mirrors, shelves, and anything heavy to walls. Use command strips rated for the weight. Check them monthly.
Swing hardware must attach to ceiling joists or door frames rated for weight. If you cannot verify structural support, use doorway swings or freestanding options.
Choose Safe Materials
Check that items are non-toxic, especially for younger children who mouth objects. Avoid small parts for children under three.
Ensure sensory bin fillings are age-appropriate. Water beads can be dangerous if swallowed. Supervise accordingly.
Supervision and Maintenance
Inspect equipment weekly for damage. Throw away broken items immediately. Check that crash pads have not compressed to unsafe levels. Wash sensory bin fillings regularly to prevent bacteria growth.
Adult Sensory Spaces
Adults using sensory rooms need different considerations. Weighted items should be calculated properly, about 10 percent of body weight. Ensure spaces support adult-sized bodies. Check weight limits on swings and seating.
Sensory Room Ideas Without Spending a Fortune: Getting Started Today
Now you have a complete roadmap for creating a sensory space on any budget. The key is starting with what matters most for the person using the space.
Pick one category: visual, tactile, or proprioceptive. Choose the cheapest option from this guide that addresses that need. Try it for a week. Notice what works and what does not.
Add items slowly based on actual use, not what looks good in photos. A $20 setup that gets used daily beats a $2,000 room that sits empty.
You now have sensory room ideas without spending a fortune that can work in any home, any space, and any budget. The only wrong choice is waiting until you have more money. Start today with what you have.
Frequently Asked Questions
How to create a sensory room for cheap?
Start with items you already own. Use pillows and blankets as a crash pad. Fill a storage bin with dried rice for tactile play. Hang a bedsheet for a fort. Add a $5 lava lamp for visual calming. These four items cost under $20 and provide visual, tactile, and proprioceptive input immediately.
What is a good budget for a sensory room?
A functional sensory room can cost anywhere from $0 to $500. Start with $20-50 for basics like bins, lights, and fidgets. Many families create effective spaces under $100 using thrifted items and DIY alternatives. Commercial equipment is not necessary for benefits.
What to put in a low sensory room?
Focus on calming elements. Include soft lighting like fairy lights or lava lamps. Add weighted lap pads or heavy blankets for deep pressure. Provide enclosed spaces like tents or forts. Keep colors neutral and clutter minimal. Include noise-reducing elements like soft rugs or pillows.
What can I put in a sensory room?
Include items from four categories: Visual (lights, mirrors, projectors), Tactile (sensory bins, fidgets, textured fabrics), Proprioceptive (crash pads, weighted items, resistance tools), and Auditory (white noise, calming music, sound-muffling items). Choose based on what the user seeks or avoids.
Conclusion
Sensory room ideas without spending a fortune are everywhere once you know what to look for. Your home already holds dozens of sensory tools. Your local dollar store and thrift shop have everything else you need.
The families I have worked with consistently report that their DIY sensory spaces work better than expensive commercial setups because they are personalized and built gradually based on actual needs.
Start with one item from this guide today. Not next month. Not when you have more money. Today. A $5 lava lamp or a pile of old pillows can change someone’s ability to self-regulate. That is worth more than any expensive bubble tube.